Creating and Enabling Swap Space on Linux Cloud Servers
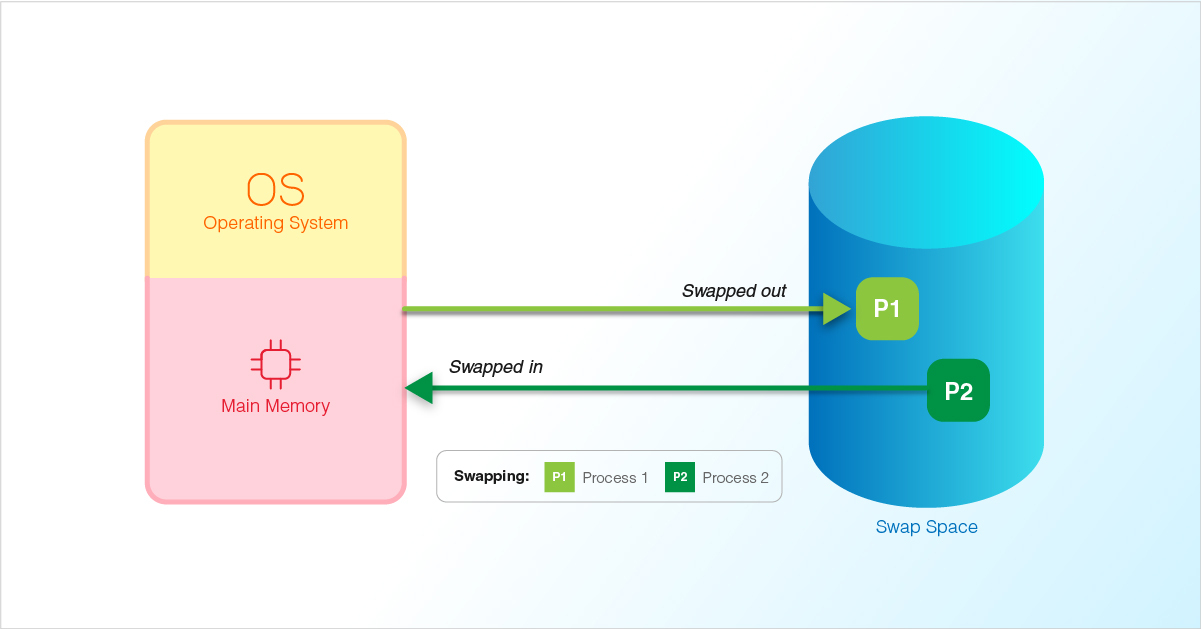
Swap is an area on a hard disk that is used when the amount of physical RAM memory is full. The swap space on the hard disk will be used mainly when there is no longer sufficient space in RAM to hold the running application data on the server. Basically, it is designated as a place where the operating system can temporarily store data that can no longer hold in RAM.

This guide outlines the steps to create and enable swap space in all Linux distributions.
Check Swap Information.
Before enabling a swap file, it can be checked if a server already has swap enabled by executing the below command.
# swapon --showIf no output is displayed, it means that the server is not enabled with swap.
Available swap space can also be verified by using the
freecommand as below:# free -m
Check Available Space on the Partition.
A swap file can be created by making use of space already available from an existing partition. The current disk usage in the server can be found out by executing the below command.
# df -hA general output for the above command will be as shown below:

In the above case, space from the partition
/dev/mapper/cl-root(may differ in each server) can be used to create the swap space. Generally, a size equal to or double the size of RAM in the server can be made use to create the swap file.
Create Swap File.
The
fallocatecommand can be used to create the swap file in the server. Execute the below command to create a swap file of 2GB in size.# fallocate --length 2G /lsswapThe swap file with the name
lsswapwill be created in the root directory of the server.If
fallocateis not installed or if you get an error message asfallocate failed: Operation not supported, then the following command can be used to create the swap file:# dd if=/dev/zero of=/lsswap bs=1024 count=2146304Using the
lscommand, the created swap file can be verified.# ls -lh /lsswap
Set the correct permissions.
Set appropriate permissions for the swap file, making it readable only by the root user.
# chmod 600 /lsswap
Set up Linux swap area.
The
mkswaputility can be used to set up the created swap file as the swap space in the server. For this, execute the below command.# mkswap /lsswapThe output for the above command will be displayed as below.

Enable the swap file.
Enable the swap file and add it to the system as a swap file by running the below command.
# swapon /lsswapTo make the changes permanent, open the
/etc/fstabfile using any editor and add the following line in it.# /lsswap swap swap defaults 0 0
Verify the swap file.
The newly set up swap space can be verified by making use of either of the below two commands.
# swapon -s
(or)
# free -h
Adjust swappiness.
Swappiness is the server kernel parameter that indicates how much and how often the RAM contents are copied to swap. It has the default value of
60and can range between0 to 100.The existing value of swappiness in the server can be found out by making use of the below command.
# cat /proc/sys/vm/swappiness
The swappiness can be adjusted using the
sysctlcommand.# sysctl vm.swappiness=10The swappiness value will be set to
10after the command is executed.To set this value permanently in the server, add the below line at the bottom of the
/etc/sysctl.conffile.# vm.swappiness=10
Remove a swap file.
The swap file in the server can be removed by making use of the
swapoffcommand. The below steps can be followed for this. The swap file name being used in the below commands islsswap.# swapoff -a -vRemove the originally created swap file.
# rm /lsswapRemove the entry for the swap space from the
/etc/fstabfile.# sed -i '/\/lsswap/d' /etc/fstabCheck if the swap has been removed by making use of the
freecommand.
