This tutorial is applicable specially for the one-click Apps i.e One-click WordPress installation based on Ubuntu in LayerStack Cloud Servers.
At times, there will arise a need to upload files that are larger in size to the WordPress application, however, this may be interrupted because of default restrictions on the maximum file size that can be uploaded.
This tutorial helps in overcoming this restriction and explains how to change the maximum upload size in the settings of WordPress.
Configuring Nginx
Log in to the Cloud Servers via SSH or Console.
Edit the Nginx configuration in the path /etc/nginx/nginx.conf.

Look for the variable client_max_body_size and assign the desired value to this variable and save it. Here we give a value 1024m.
client_max_body_size 1024m
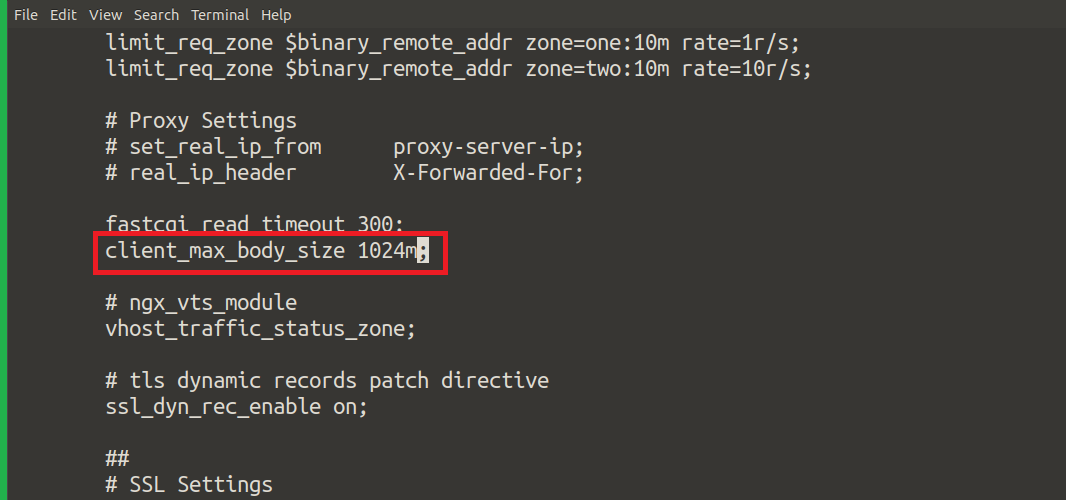
To make the changes in the Nginx configuration file, it is always required to restart the Nginx.
# systemctl restart nginx

Configuring PHP
- WordPress uses 7.4 as the default PHP version therefore, the PHP configuration
/etc/php/7.4/fpm/php.ini needs to be updated with the desired values.
Edit the post_max_size variable to the desired limit
Edit the upload_max_filesize variable to the desired limit
In the below example, the default value 100M has been replaced by the value 1024M:
Once done the changes, make sure to restart the PHP-FPM process.
# systemctl restart php7.4-fpm

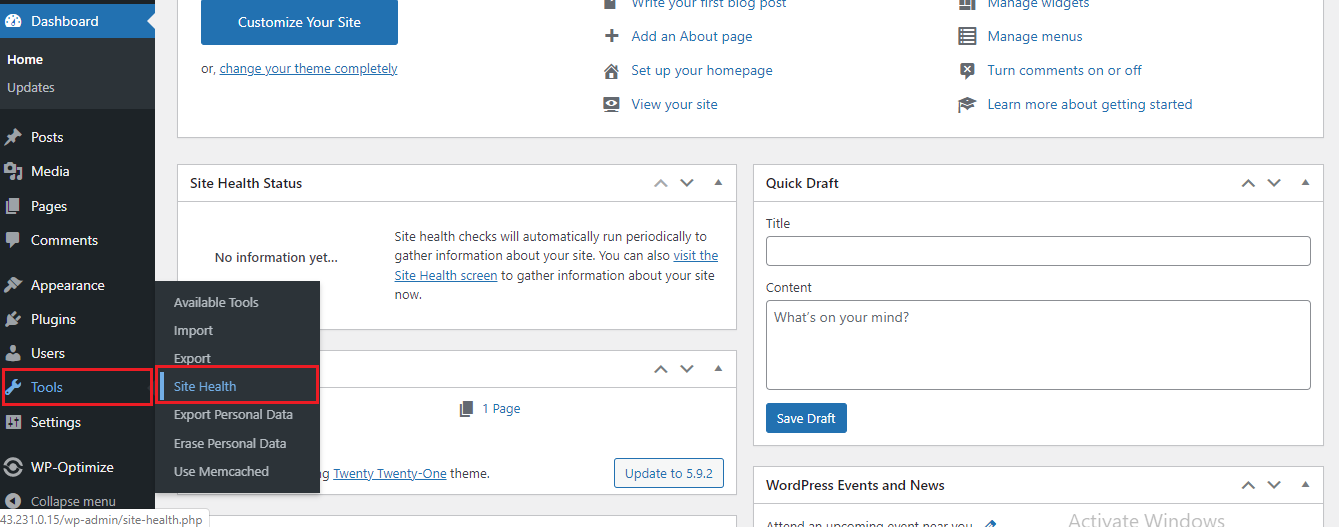
To verify the changes done, you may log in to the WordPress Administration panel (http://serverip/wp-login.php) and navigate to the following path.
On the left-hand side, navigate to Tools and select Site Health option:
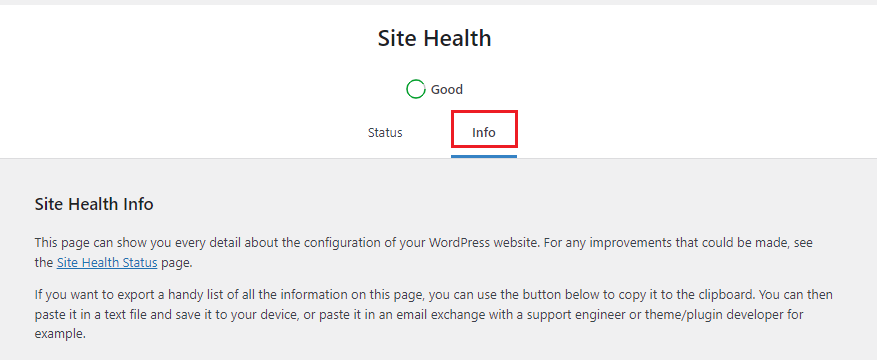
Click on the Info tab on the screen and from the options, expand the option Media Handling would be able to verify the changes.
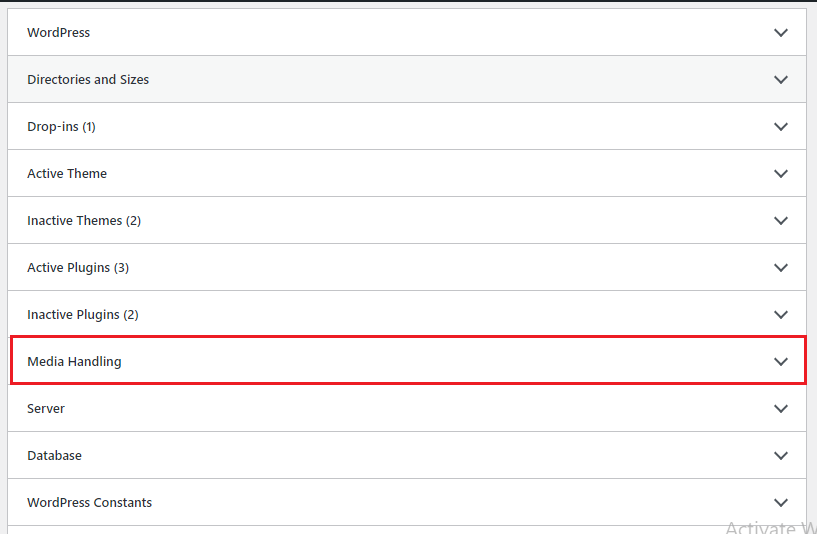
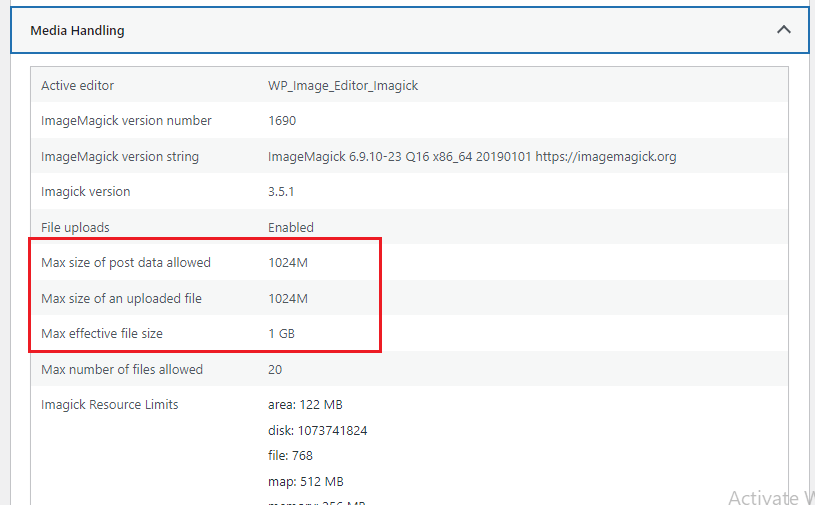
As the screenshot implies the above fields will reflect the changes made in the PHP which reflect in WordPress.
Related Tutorials