See the instructions for installing, configuring and testing the Nginx server on CentOS, Fedora, Debian and Ubuntu below.
Install OpenJDK 8, because Apache Maven requires Java 1.7 or greater.
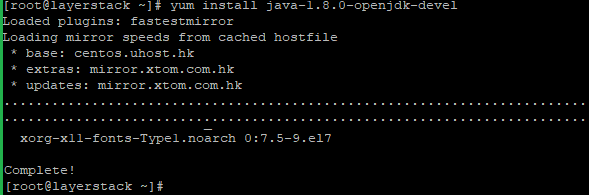
# yum install java-1.8.0-openjdk-devel
Run the below command to check the version once the installation is completed.
# java -version

Setup the JAVA_HOME environment variable with the below commands.
# echo "JAVA_HOME=$(readlink -f /usr/bin/java | sed "s:bin/java::")" | sudo tee -a /etc/profile

# source /etc/profile

Now proceed with the installation of Apache Maven. First, change the working directory to /opt/ directory and download the latest stable version of Apache Maven from https://maven.apache.org/download.cgi.
# cd /opt/

# wget https://downloads.apache.org/maven/maven-3/3.6.3/binaries/apache-maven-3.6.3-bin.tar.gz

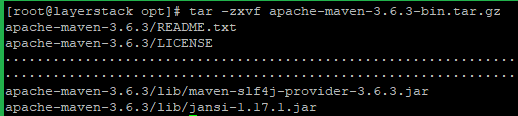
Extract downloaded archive once the downloading is completed.
# tar -zxvf apache-maven-3.6.3-bin.tar.gz
Now rename the extracted directory to maven and set the permission as mentioned below.
# mv apache-maven-3.6.3 maven

# chown -R root:root /opt/maven

Add the path /opt/maven to the PATH environment variable with the below commands.
# echo 'export PATH=$PATH:/opt/maven/bin' | sudo tee -a /etc/profile

# source /etc/profile

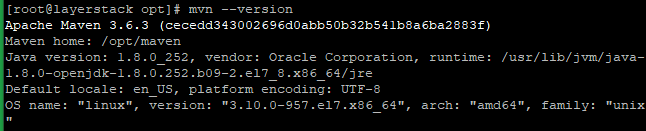
Now check the version of Apache Maven to verify the installation.
# mvn --version
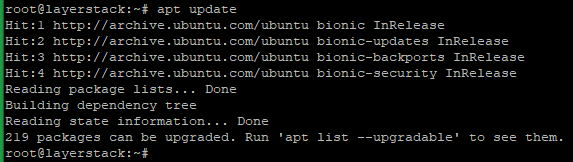
Run the below commands to update the system.
# apt update
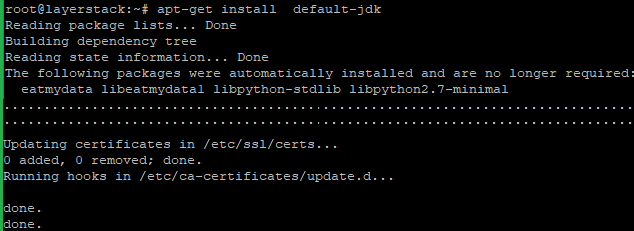
Now install Java with the below command.
# apt-get install -y default-jdk
Verify the Java version with the below command.
# java -version

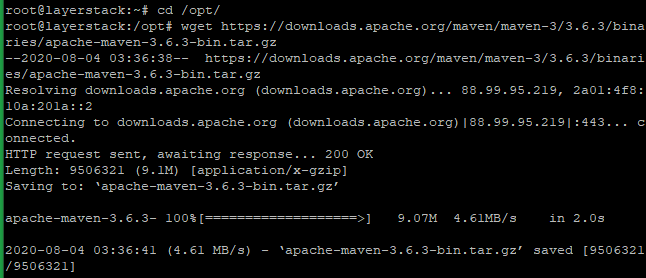
Now proceed with the installation of Apache Maven. First, change the working directory to /opt/ directory and download the latest stable version of Apache Maven from (https://maven.apache.org/download.cgi).
# cd /opt/

# wget https://downloads.apache.org/maven/maven-3/3.6.3/binaries/apache-maven-3.6.3-bin.tar.gz
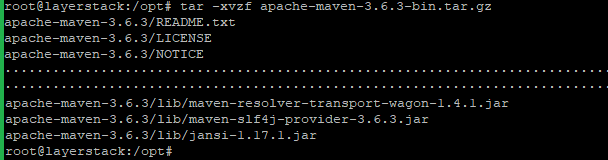
Extract downloaded archive once the downloading is completed.
# tar -xvzf apache-maven-3.6.3-bin.tar.gz
Now rename the extracted directory to maven.
# mv apache-maven-3.6.3 maven

Now set up environment variables such as M2_HOME, JAVA_HOME and PATH. It can do by creating a mavenenv.sh file inside of the /etc/profile.d/ directory:
# vi /etc/profile.d/mavenenv.sh

Add the below lines and save then close.
export JAVA_HOME=/usr/lib/jvm/default-java

export M2_HOME=/opt/maven

export PATH=${M2_HOME}/bin:${PATH}

Give the executable permission with the below command.
# chmod +x /etc/profile.d/mavenenv.sh

Now load the environment variables and check the version of Apache Maven to verify the installation.
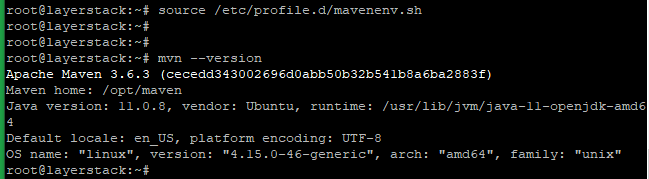
# source /etc/profile.d/mavenenv.sh

# mvn --version