The Chamilo content management system is free software (under GNU/GPL licensing) for e-learning and it is mainly used to improve access to education and knowledge globally. Chamilo is written in PHP and supports databases MySQL and MariaDB.
This guide outlines the steps that can be used to install Chamilo application in servers installed with different OS distributions. In this context, it is considered that the servers already have a web server, PHP, and database server installed.
The first step in installing Chamilo is to create a database and an associated database user that will be used for storing the data of the application.
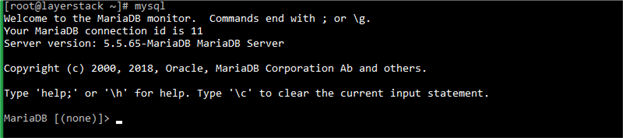
Log in to the MySQL command prompt by executing the below command.
# mysql
Create the Chamilo database. In this context, the database name used is lschamilo.
> create database lschamilo;

Create the database user and grant required permissions for the user on the Chamilo database.
> GRANT ALL PRIVILEGES ON lschamilo.* TO lschamilouser @localhost IDENTIFIED BY 'PASSWORD';

NOTE: The database username being used is lschamilouser. Replace PASSWORD with an actual, strong password.
Reload the grants table in MySQL and exist the MySQL prompt.
> FLUSH PRIVILEGES;

Once the MYSQL database and user are created, the next step is to download the Chamilo installation package.
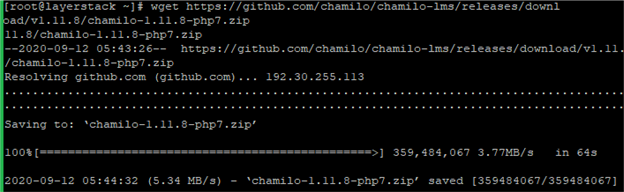
Download the latest stable release of the Chamilo application.
# wget https://github.com/chamilo/chamilo-lms/releases/download/v1.11.8/chamilo-1.11.8-php7.zip
Extract the contents of the downloaded ZIP archive to the document root folder of the server or to the document root folder of the domain under which the Dotclear application is to be installed.
In this guide, the application is being installed under the document root folder of the server.
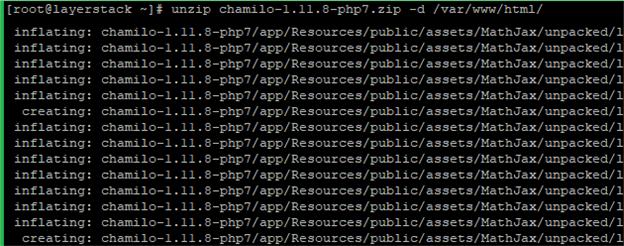
# unzip chamilo-1.11.8-php7.zip -d /var/www/html/
All the files/folders of the ZIP archive will be extracted to a folder named Chamilo-1.11.8-php7. Now rename the directory to Chamilo.
# mv chamilo-1.11.8-php7/ chamilo

Change the ownership of the document root with the below command.

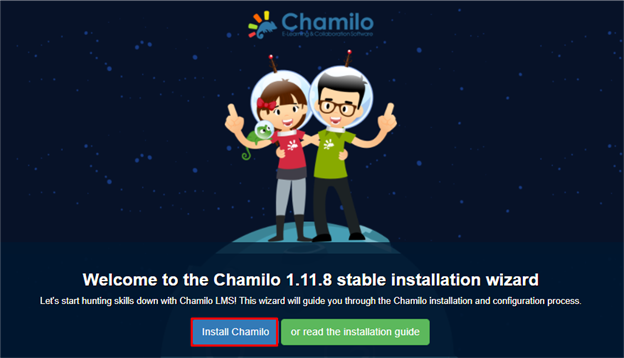
Now open the web browser and navigate to http://IPaddress or http://yourdomain.com to enter the configuration details as in the below image and click on Install Chamilo.
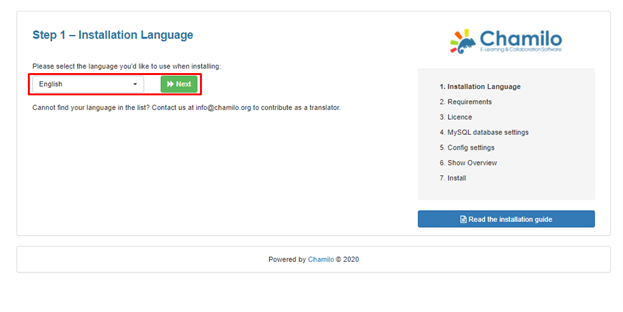
Choose the language and click on Next.
Click on New installation.

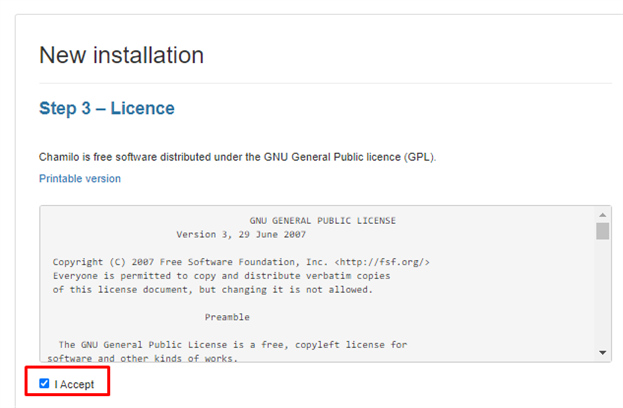
Now review the GNU General Public License (GPL) and select the checkbox to accept.
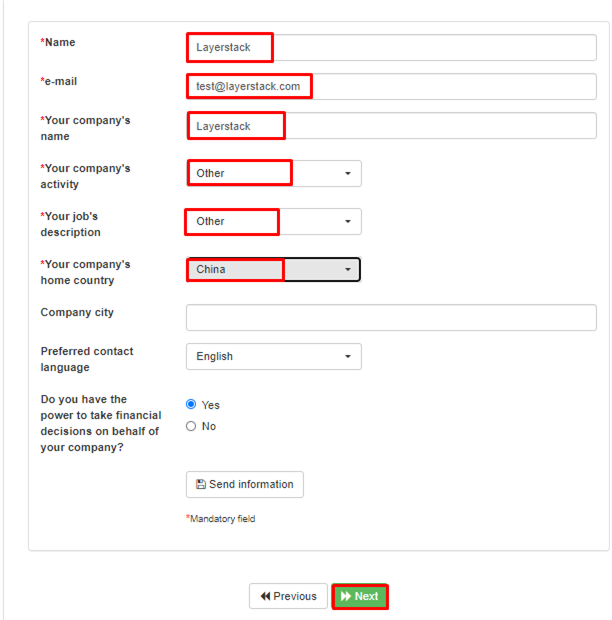
Then fill in all of the contact info fields and click the Next as mentioned in the below image.
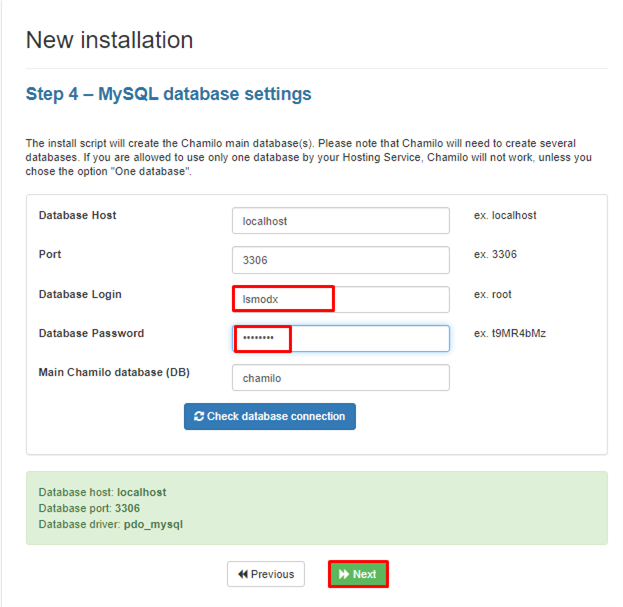
Fill in the database credentials created before, then click on check database connection. Once the database is checked successfully, then click on Next to move on.
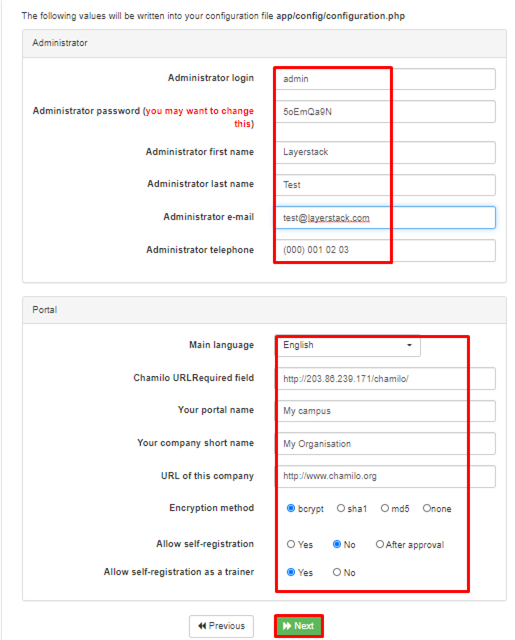
Modify the administrator login name, password and other details, then click on Next.
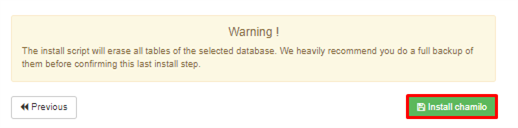
Click on Install chamilo to proceed with the installation and click Go to your newly created portal button to finish the web installation wizard.
Once the installation is completed, open the web browser and navigate to the below URL to access the admin page.
http://IPaddress/index.php
OR
http://domainname/index.php
NOTE: Replace the IP address or domain name with the original.
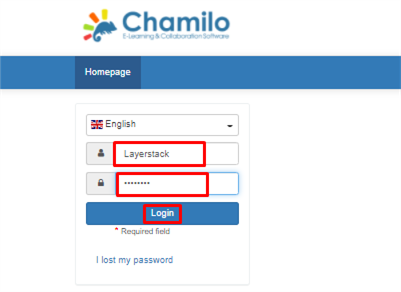
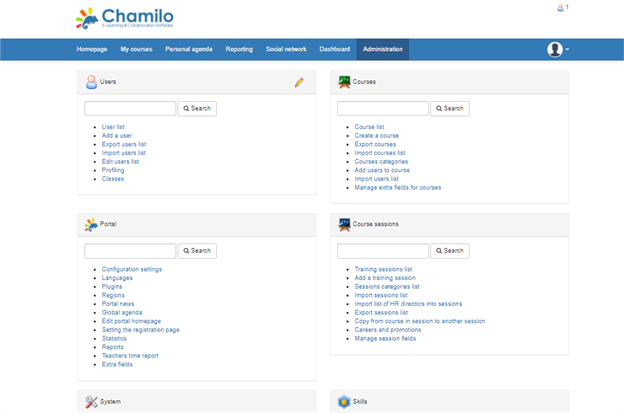
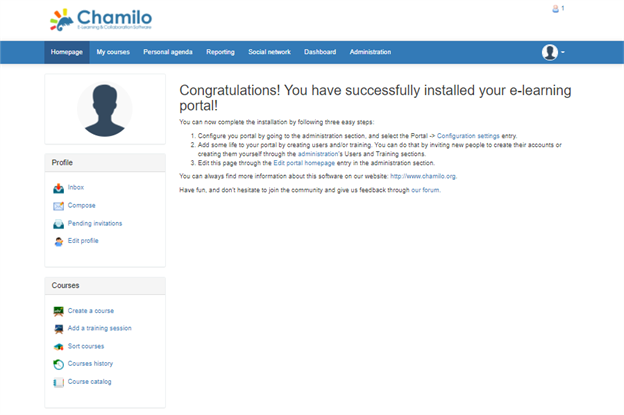
Below the images of admin page and Chamilo website: