As you may know that LayerStack uses AMD EPYC (Extreme Performance Yield Computing) processors for our instances, it is very important to have GPU drivers properly installed for full potential utilization.
AMD has already announced the compatible drivers with the third generation of the world’s most advanced processor system, to have the latest high-performance computing system featuring 2nd Gen AMD EPYC processors. With the 2nd Gen AMD EPYC processors, customers can maximize performance and cost efficiencies in heterogeneous computing, virtualized and hyper-converged infrastructure workloads, providing teams with the flexibility and capability to the maximum extent.
Driver Prerequisites
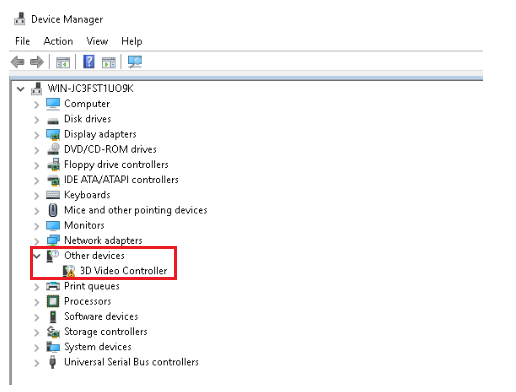
Before proceeding installation of the GPU, it is to be made sure that the Graphics Processing Unit is showing in the Device Manager in your Windows server.
Most probably it will be shown under Other Devices >> 3D video Controller which is mentioned in the below image.
Need to install the below software and detail installation would be shown in this article as well.
Microsoft Visual Studio
NVIDIA CUDA Toolkit
To install Microsoft Visual Studio
Visit Microsoft's URL https://visualstudio.microsoft.com/dev-essentials/#software

This is an essential software to support graphical drivers and you can download any of the editions such as community, professional or Enterprise edition of the Visual Studio for Windows server 2019. Please go to the download section of the above page to download.
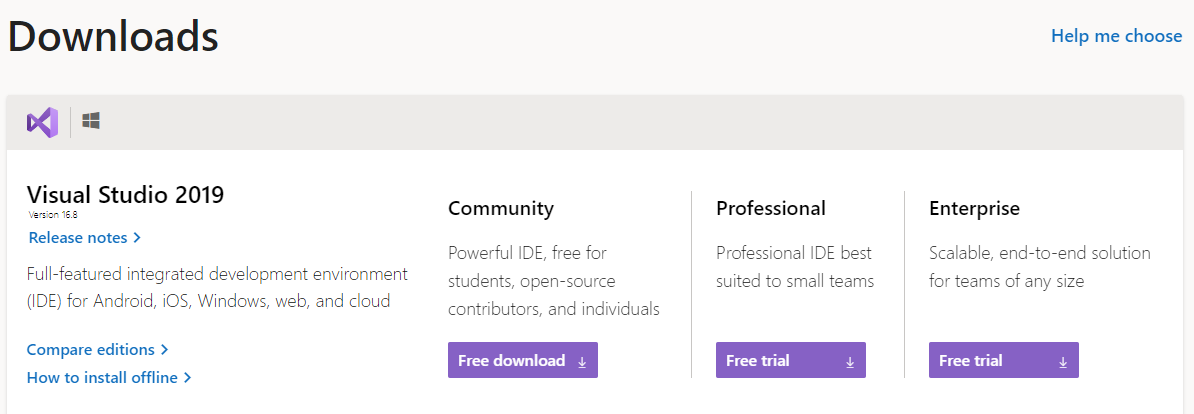
Then, choose any of the editions you prefer to proceed further and download the setup. Please execute the setup and make sure it is installed.
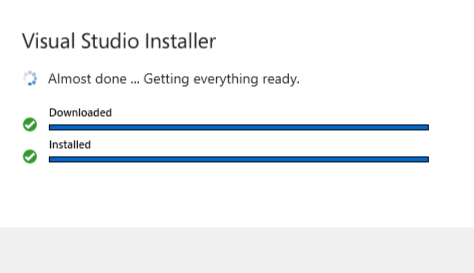
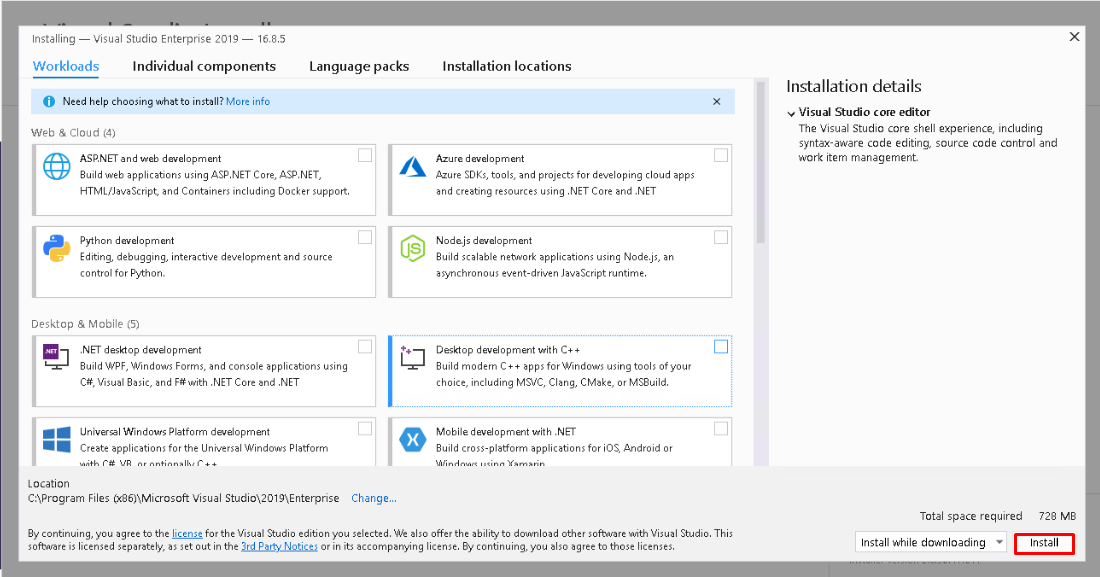
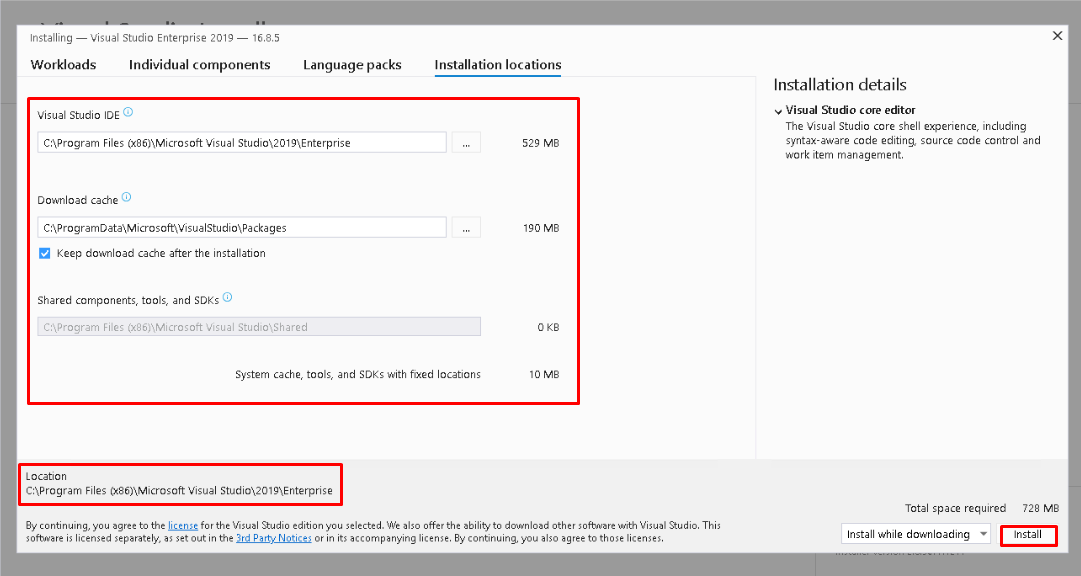
Now please confirm the file location and click on Install button for proceeding further.
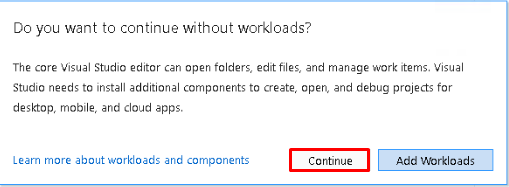
The setup will ask Do you want to continue without workloads?, please click on Continue and move on to the next step.
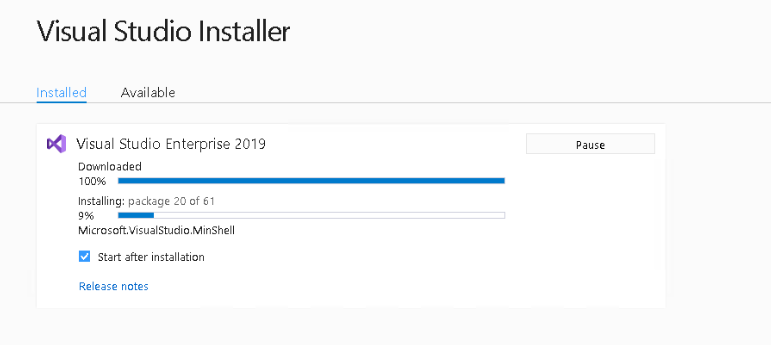
This will proceed with the installation of Visual Studio and you will be able to see the progress bar as in the below image.
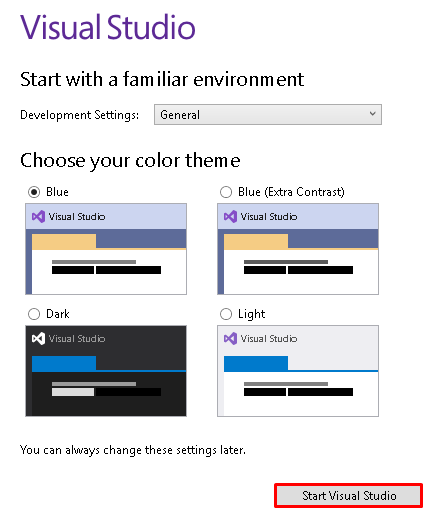
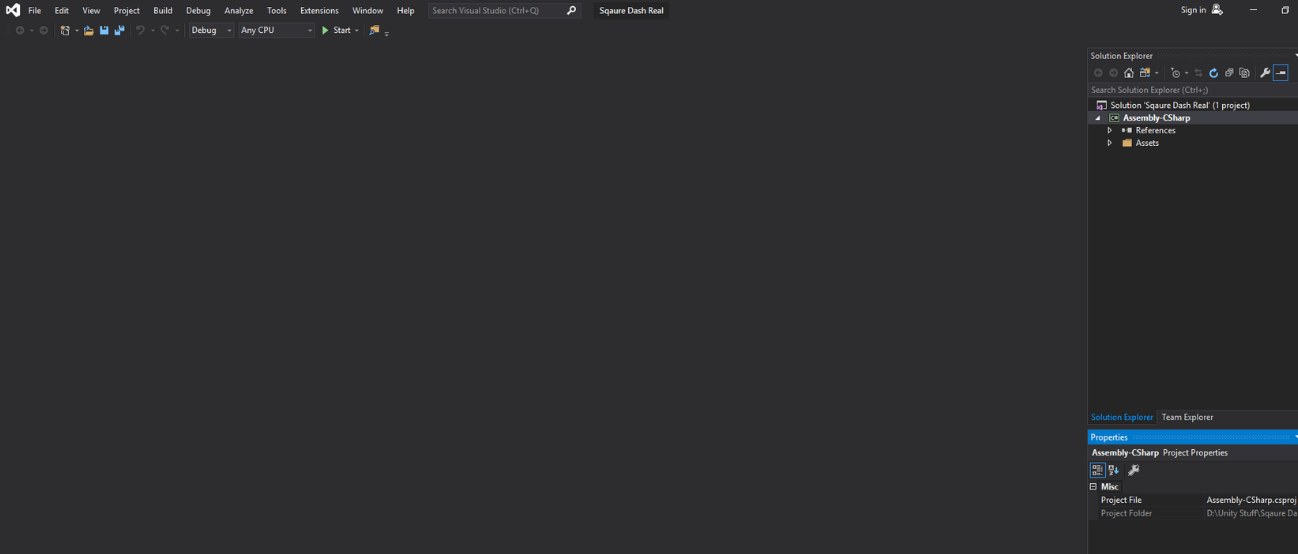
Once the installation is completed, you will get a page like the below image to select the theme and click on start visual studio button to start.
To Install NVIDIA s CUDA toolkit
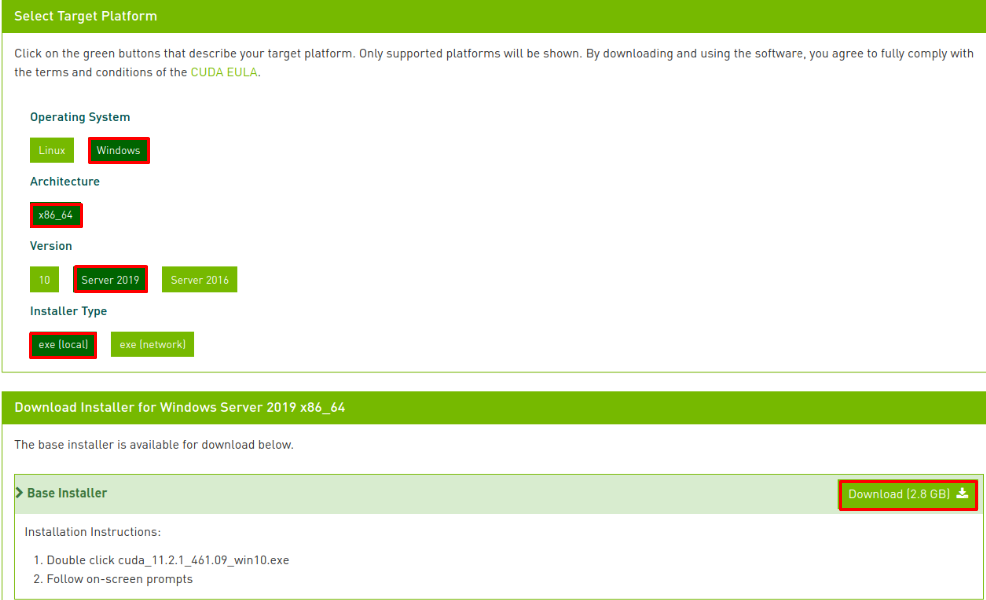
Visit Nvidia's URL https://developer.nvidia.com/cuda-downloads. From there you can select the appropriate OS detail so that you can download the compatible version of NVIDIA drivers. Once chosen, click on the Download option which is mentioned in the below image.
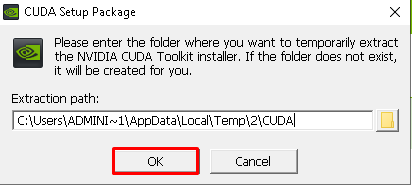
Running the downloaded Basic Installer will produce a CUDA setup package window.
Now agree and continue by clicking the AGREE AND CONTINUE button which is shown in the below image.
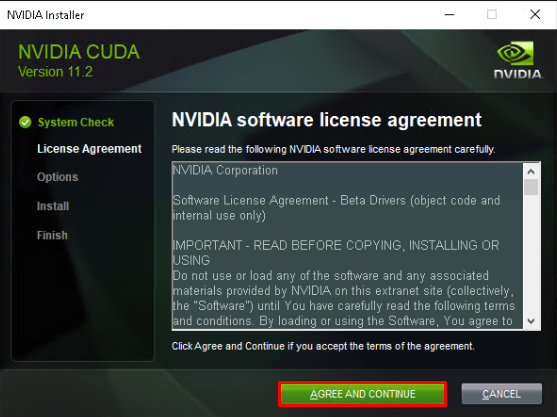
Choose the Express installation option which can proceed quickly and easily.
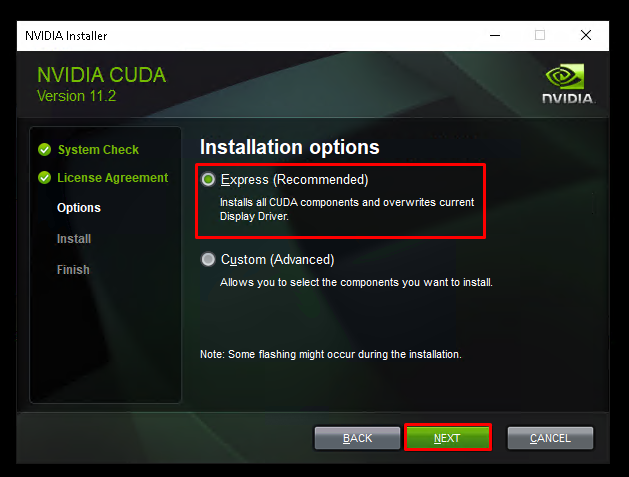
Then it will show as in the below image of the CUDA installations which rely on Visual studio that was installed earlier. Now click on the Next button.
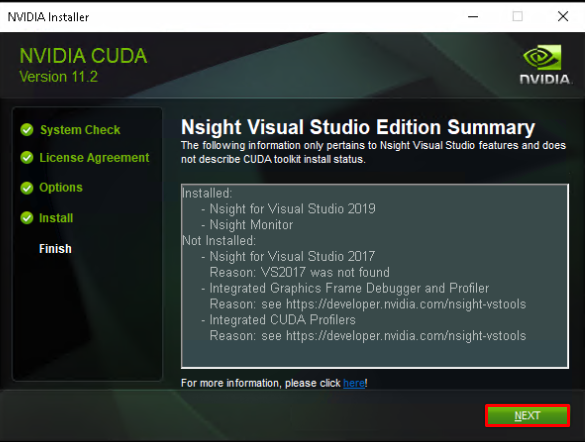
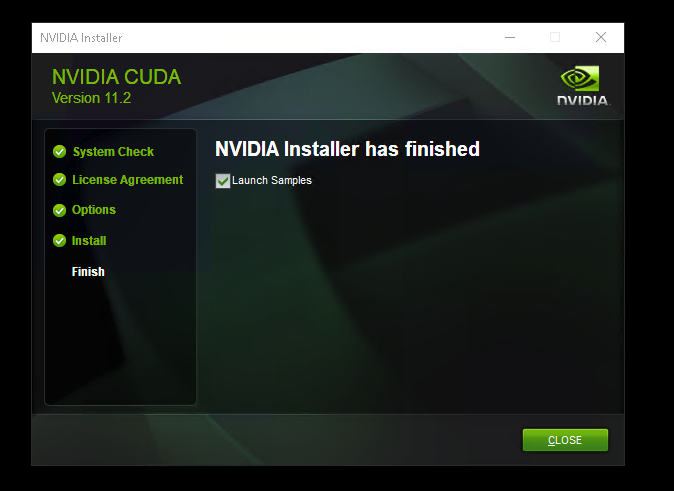
Once clicked on the Next button, it will show that the NVIDIA installer has finished as in the below image.
NOTE: In any case of errors in installation, please recheck the compatibility and driver versions. It is always desirable to reboot the Cloud server after installation. This is to ensure the changes are being reflected at the kernel level.
Related LayerStack Product
Related Tutorial for Dedicated GPU service
Related Tutorials for Cloud GPU service