How to install Graphical User Interface (GUI) and XRDP for AlmaLinux 9 & Rocky Linux 9 Cloud Servers
AlmaLinux 9 and Rocky Linux 9 are renowned for their stability and reliability in enterprise-grade Linux distributions. Despite their predominant use in server environments, there are instances where implementing a graphical user interface (GUI) proves beneficial, particularly for remote server management.
This guide presents a detailed walkthrough of installing a GUI desktop environment and XRDP (X Remote Desktop Protocol) on AlmaLinux 9 and Rocky Linux 9. Enabling a GUI on your server enhances user experience, facilitating tasks that necessitate graphical interfaces.
Beginning with system updates and GNOME desktop environment installation, the guide progresses to configuring XRDP for remote access and adjusting firewall settings. Upon completion, you'll have a fully operational GUI on your server, accessible remotely through an RDP client.
Let's dive into the installation process and empower your Linux server with a user-friendly GUI interface.
Step 1: Update the System
Before installing any new packages, it's essential to update the system's package repositories and installed packages:
# yum update
or
# dnf update
Input
yum updatecommand.
Input
dnf updatecommand.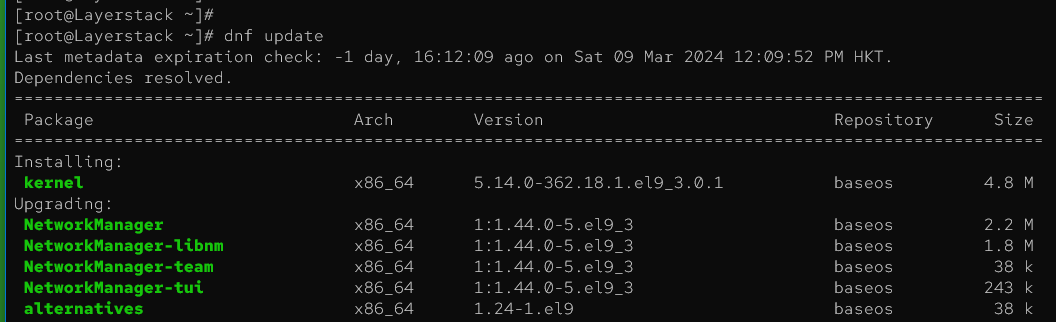
Step 2: Install GUI Desktop Environment
AlmaLinux 9 and Rocky Linux 9 offer multiple desktop environments. For this guide, we'll install the GNOME desktop environment:
# yum groupinstall "Server with GUI"
or
# dnf groupinstall "Server with GUI"
Input
yum groupinstall "Server with GUI"command.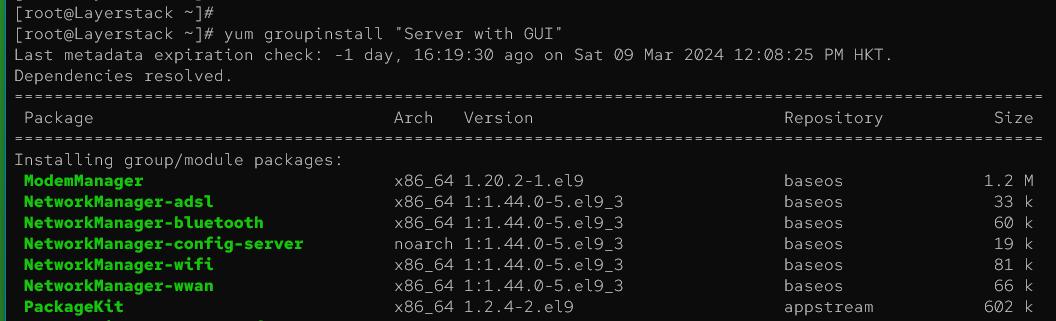
Input
dnf groupinstall "Server with GUI"command.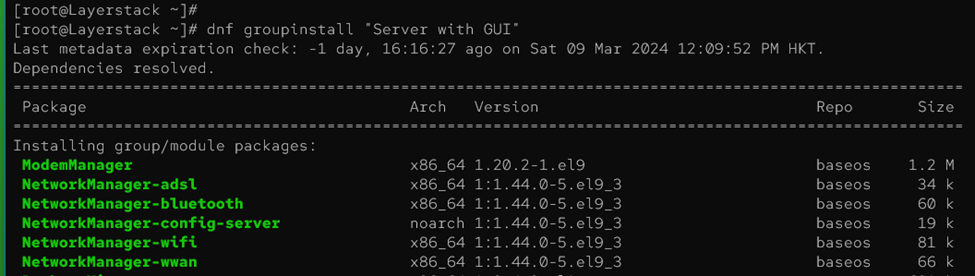
Step 3: Enable GUI at Boot
Set the system to boot into graphical mode by default:
# systemctl set-default graphical.target

Step 4: Install EPEL Repository (Extra Packages for Enterprise Linux)
The EPEL repository provides additional packages that are not included in the base repositories. Install the epel-release package.
# yum install epel-release
or
# dnf install epel-release
Input
yum install epel-releasecommand.
Input
dnf install epel-releasecommand.
Step 5: Install XRDP
XRDP is a protocol that allows you to remotely connect to the Linux GUI. Install the XRDP package:
# yum install xrdp
or
# dnf install xrdp
Input
yum install xrdpcommand.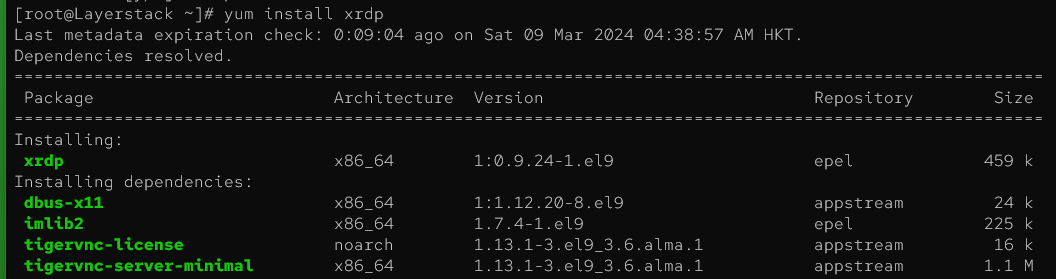
Input
dnf install xrdpcommand.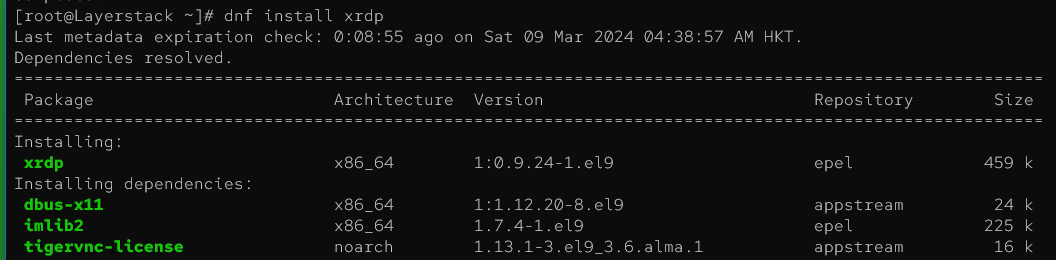
Step 6: Start and Enable XRDP Service
After installation, start the XRDP service and enable it to start automatically at boot.
# systemctl start xrdp

# systemctl enable xrdp

Step 7: Configure Firewall
If using the default firewall (firewalld), allow traffic on the XRDP port (3389). Skip this step if firewalld is disabled.
# firewall-cmd --add-port=3389/tcp --permanent

# firewall-cmd --reload

*Once all the steps are completed, reboot the cloud server once.
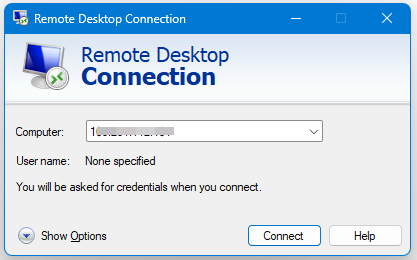
Step 8: Access the cloud server using Remote Desktop Connection Protocol (RDP)
Right now can use an RDP client (*For example: Remote Desktop Connection on Windows or Remmina on Linux) to connect to the server using its IP address or hostname.
On the local computer (Windows), open the remote application by searching for Remote Desktop Connection in the Start menu and then enter the server's IP address.
Enter the root credentials to Log in here.
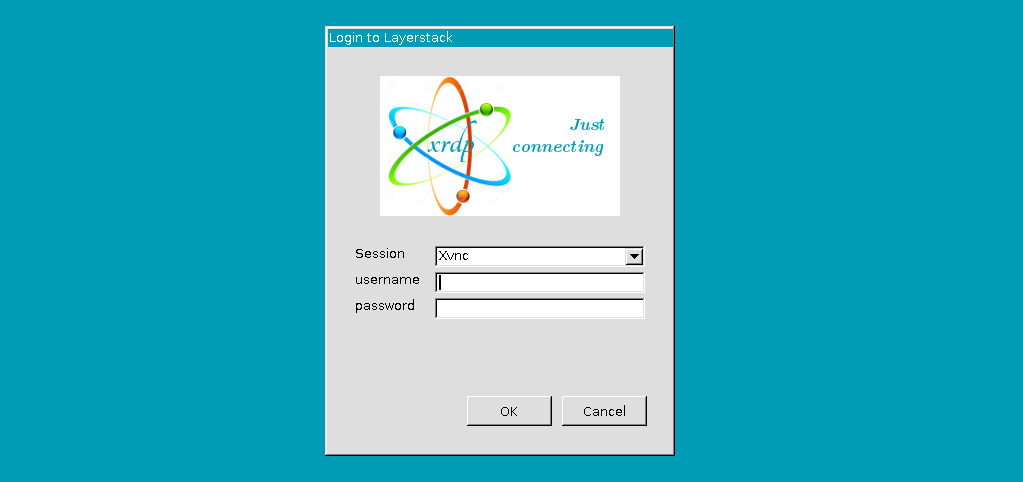
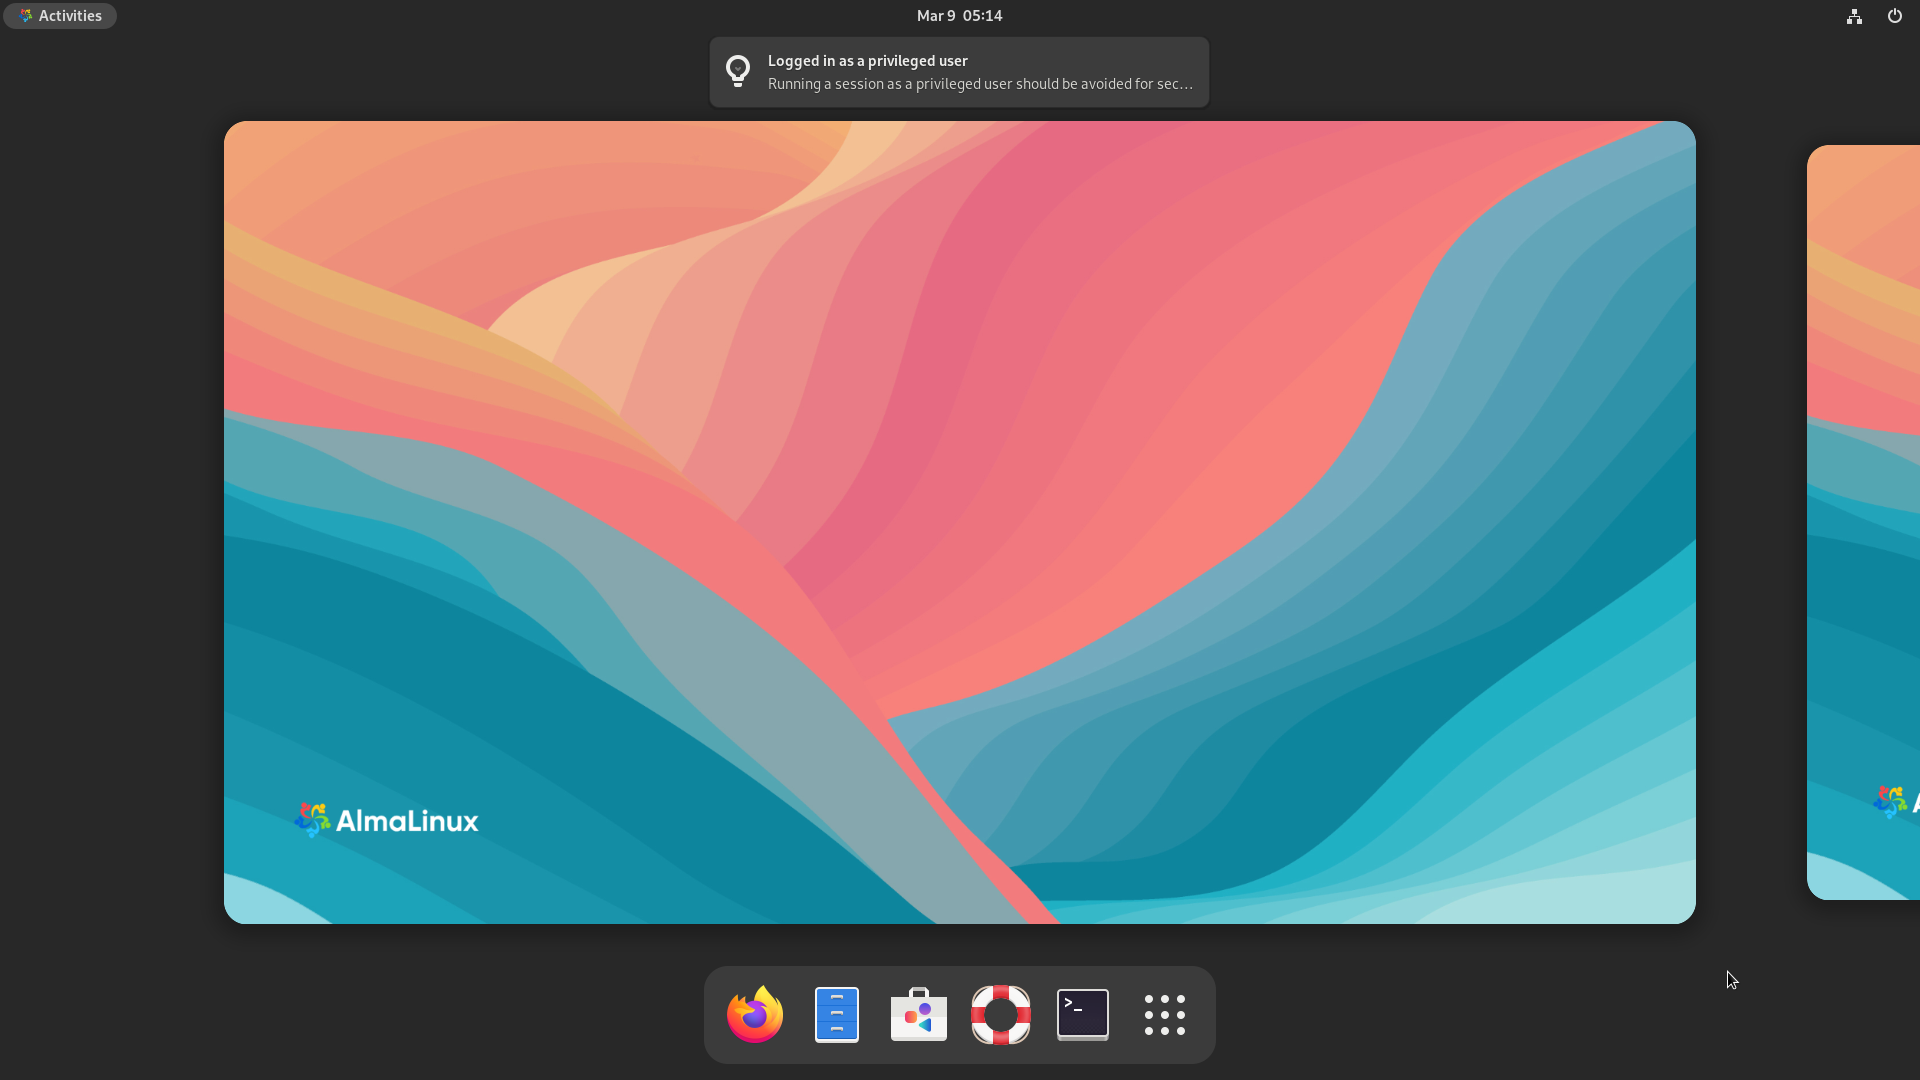
Once the valid credentials have been entered, the RDP connection is established, and the user will be shown the newly installed GUI on the cloud server.
Fig 1. Shows Rocky Linux 9 GUI:
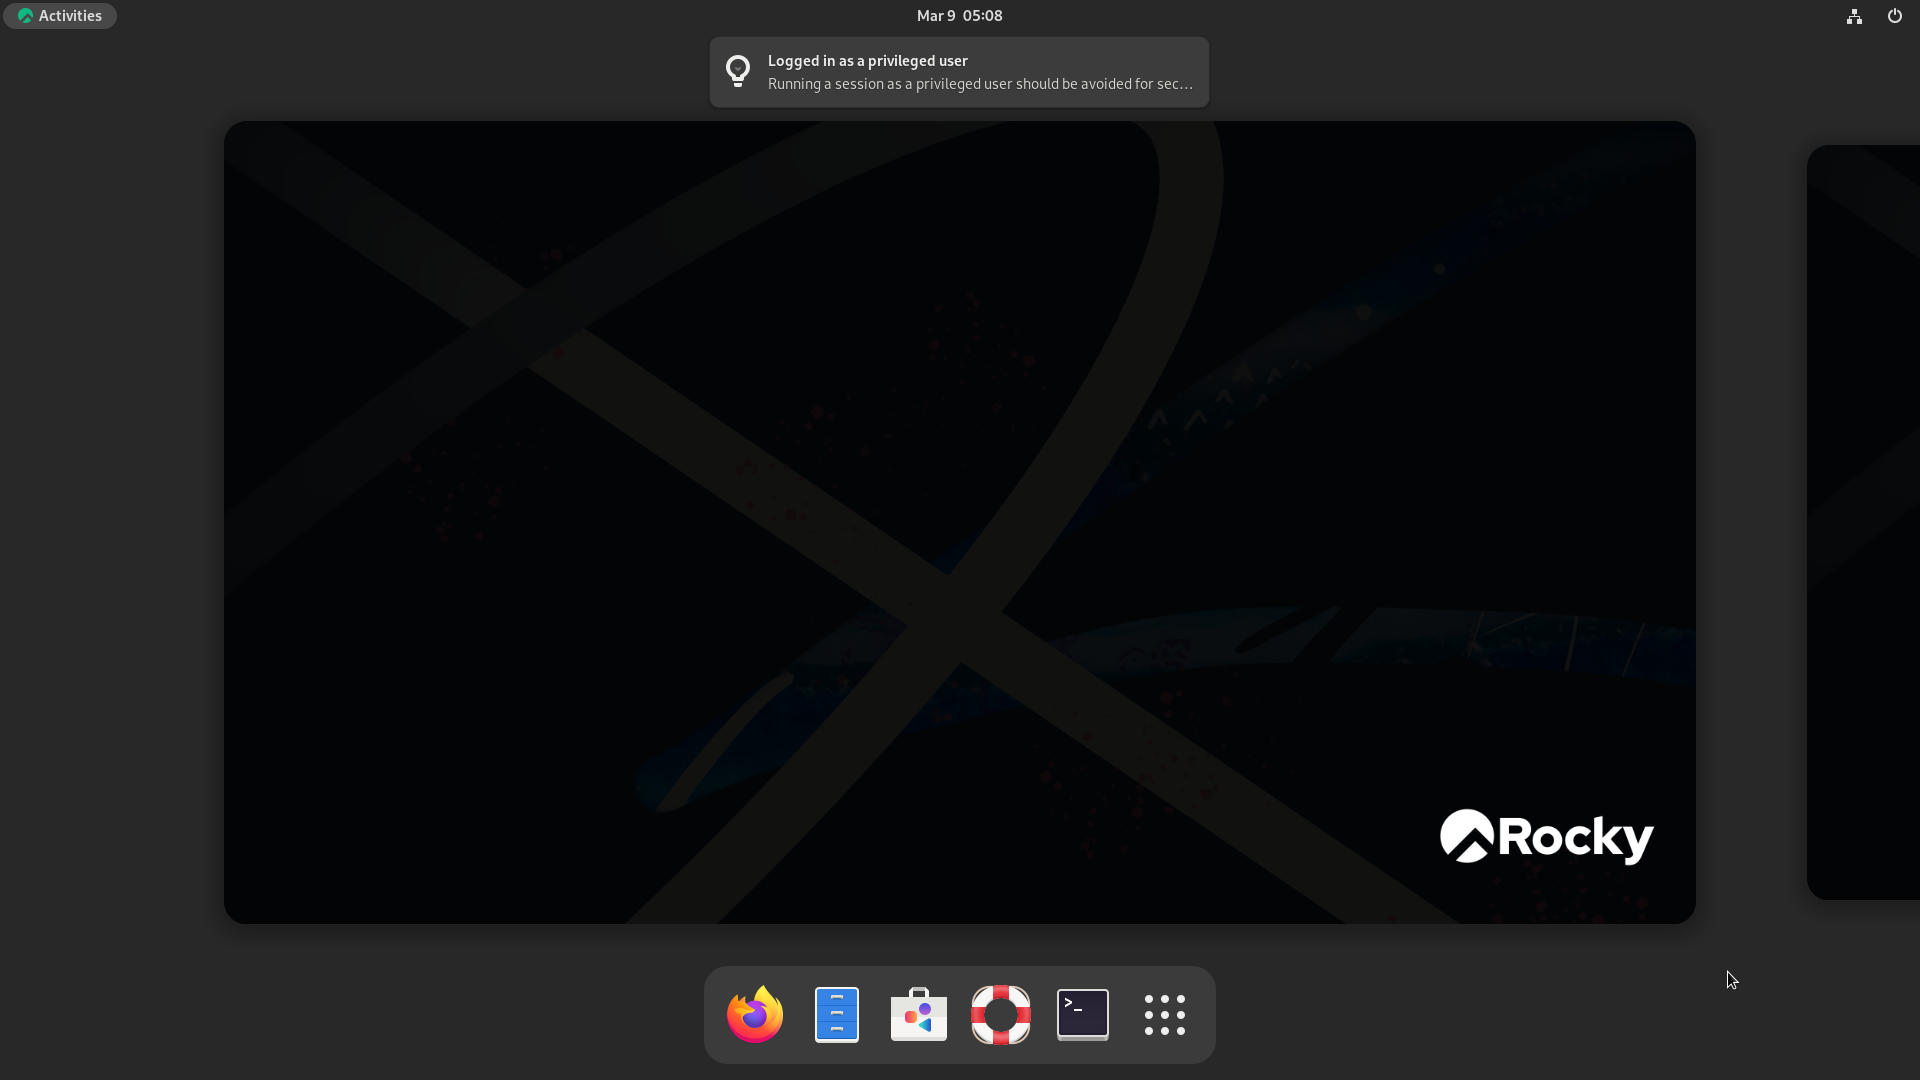
Fig 2. Shows AlmaLinux 9 GUI:
Conclusion
The installation of GUI and XRDP on AlmaLinux 9 and Rocky Linux 9 provides users with a seamless transition to a graphical user interface environment, enhancing accessibility and ease of use. By following the step-by-step guide outlined above, users can effectively set up their systems for remote desktop access, allowing for efficient management and utilization of resources. Whether for personal or professional use, this installation process empowers users to harness the full potential of their operating systems, ensuring a productive and user-friendly computing experience.
Related Tutorials
