How to install Git on Linux & Windows Cloud Servers

2020-06-02 By Ryan 5603 Views linux windows git development
6 reviews

Git is a Distributed Version Control tool used to track changes in the source code and store different versions of a file in a remote or local repository.


This guide will describe the steps to install Git in the Linux and Windows servers.


Linux (Ubuntu / Debian)


  1. Run the below commands to update the server and then install the Git on the Ubuntu server.

    # apt update
    
    # apt install git
    

    git1

    git2

  2. Check the version of the installed Git.

    # git --version
    

    git3

  3. Add the name and email address to the Git configuration to contain the correct information while the commit messages are generated.

    # git config --global user.name “name”
    
    # git config --global user.email “mail address”
    

    NOTE: Replace "name" and "mail address" with your actual name and email address.

  4. To see all of the configuration items that are already set.

    # git config --list
    

    git4


Linux (CentOS)


  1. Run the below commands to update the server and then install the Git on the Ubuntu server.

    # yum update
    
    # yum install git
    

    git5

    git6

  2. Check the version of the installed Git.

    # git --version
    

    git7

  3. Add the name and email address to the Git configuration to contain the correct information while the commit messages are generated.

    # git config --global user.name “name”
    
    # git config --global user.email “mail address”
    

    NOTE: Replace "name" and "mail address" with your actual name and email address.

  4. To see all of the configuration items that are already set.

    # git config --list
    

    git8


Windows OS

Download the installer from the Git website:

https://git-scm.com/downloads


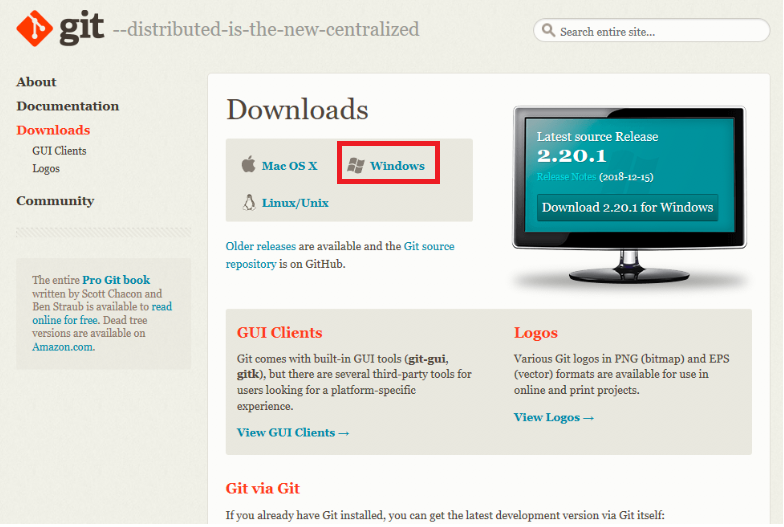
  1. Double click on the Windows option mentioned in the below image.

    git9

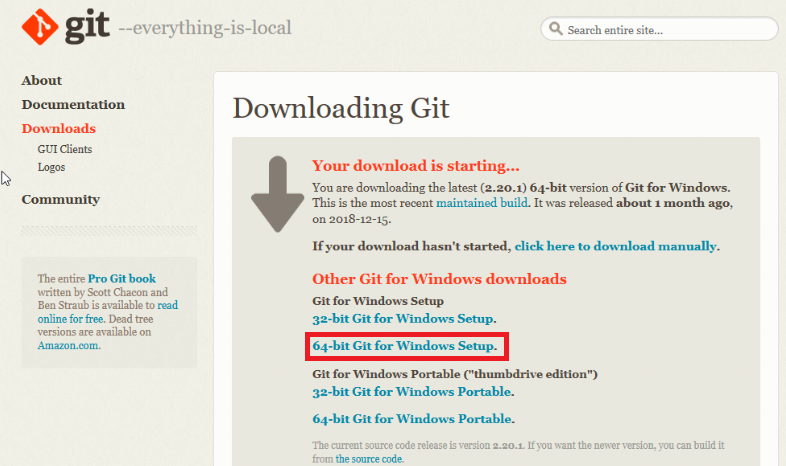
  2. Double click on the package name mentioned in the below image to download the most current version for your operating system.

    git10

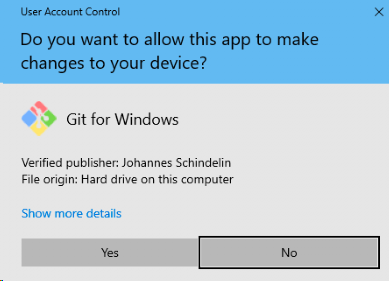
  3. Once the downloading is completed, open it and click YES to continue.

    git11

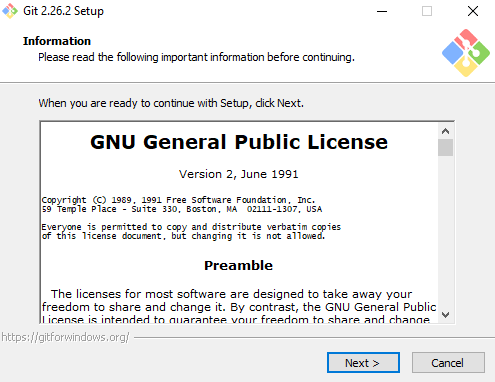
  4. Click Next to continue.

    git12

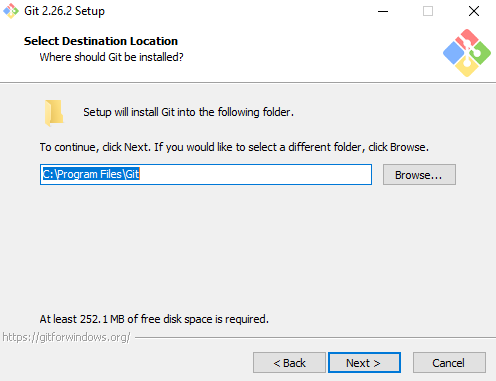
  5. Click on next to continue with the default location or click Browse and select a new location.

    git13

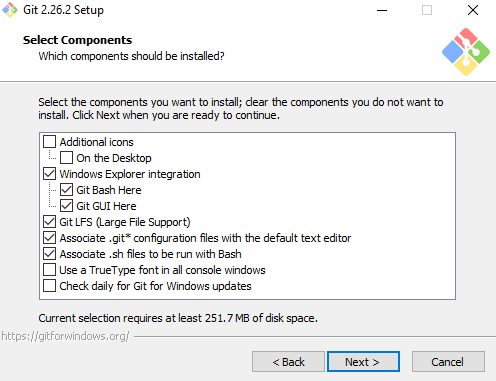
  6. Click on next to continue with the default components otherwise select the new components before clicking the Next button.

    git14

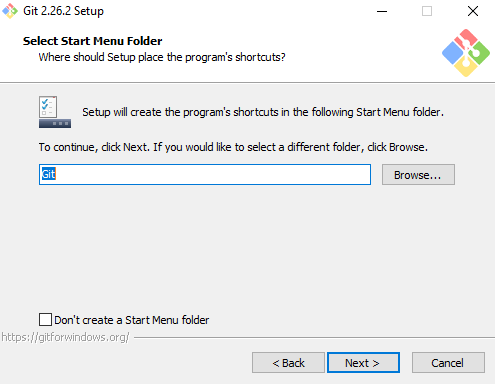
  7. Click on next to accept the default Start Menu folder otherwise use Browse to select a new folder location.

    git15

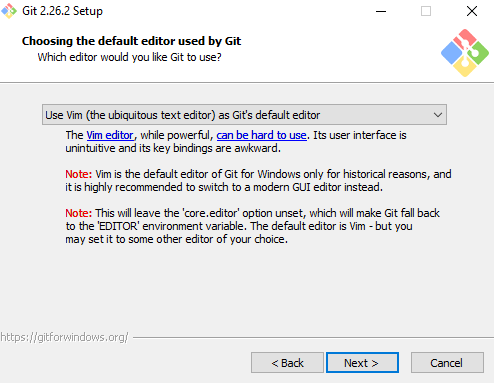
  8. Select default text Editor Vim for the Git and then Click next.

    git16

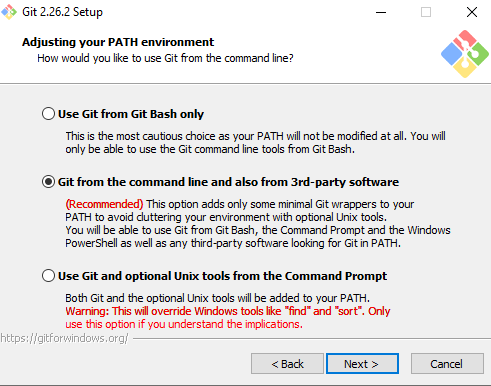
  9. Adjust the path environment and then click on Next, you may choose Recommended that one.

    git17

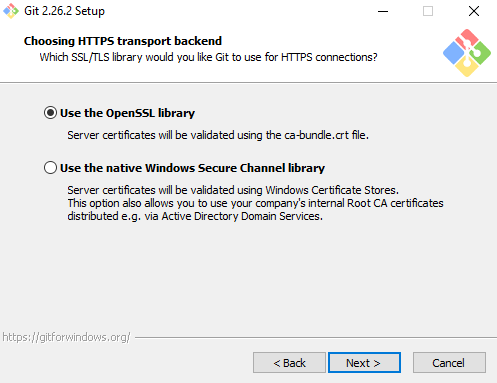
  10. Choose the required SSL/TLS library that will be used for HTTPS, click on Next.

    git18

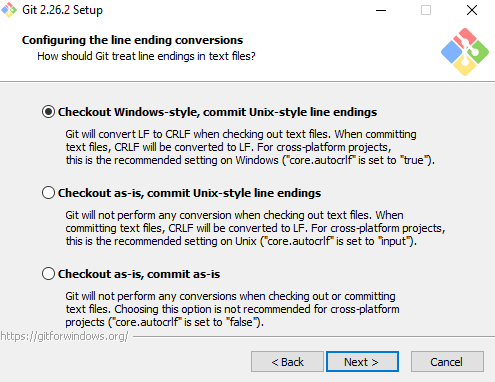
  11. Click on next to keep the default line ending conversion otherwise choose one of the two other choices before clicking Next.

    git19

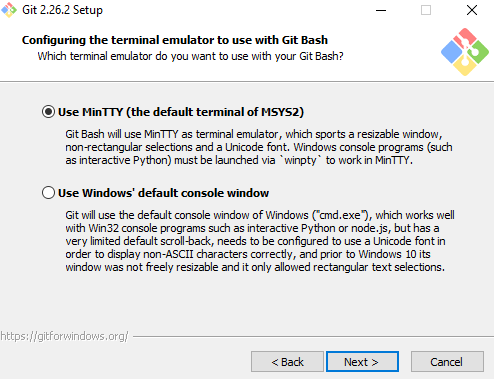
  12. Choose the terminal emulator that will use, and then click on Next.

    git20

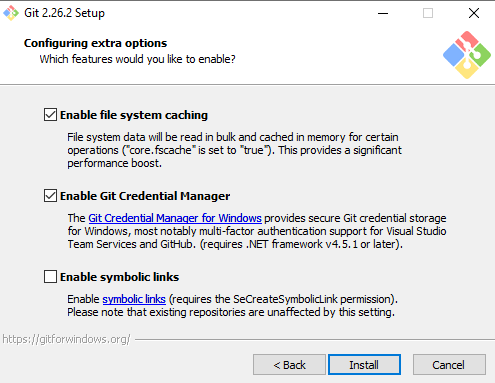
  13. Click Install to continue.

    git21

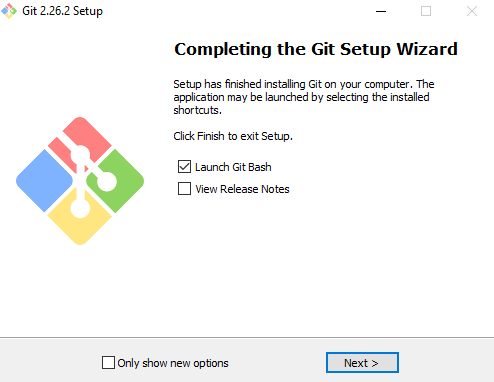
  14. Check Launch Git Bash and then select Next to complete.

    git22

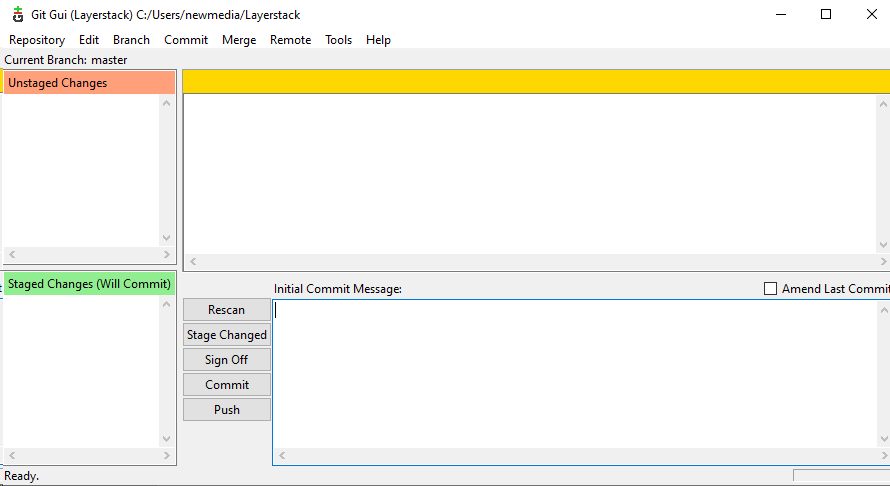
  15. Launch the Git GUI from the bash shell by using the below command.

    git gui
    

    git23

  16. Then will get the Git GUI interface. From there can Create New, Clone Existing, or Open Existing Repository.

    git24

    git25


Related Tutorials

What do you think about this article?

Rate this article
LayerStack Promotion
Need assistance?

Try this guide to receive free bundled services at signup on a new free account.

Sign Up

Your Feedback Is Important

We hope you’ll give the new products and updates a try. If you have an idea for improving our products or want to vote on other user ideas so they get prioritized, please submit your feedback on our Community platform. And if you have any questions, please feel free to ask in the Community or contact our Technical Support team.