Most Linux servers come with a basic operating system that lacks a graphical user interface and this is a type of user interface that provides the graphical interface to interact with your system. Typically, administrators use CLI-based tools and configurations to manage it. This document explains how to set up a desktop on a Debian-based Linux server.
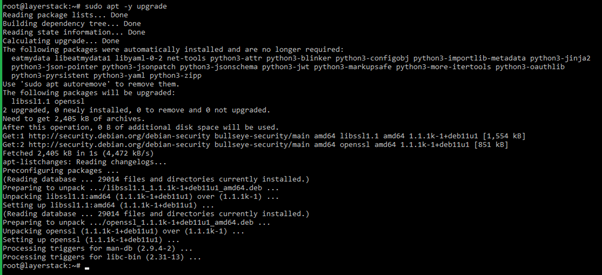
Execute the below commands to update the Debian system.
# sudo apt update

# sudo apt -y upgrade
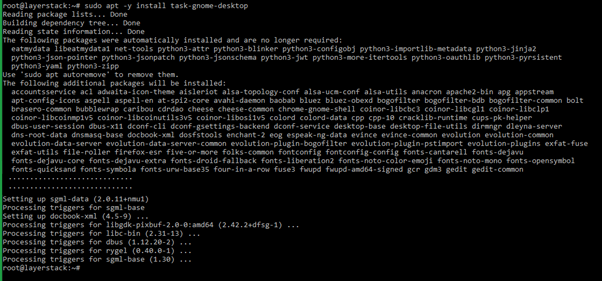
Install GNOME desktop environment using the below command. The installation process will require some time to get completed.
# sudo apt -y install task-gnome-desktop
Once the GNOME desktop installation has been completed, the next step is to assign the graphical runlevel.
Change the default boot to graphical runlevel by executing the below command to ensure that the next system boot goes to GUI.
# sudo systemctl set-default graphical.target

By default, root user login is disabled via GNOME Display Manager (GDM). For enabling root access, follow the below steps:
Log in to the server through SSH and edit the GDM configuration file /etc/pam.d/gdm-password using any editor of choice.
# vi /etc/pam.d/gdm-password

Locate the line that reads as below:
auth required pam_succeed_if.so user != root quiet_success

Remove/comment out this line by prefixing # and then save and close the editor.
#auth required pam_succeed_if.so user != root quiet_success

Reboot the Debian server with the reboot command.
# sudo reboot
Once the reboot is completed, access the server through Console option via LayerPanel and the GUI interface will be ready to be used. Log in to the server using the user account credentials to start managing the Debian server through GUI.