Lamp stack is a free Open source combination of Software components installed in the Server machines. It contains Linux OS, Apache web server, MySQL database and PHP. These software work together to serve web content hosted on the server.
Primarily the requirement is to have root SSH access to the Cloud server.
Apache is the common webserver used in servers. The step describes the installation of httpd package.
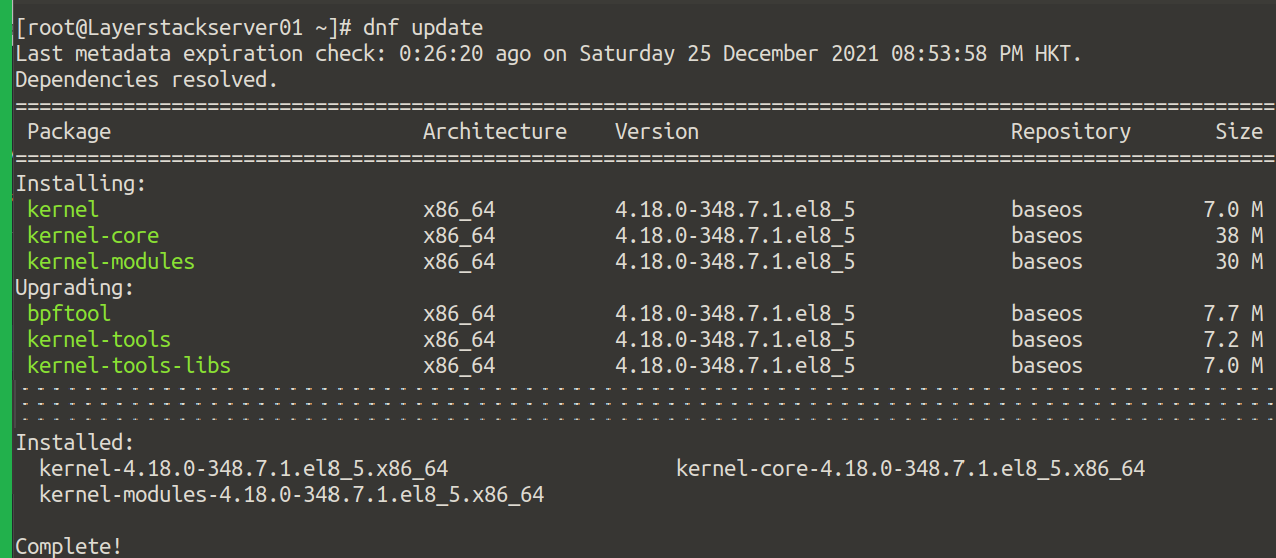
Firstly, refresh the repositories and update them.
# dnf update
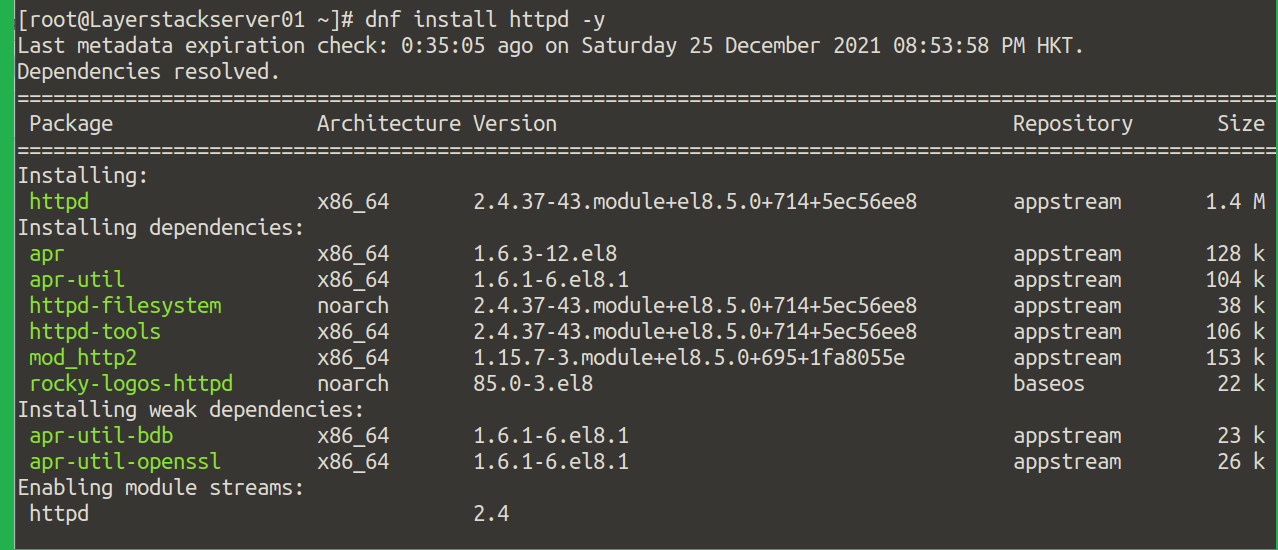
The installation of the httpd package is given here, this installs the webserver.
# dnf install httpd -y
Once the webserver is installed, it requires to start it manually and then enable them so that it automatically starts up while booting up.
# systemctl start httpd

# systemctl enable httpd

Now, the firewall by default would be disabled, please enable the firewall by the following commands.
# systemctl start firewalld

# systemctl enable firewalld

Firewall has become active, now can add the rules to allow http, https traffic, and open port 80 on your server, this is an additional layer of security.
# firewall-cmd --permanent --zone=public --add-service=http

# firewall-cmd --permanent --zone=public --add-service=https

# firewall-cmd --permanent --zone=public --add-port=80/tcp

Once entered the rules, reload the firewall:
# firewall-cmd --reload

To verify the changes made, the below command will show the rules listed:
# firewall-cmd --permanent --list-all

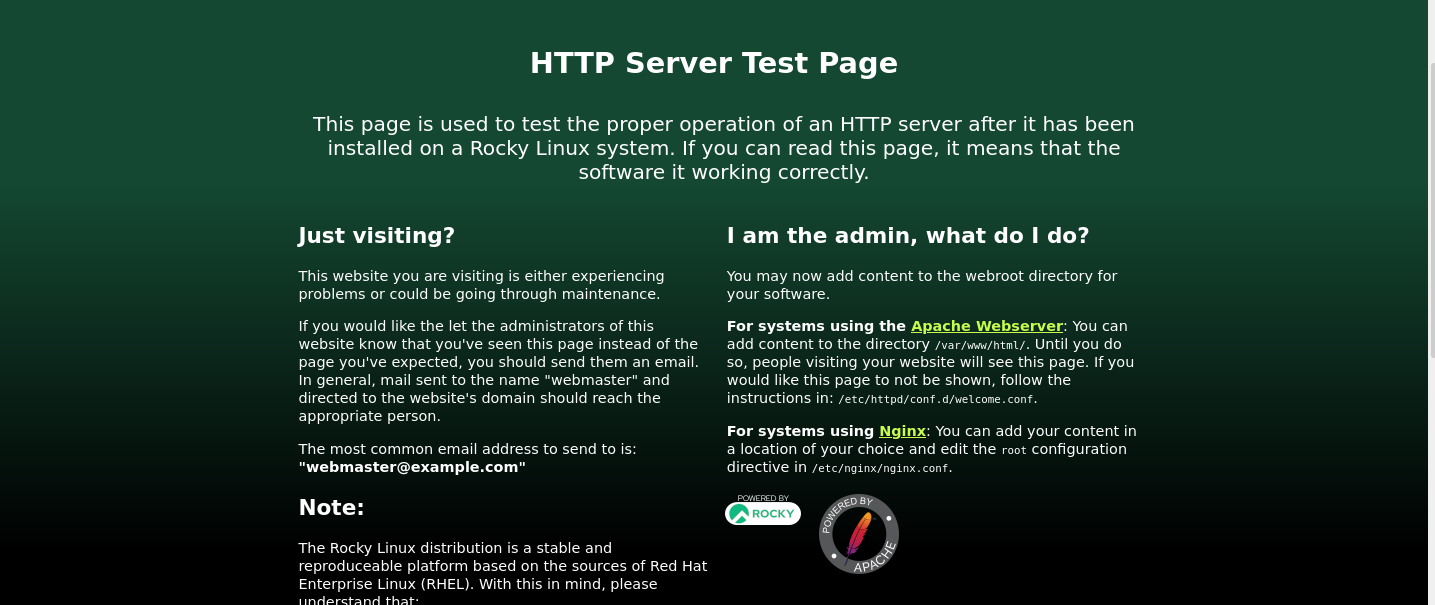
This completes the installation of Apache, to verify the installation log on to browser with the IP address of the server, the correct installation will show the default apache page shown below:
http://<the-server ip-address="">
MariaDB and MySQL are very similar, Installation of the database for Rocky Linux here we use MariaDB.
Installing PHP in Rocky Linux can be done easily, as you can intend to change the version by specifying the version number after a colon.
# dnf module install php:7.4

Once installed, you can verify the version installed using the command.
# php -v

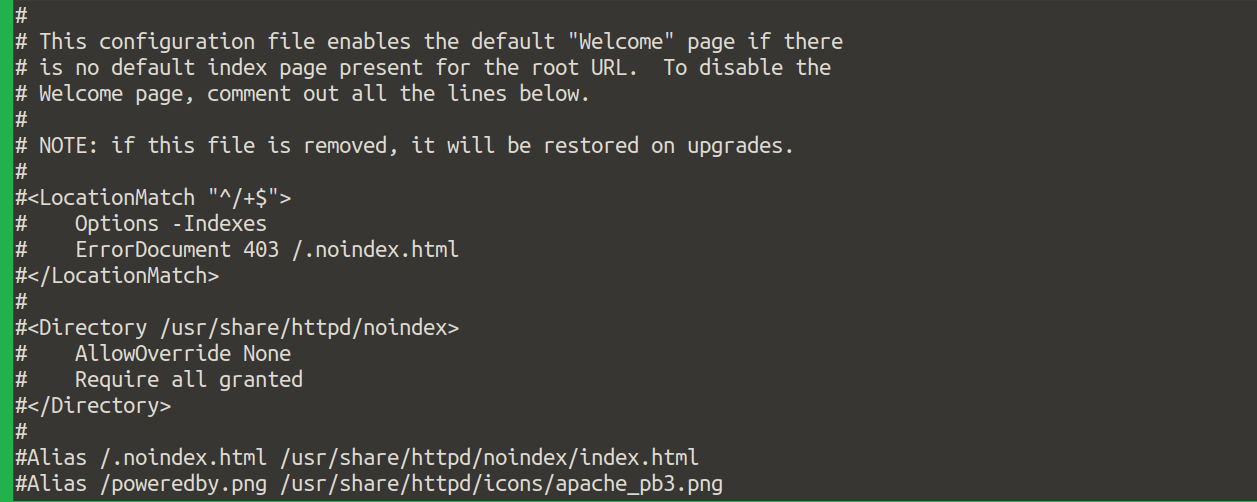
Now, for testing the PHP functionality we disable the default welcome page of Apache.
# nano /etc/httpd/conf.d/welcome.conf
Comment all the lines of the file and save it, as shown in the screenshot:
Now, create a simple test.php file at /var/www/html/.
# vi /var/www/html/test.php
Copy-paste and save the code.
<!--?php

phpinfo();

?-->
Now call the file using a browser, and check the PHP configuration.
http:// <ip-address>/test.php
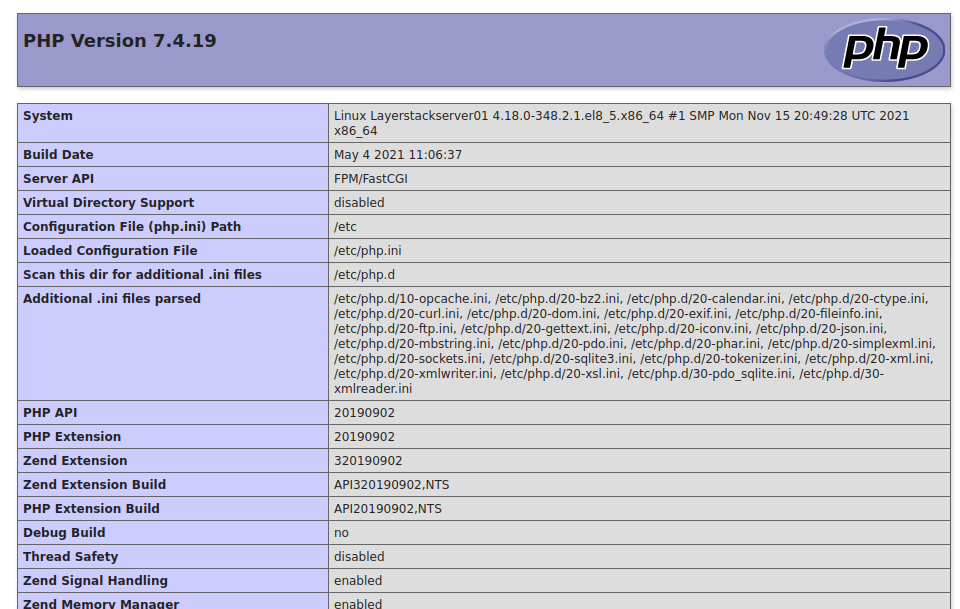
The desired output may show like the below screenshot:
