How to install Nginx, MariaDB & PHP (LEMP) on Debian 11
LEMP (shortened form for Linux, NGINX, MySQL/MariaDB, and PHP), a variation of the LAMP stack, is an open-source web application stack that can be used to deploy web applications. As compared to LAMP, LEMP replaces the Apache web server with the NGINX web server.
This guide outlines the steps involved in installing the LEMP stack in Debian 11.
Before proceeding with the installation of LEMP, it is required that the Debian server is updated. Execute the below command for this.
# sudo apt update && sudo apt upgrade -y
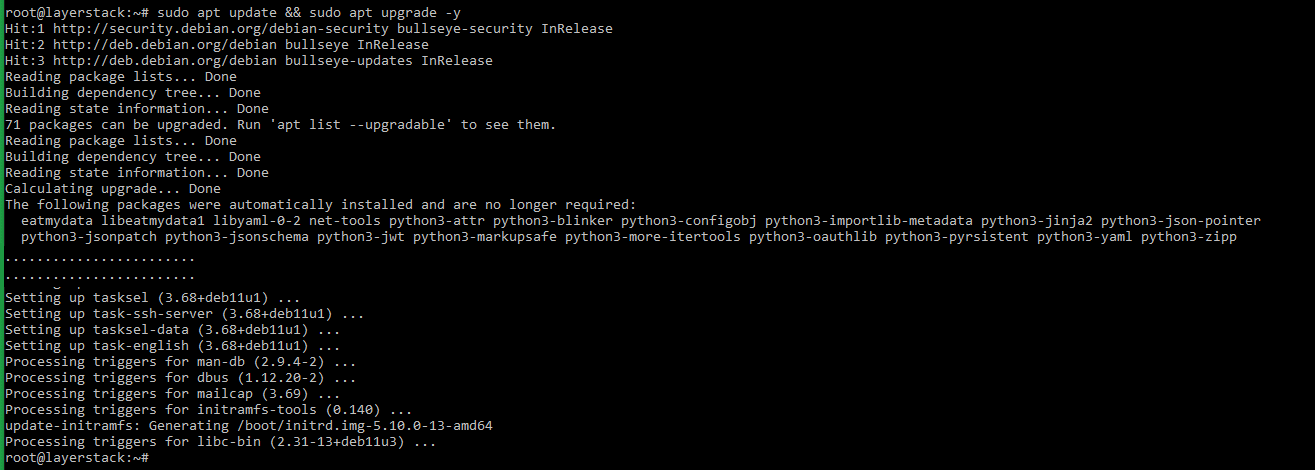
Once the Debian system has been updated, the first step in the LEMP installation would be to install the NGINX web server.
Installation of NGINX web server
For installing the NGINX web server, execute the below command.
# sudo apt-get install nginx -y
Run the below commands to start the NGINX service and enable the service to start at reboot.
# sudo systemctl start nginx

# sudo systemctl enable nginx
Check the version of the NGINX web server using the below command.
# sudo nginx -v
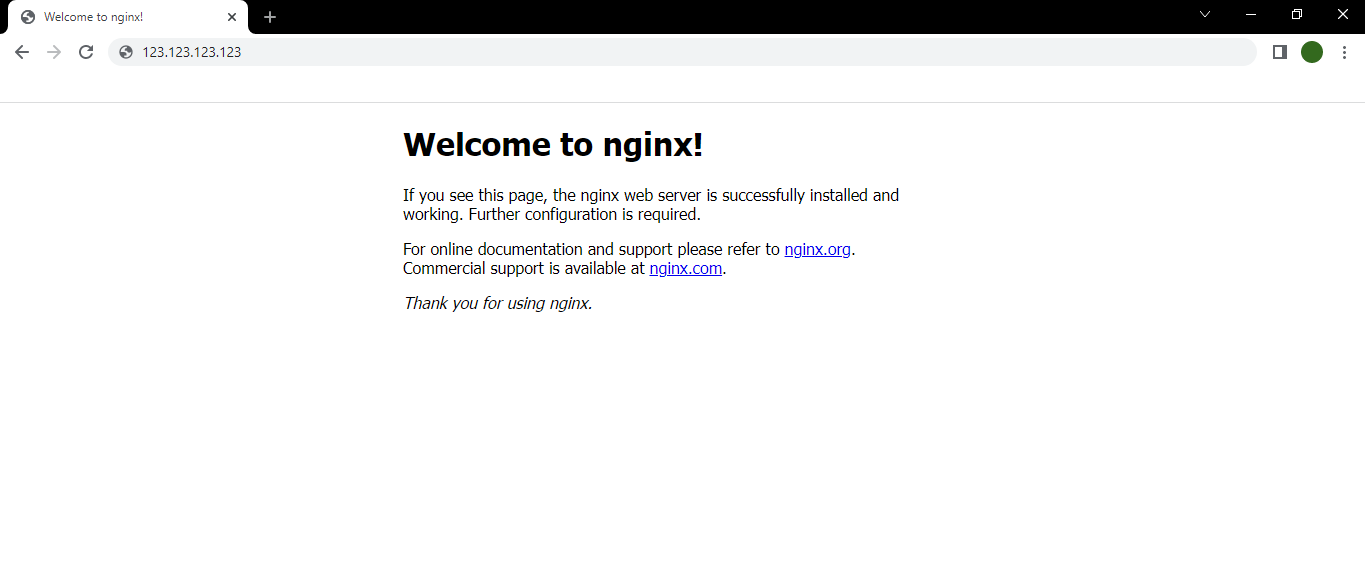
The working of the NGINX web server can be tested by browsing the
IP addressof the server in any browser.http://123.123.123.123NOTE: Replace 123.123.123.123 with the original IP address of the server.
Installation of MariaDB database server
Once the NGINX web server has been installed, the next step involved would be to install the MariaDB database server.
To install the MariaDB database server, run the below command in the shell prompt.
# sudo apt-get install mariadb-server -y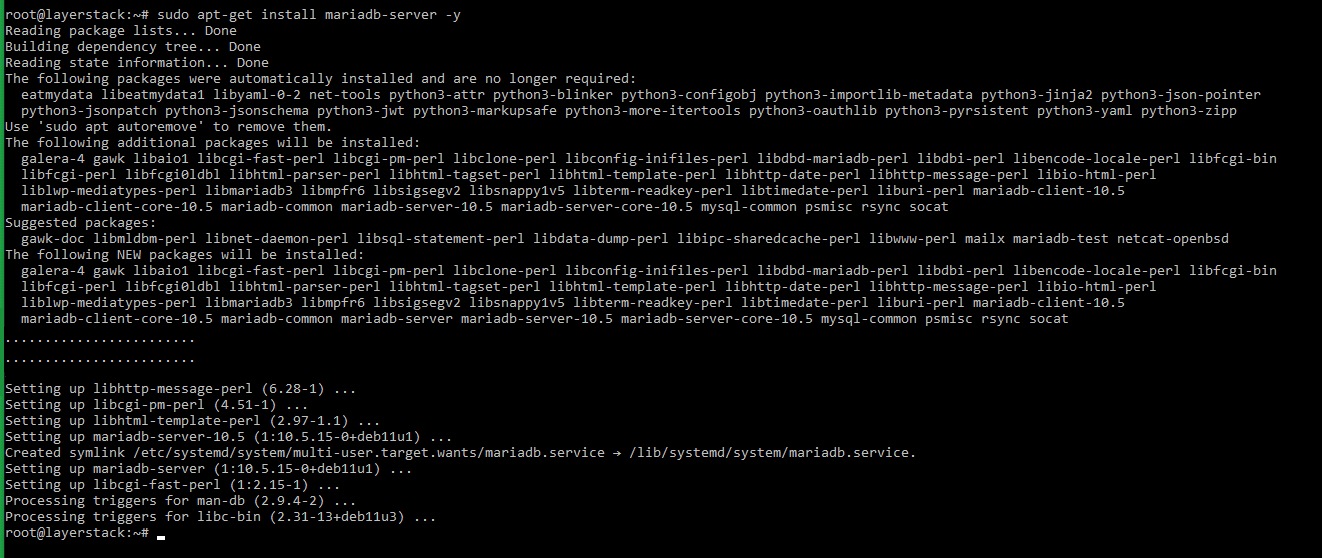
Execute the below commands to start the MariaDB service and enable the service at system reboot.
# sudo systemctl start mariadb

# sudo systemctl enable mariadb
Run the below command to make use of the security script provided by MariaDB to secure the database server.
# sudo mysql_secure_installationThe security questions can be answered accordingly as per the below image:
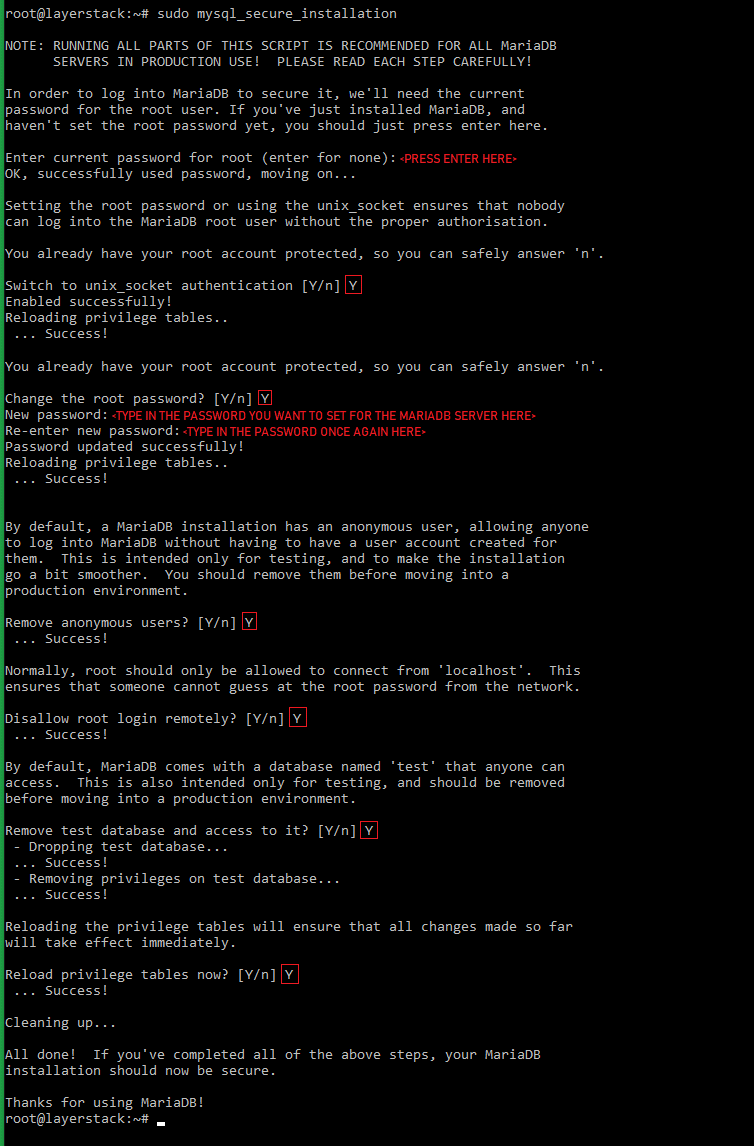
Once the MariaDB database server has been secured, log in to the MariaDB shell by executing the below command and the password that was set at the time of securing the installation.
# sudo mysql -u root -p
Verify MariaDB installation by checking the version number by executing the below command in the MariaDB shell.
# MariaDB [(none)]> SELECT @@version;
Execute the below command in the database server command prompt to create a test database. The database name used in this context is layerstacktestdb.
# CREATE database layerstacktestdb;
The next step would be to create a database user for the test database layerstacktestdb and assign full privileges for the user to the database. These details can then be used later to test database connectivity using PHP.
The test database user used in this context is layerstacktestuser. Replace EXAMPLE_PASSWORD with the password that needs to be set for the database user.
# CREATE USER 'layerstacktestuser'@'localhost' IDENTIFIED BY 'EXAMPLE_PASSWORD';

# GRANT ALL PRIVILEGES ON layerstacktestdb.* TO 'layerstacktestuser'@'localhost';

# FLUSH PRIVILEGES;
Exit the MariaDB shell by using the exit command.
# MariaDB [(none)]> exit;
Installation of PHP
Run the below command to install PHP-FPM 7.4 and the other required related packages in the server.
# sudo apt-get install php php-fpm php-curl php-cli php-zip php-mysql php-xml -y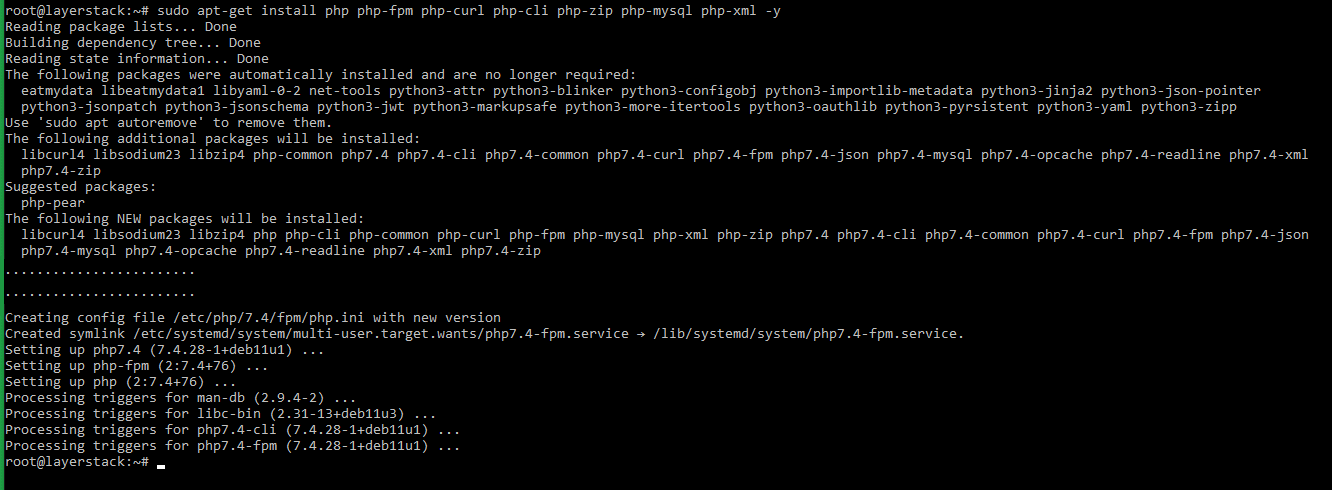
Verify PHP installation by checking the version of the installed PHP package.
# php -v
Restart the NGINX service to load the PHP service.
# sudo systemctl restart nginxThe installed PHP service can now be tested by placing a phpinfo page under the NGINX default document root folder
/var/www/html.For this, create the phpinfo page
info.phpwith the help of any editors (such as vi or nano).# vi /var/www/html/info.php
Type in the below content inside the
info.phpfile, save the file, and then exit the editor.<!--?php phpinfo(); ?-->Access the below URL in a browser to test and verify the working of PHP.
http://123.123.123.123/info.phpNOTE: Replace 123.123.123.123 with the original IP address of the server.
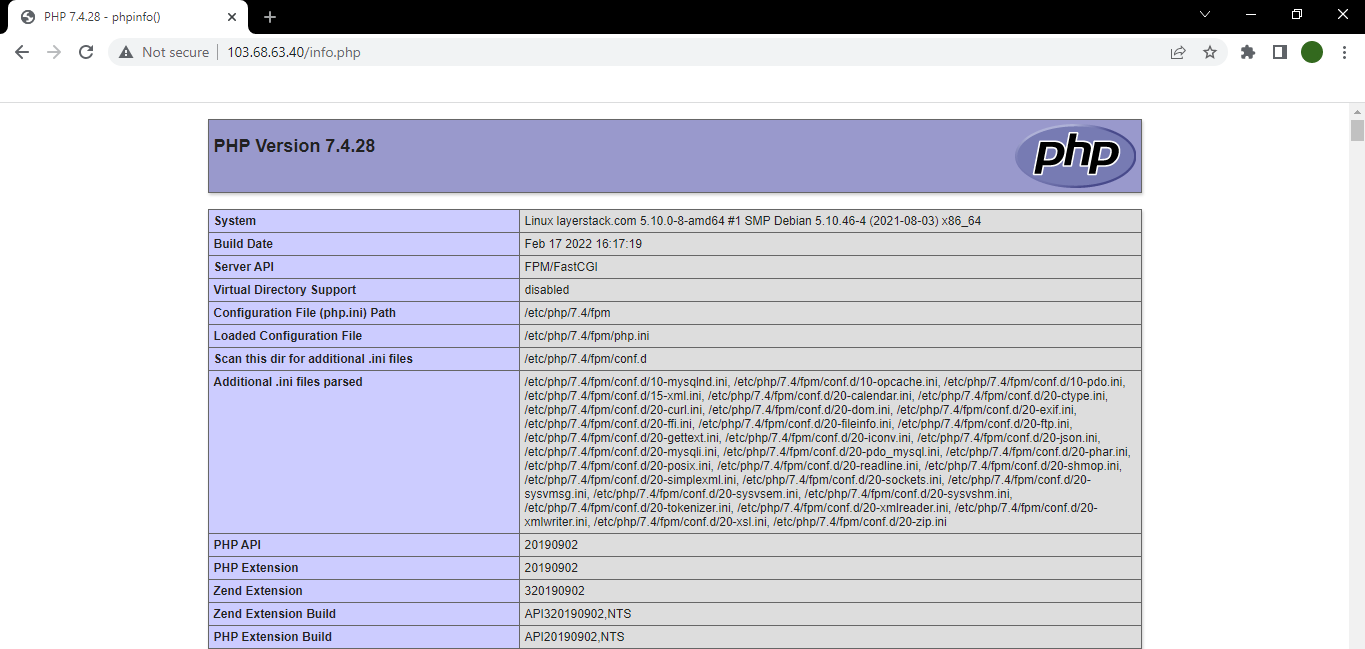
If PHP has been installed correctly, a detailed information PHP page will be displayed as below:
Testing of LEMP stack
To complete the installation of the LEMP stack, the last step would be to test the connectivity of the database that was created earlier with the newly installed PHP.
For this, create a new PHP file under the NGINX default document root using any editor. The file name being used in this context is
lsdb_connect.php.# vi /var/www/html/lsdb_connect.php
Enter the below content inside the
lsdb_connect.phpfile, save the file and then exit the editor.<?php $conn = new mysqli('localhost', 'layerstacktestuser', 'EXAMPLE_PASSWORD', 'layerstacktestdb'); if ($conn--->connect_error) { die("Database connection failed: " . $conn->connect_error); } echo "Database connection was successful";NOTE: Replace EXAMPLE_PASSWORD with the password that was set earlier for the database user.
Access the below URL in a browser to test the database connectivity.
http://123.123.123.123/lsdb_connect.phpNOTE: Replace 123.123.123.123 with the original IP address of the server.
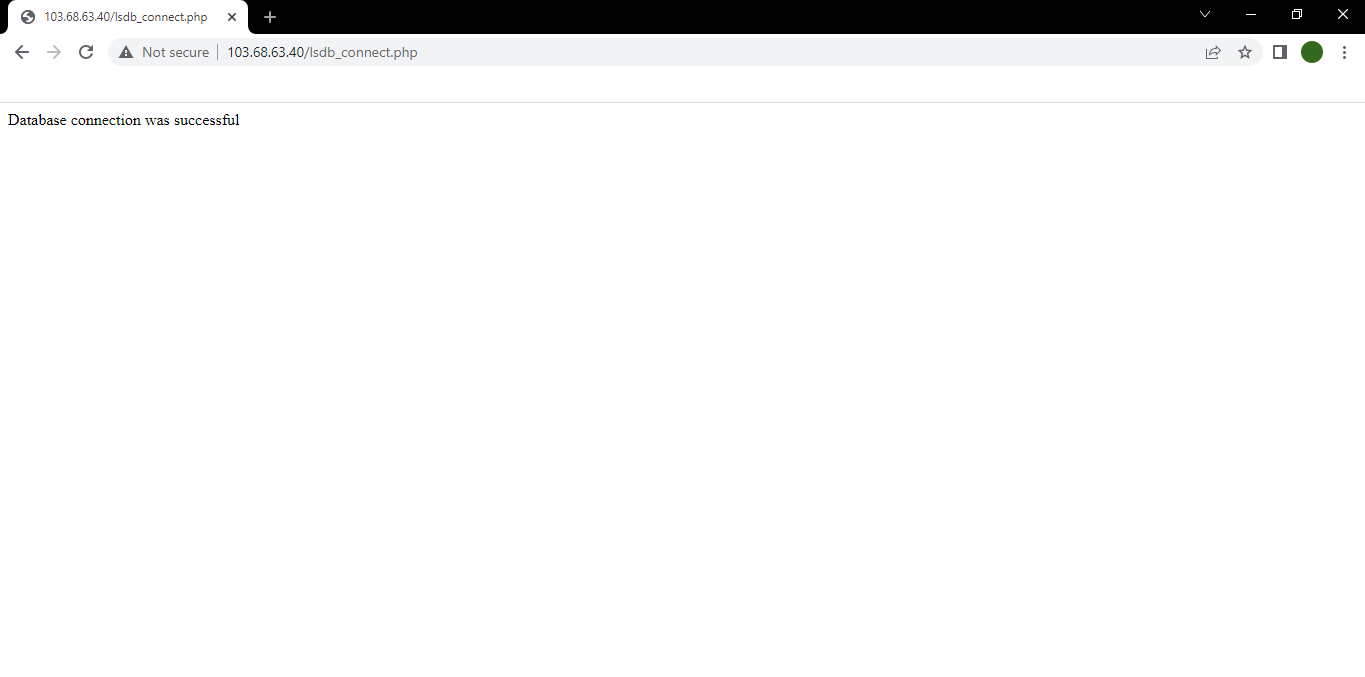
If the PHP script has connected to the database correctly, then the below page will be displayed:
Once the installation of the LEMP stack has been completed successfully in the server, websites and applications that run on LEMP can be set up in the Debian 11 server.
