The Python language is a powerful programming language, and this is a great choice for both beginners and experienced developers. It is commonly used in web development, creating software prototypes and data analysis, etc. Now the Python 3 is the latest version of the Python language.
See the instructions for installing and configuring Python 3 on CentOS, Debian and Ubuntu below.
Start to install Python 3
Before proceeding with the installation of Python, execute the below command to update all the system packages.
# yum update
or
# sudo apt-get update

Once this is done, need to install the following dipantiansess before the python installation.
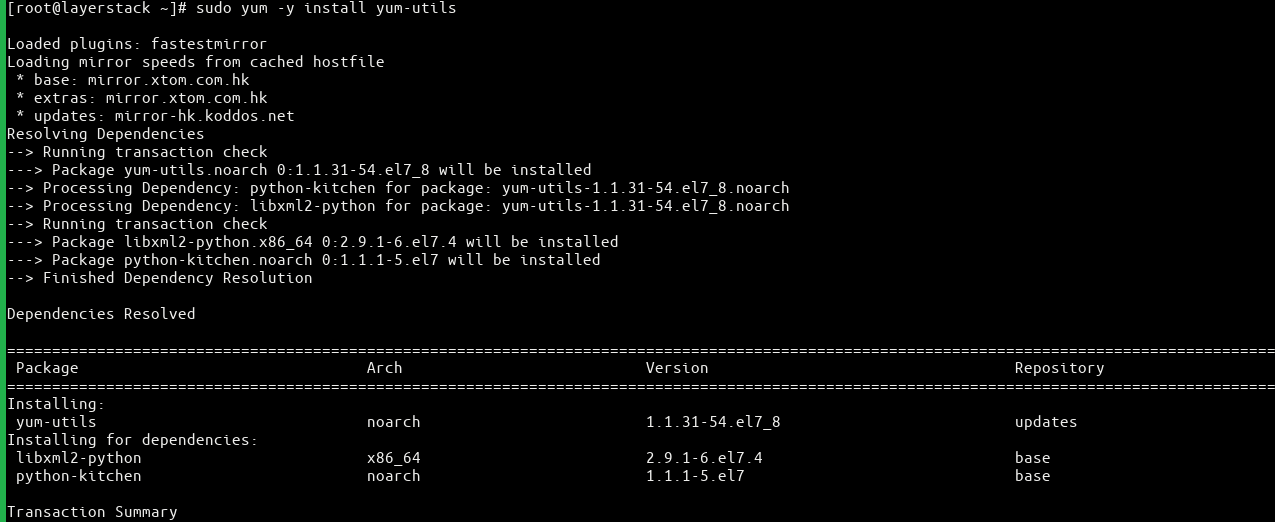
# sudo yum -y install yum-utils
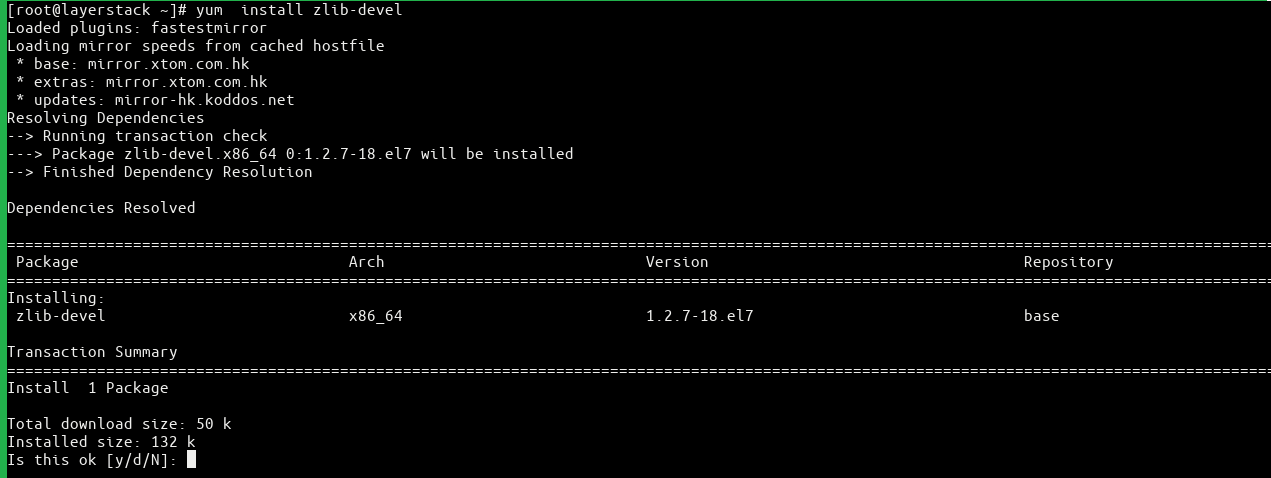
# sudo yum -y install zlib-devel
# sudo yum -y groupinstall development
or
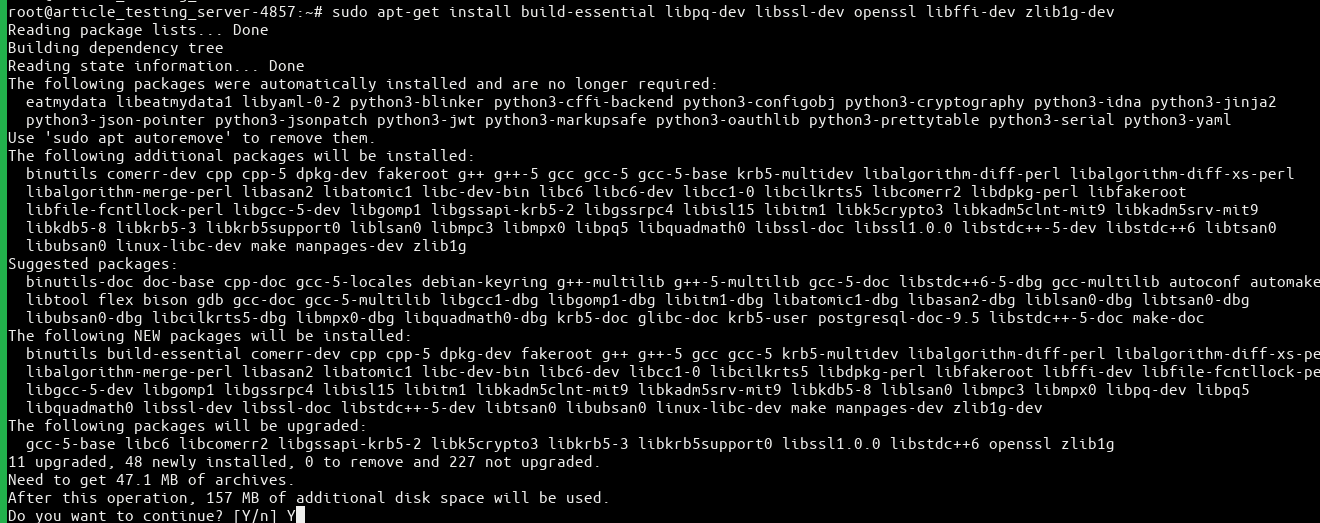
# sudo apt-getinstallbuild-essential libpq-dev libssl-dev openssl libffi-dev zlib1g-dev
Start to install python 3 now by using the below commands.
# wget https://www.python.org/ftp/python/3.6.3/Python-3.6.3.tar.xz
# tar xJf Python-3.6.3.tar.xz
# cd Python-3.6.3
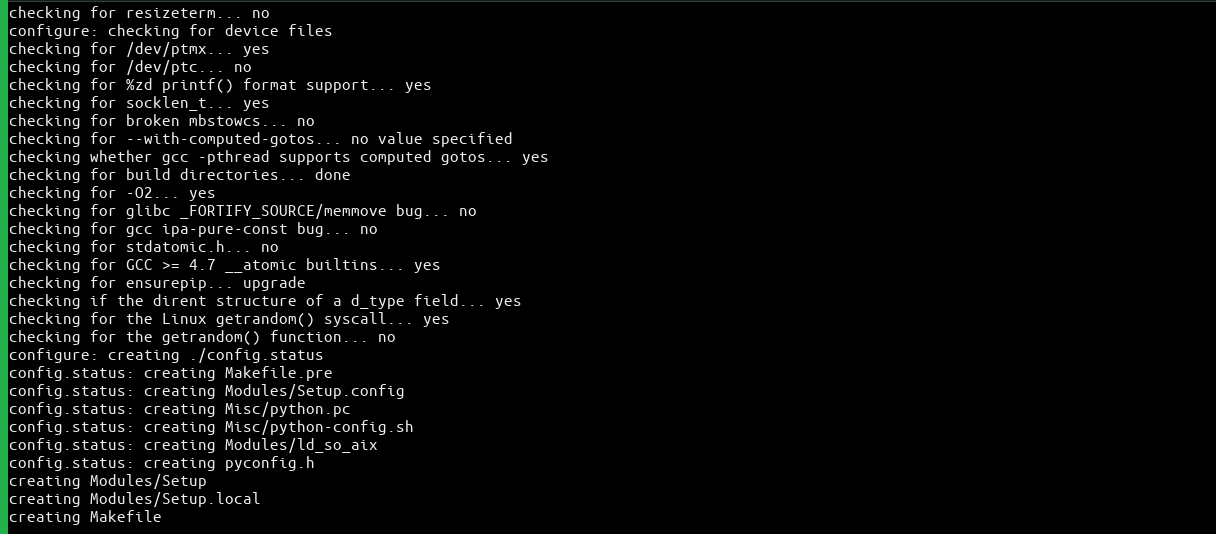
# ./configure
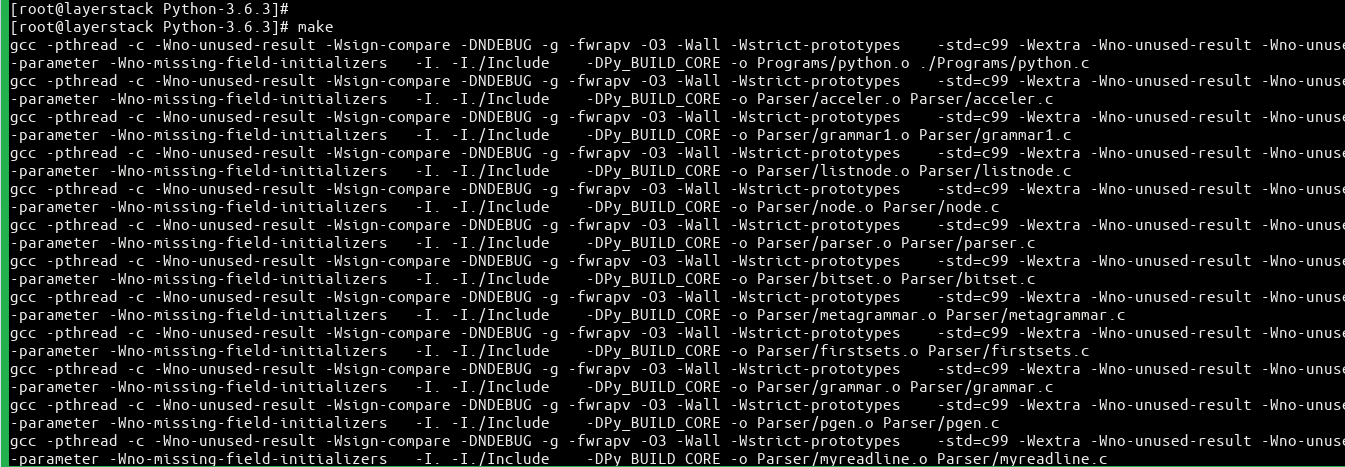
# make
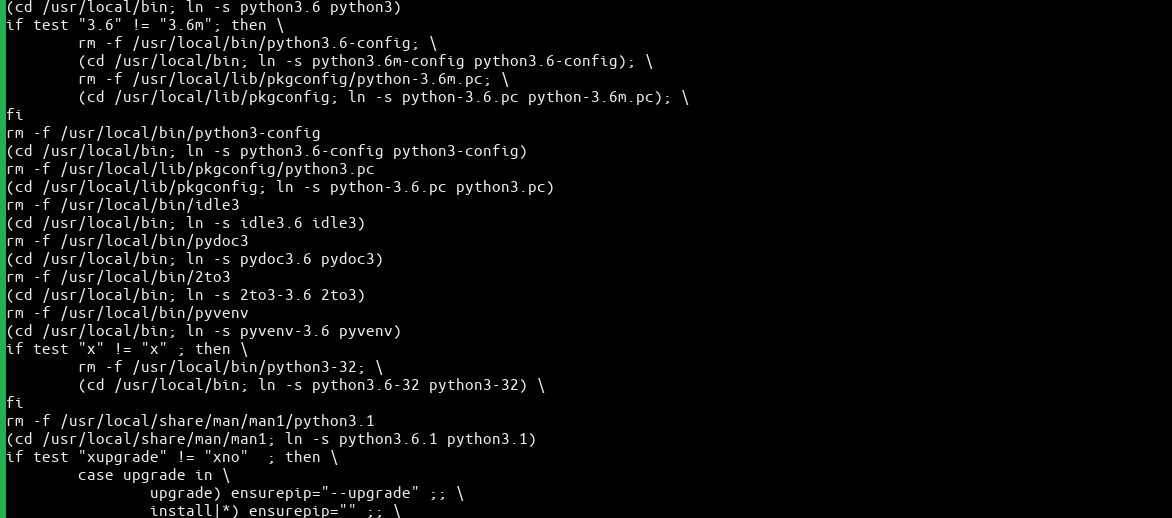
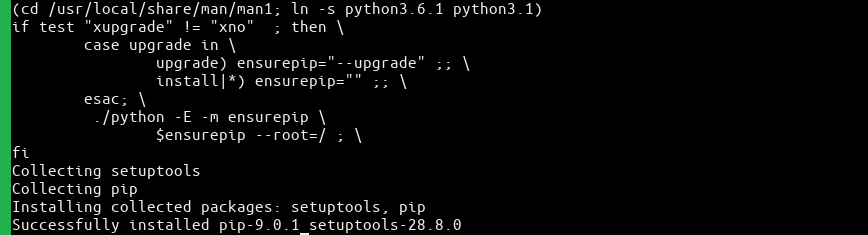
# make install


Check the python version.
# python3.6 -V

# which python3


Install pip for managing software packages for Python.
# sudo yum -y install python36u-pip
or
# sudo apt install -y python3-pip

The Pip is used to install and manage programming packages for the development projects. Please find the following syntax.
# sudo pip3.6 install package_name
After that need to install python36u-devel, this provides libraries and header files required for Python 3. Please use the below command to install it.
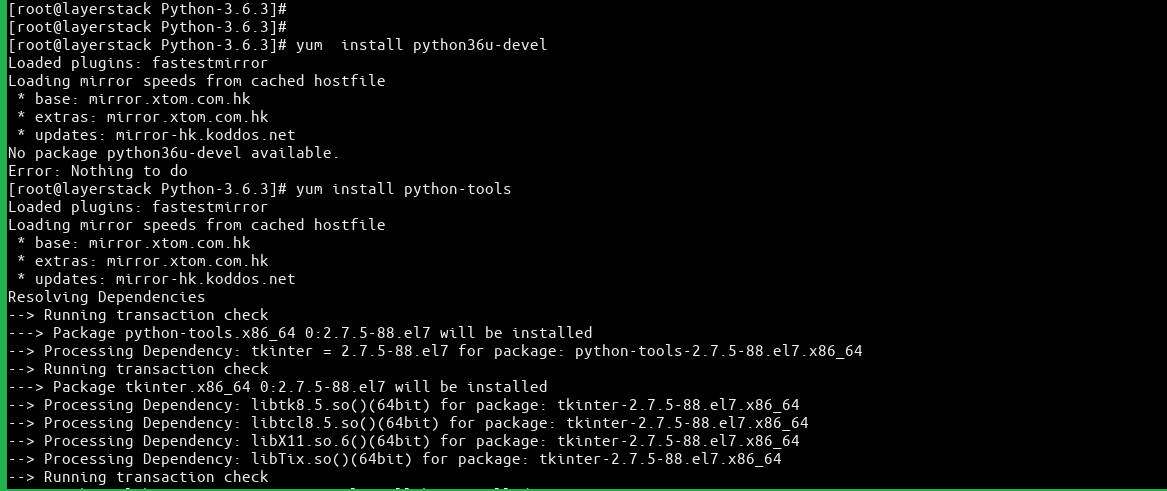
# sudo yum -y install python36u-devel
or
# sudo apt install -y python36u-devel
Set Up a Virtual Environment
After the python is installed, you can create your own programming environment with venv option.
Create a new directory for the Python programming environments
# cd environments

# mkdir environments
Create an environment by running the below command.
# python3.6 -m venv my_env

This command will create a new directory names my_env with that contains the below items using the ll command.
# ll

bin  include  lib  lib64  pyvenv.cfg

Use the following command to activate the environment.
# source my_env/bin/activate

The command prompt will now be prefixed with the environment name:
# (my_env) [root@layerstack environments]#

Testing with a Simple Program
Create a test file using the below command.
# vi layerstack.py

Add the following contents and save the file.
print("Hello, Layerstack!!")
Run the sample script using the following command.
# python layerstack.py
Output after run this is:
Hello, Layerstack!!

Related Tutorials
