Fail2ban is a tool to be used in Linux systems to counteract attacks like Brute force attacks and other automated attacks. This is done by monitoring the services logs such as (/var/log/auth.log, /var/log/apache/access.log) and it searches for malicious activity.
It is an intrusion prevention tool. After detecting an abusive IP address, Fail2Ban can perform multiple actions such as updating iptable firewall rules, adding IP addresses in TCP Wrapper's hosts.deny table, send email notification and any other user-defined action.
In this tutorial, we are going to cover the installation and configuration of Fail2ban in Ubuntu Cloud Servers.
Fail2ban Installation
Log in to the Cloud Servers as the root user.
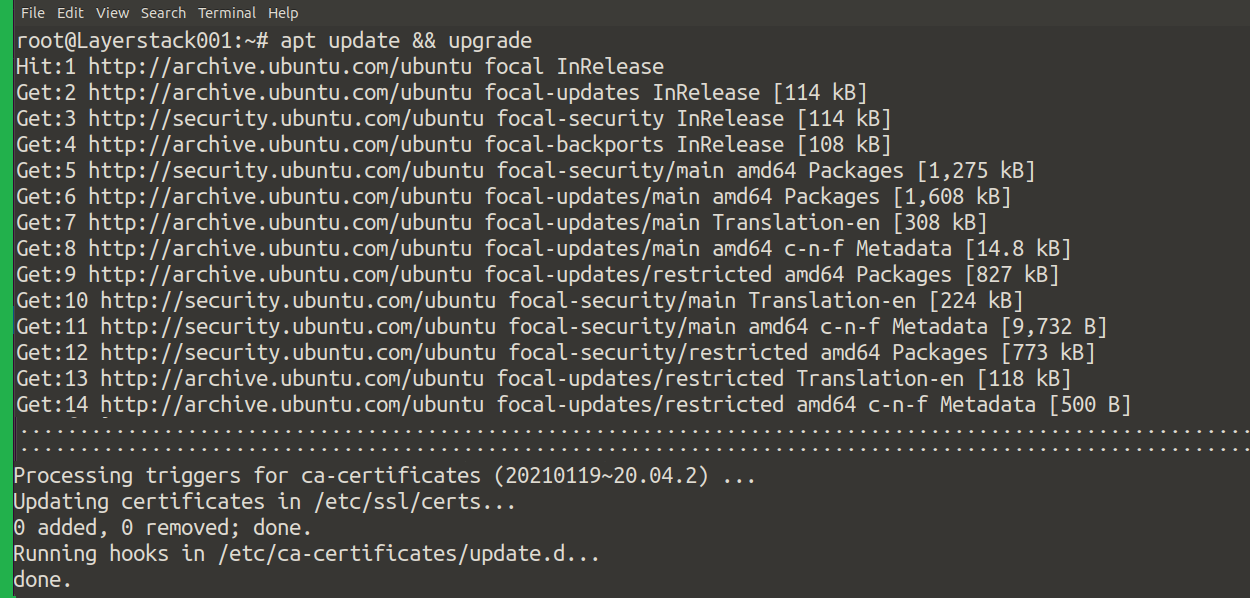
Refresh and update the repositories – Execute the following command.
# apt update && upgrade
Install Fail2ban in the Cloud Servers.
# apt install fail2ban
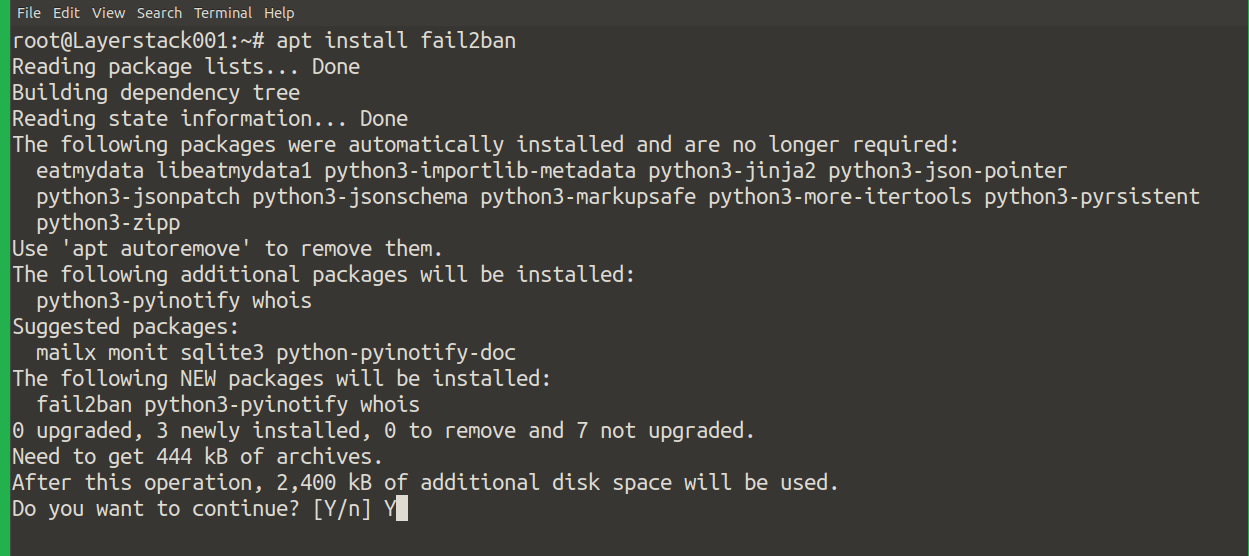
Press Y and eventually complete the installation.
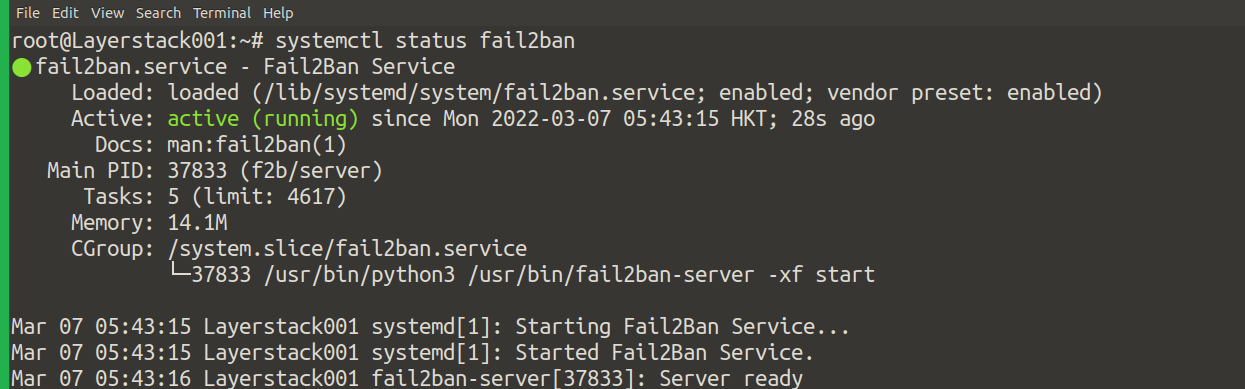
Once the installation is completed, the service will be running in Ubuntu by default, you would be able to check the status.
# systemctl status fail2ban
For the service to get activated when the server boots up, the service is to be enabled.
# systemctl enable fail2ban

Fail2ban Configuration
The default configuration is in /etc/fail2ban/jail.conf.
The screenshot describes the jail.conf:
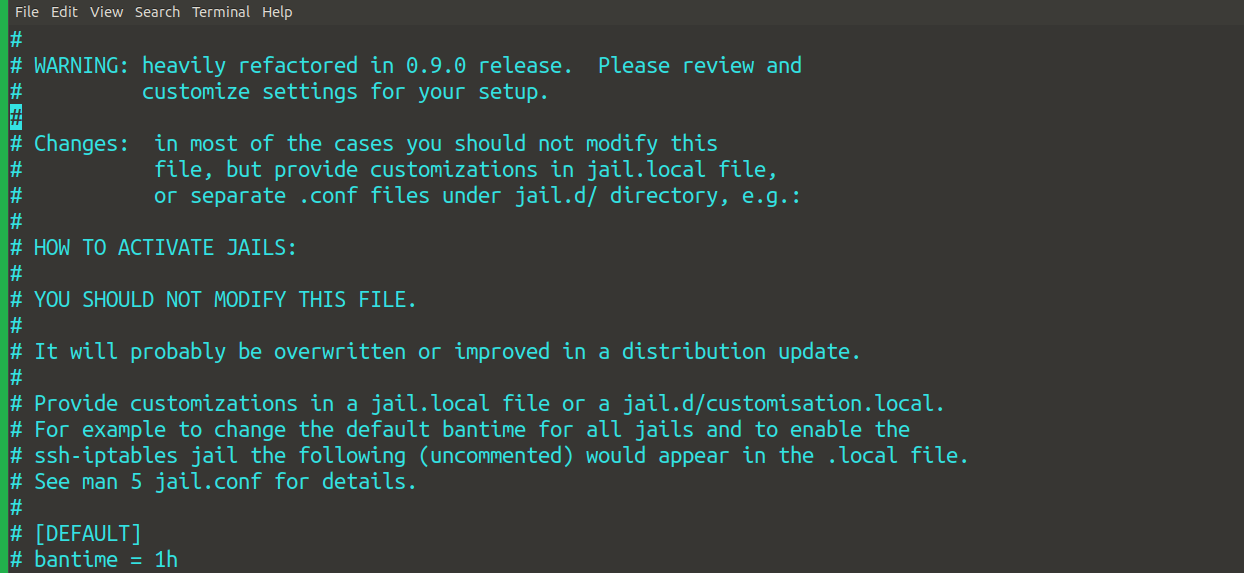
For each services, there are parameters set according to which Fail2ban behaves.
bantime – Time duration to which fail2ban imposes ban on the IP
maxretry – The maximum amount of attempts user can try to login to the machine
ignoreip – This is a specification to describe trusted networks so that fail2ban won’t act on it
enabled – A Boolean variable to check the corresponding parameter status if true or false
port – Specify the port of the jail
It is advised not to alter the configuration file, instead, we create a new configuration file named jail.local which by default is read before the jail.conf. Another method is to create a corresponding file inside jail.d folder.
For example, we create jail.local file and try to configure fail2ban on SSH. However, any number of services can be listed in the jail.local file as the fail2ban first checks out .local extension before .conf files.
Therefore it is better to specify the parameters of the services in jail.local file.
# touch /etc/fail2ban/jail.local

Here, the SSHD parameter is enabled and the port is specified as ssh.
The ban time will be 60 minutes, i.e 1 hour. The maximum number of attempts allowed will be 5.
The 6th attempt will make the user into the banned list. Ignore IP is to ignore the fail2ban action on the host as well as localhost network.
Once the changes are done, save the file and restart the fail2ban process:

