Stable Diffusion is an advanced machine learning model used for generating high-quality images based on text descriptions. It has gained significant attention for its ability to produce realistic and creative images, making it a popular choice for AI-driven creative projects. This article provides a step-by-step guide for manually installing Stable Diffusion on a Rocky Linux 9 Cloud GPU service.
Before beginning the installation process, ensure that you have root access to your Cloud GPU server with the necessary privileges to install packages and make system changes.
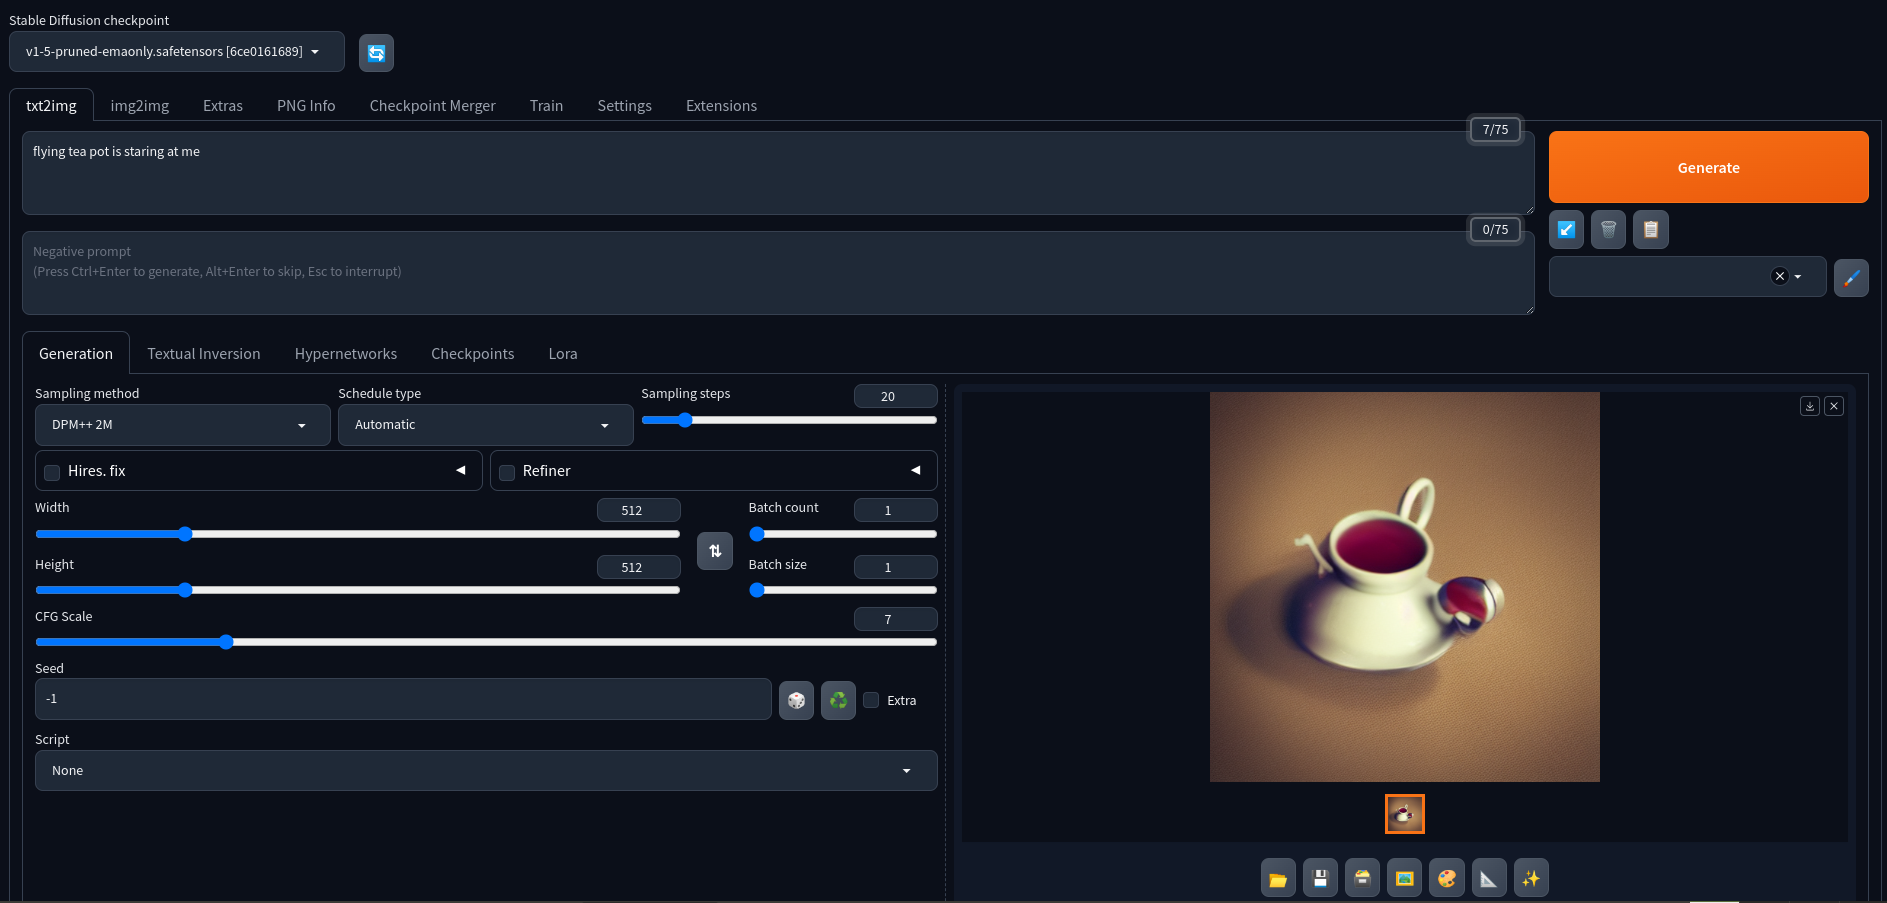
By the end of this tutorial, you'll have Stable Diffusion installed and configured, ready for use to generate AI-powered images directly from your server.
Prerequisite: Root access to the CloudGPU with full privileges to install packages and make system changes.
Check for GPU
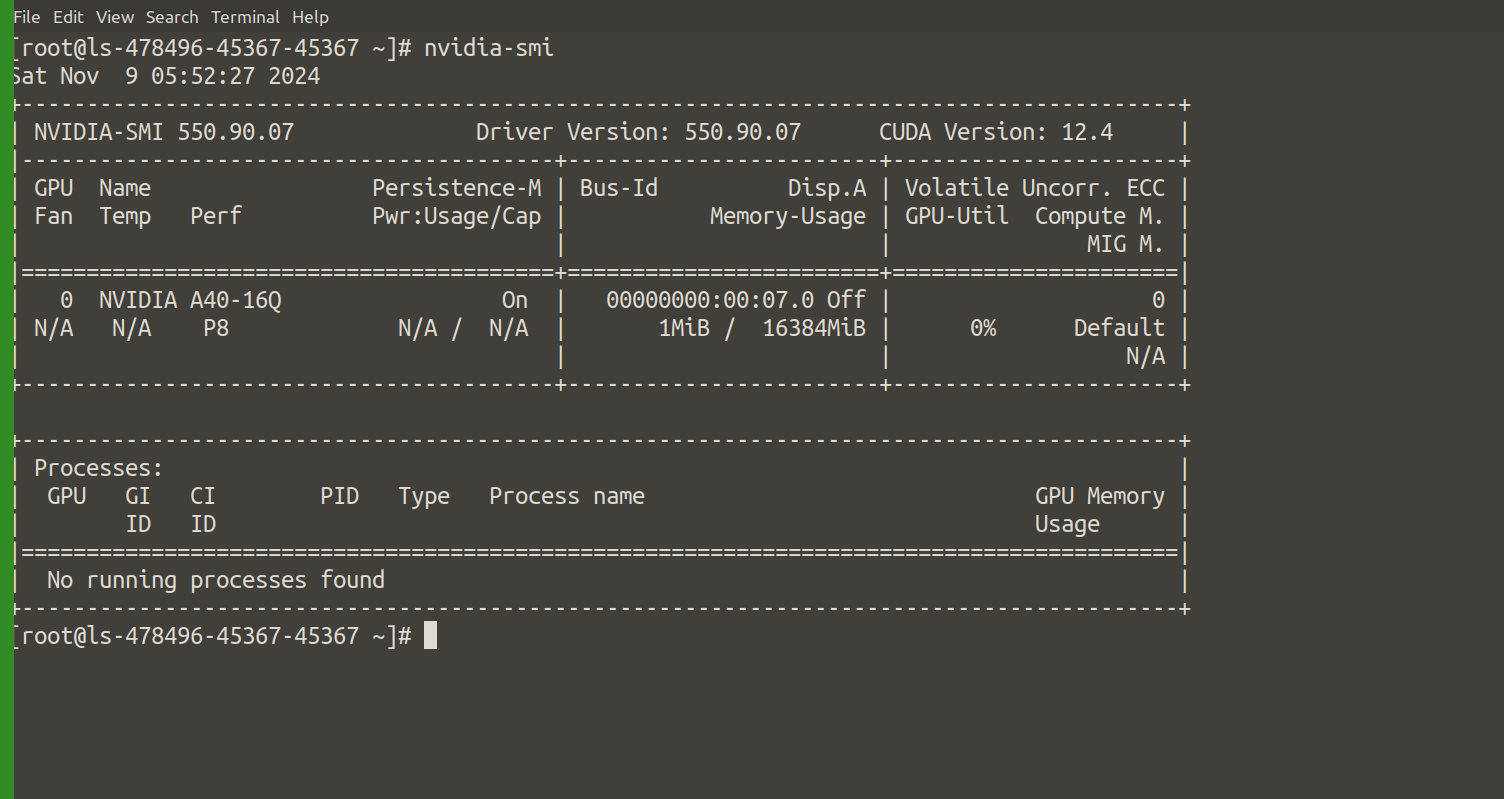
First, check if a GPU is installed. If not, please follow the tutorial to install CUDA drivers:
# nvidia-smi
Install Required Dependencies
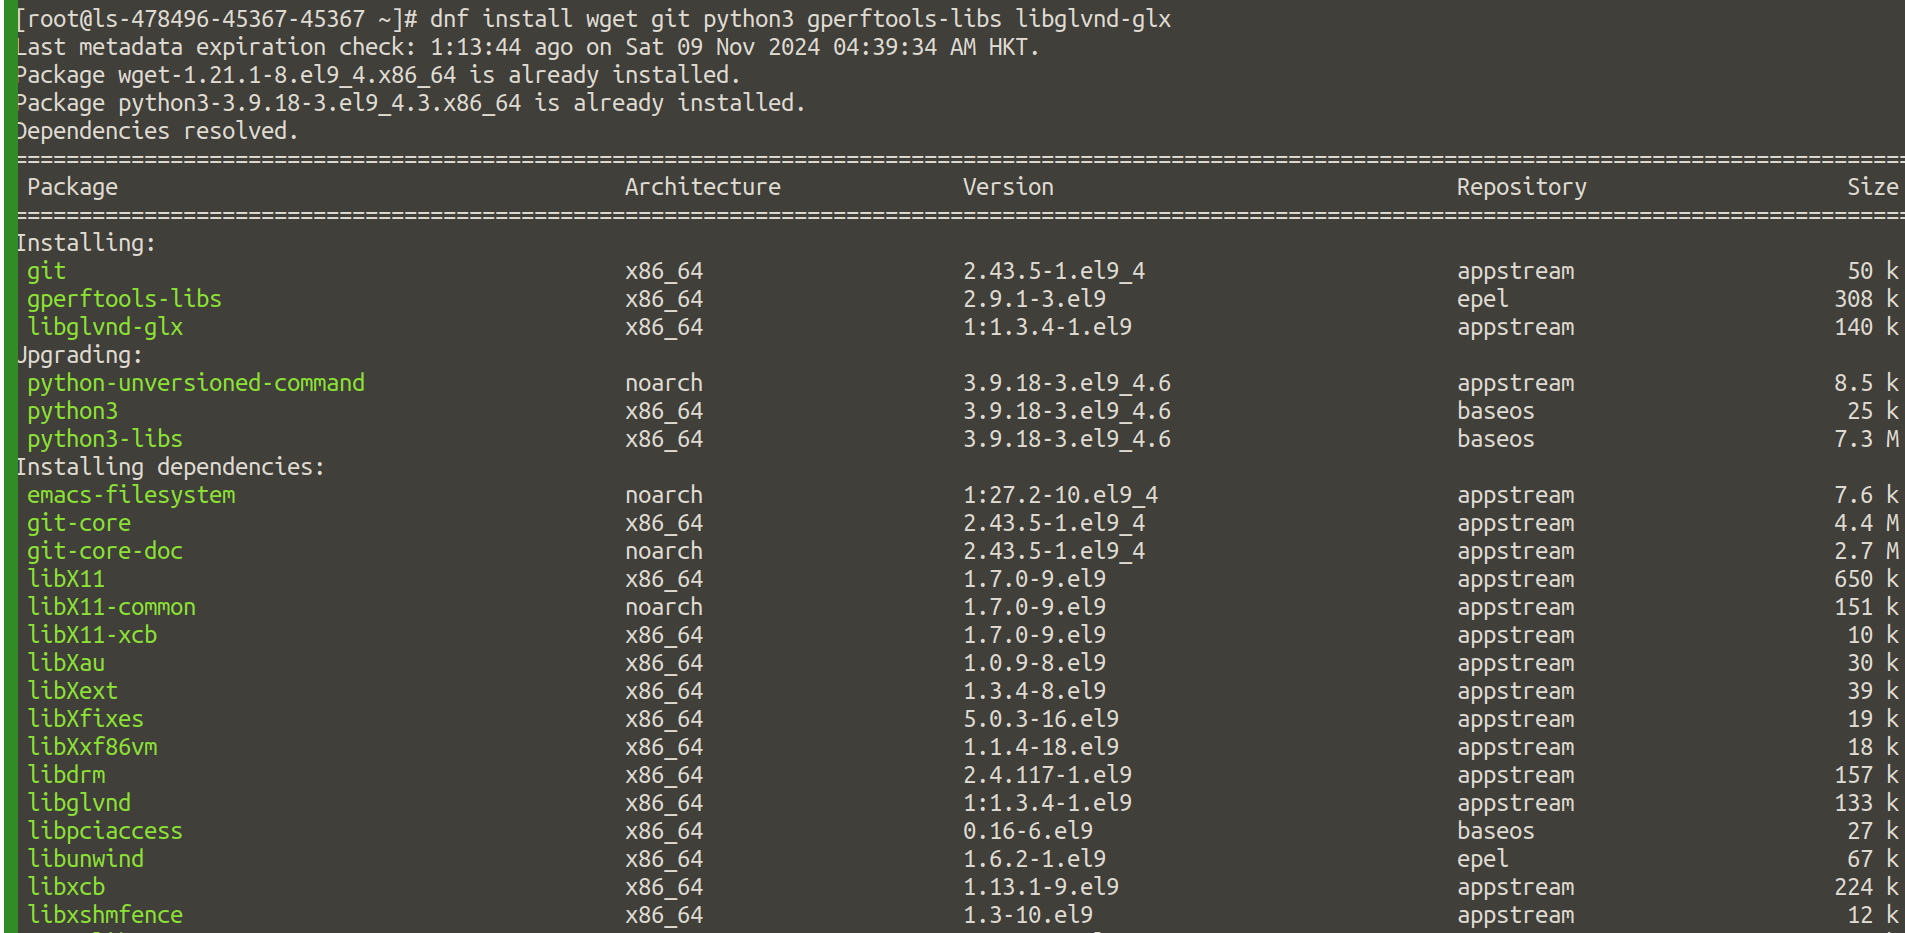
Install the necessary Python libraries and tools:
# dnf install wget git python3 gperftools-libs libglvnd-glx
Download Stable Diffusion
To avoid conflicts, download Stable Diffusion. After downloading, make the script executable and then run it to install:
# wget -q https://raw.githubusercontent.com/AUTOMATIC1111/stable-diffusion-webui/master/webui.sh

# chmod +x webui.sh
# sh /root/webui.sh -f --xformers --share --listen --enable-insecure-extension-access
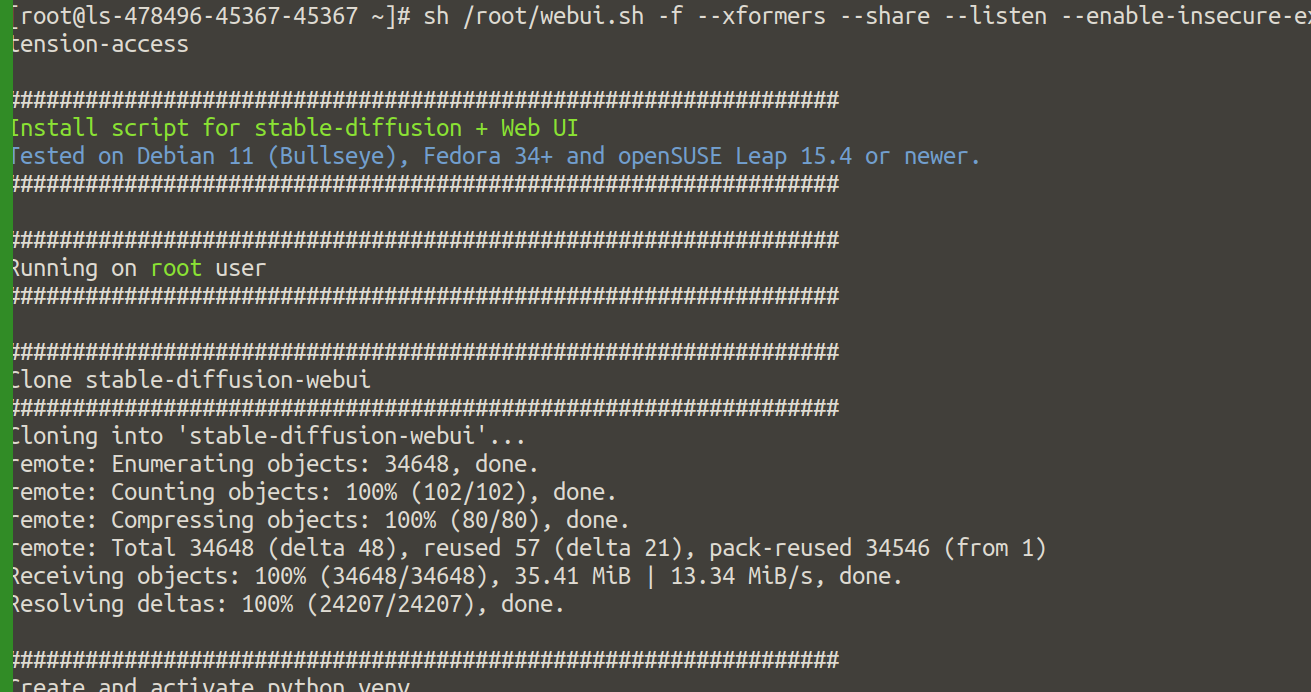
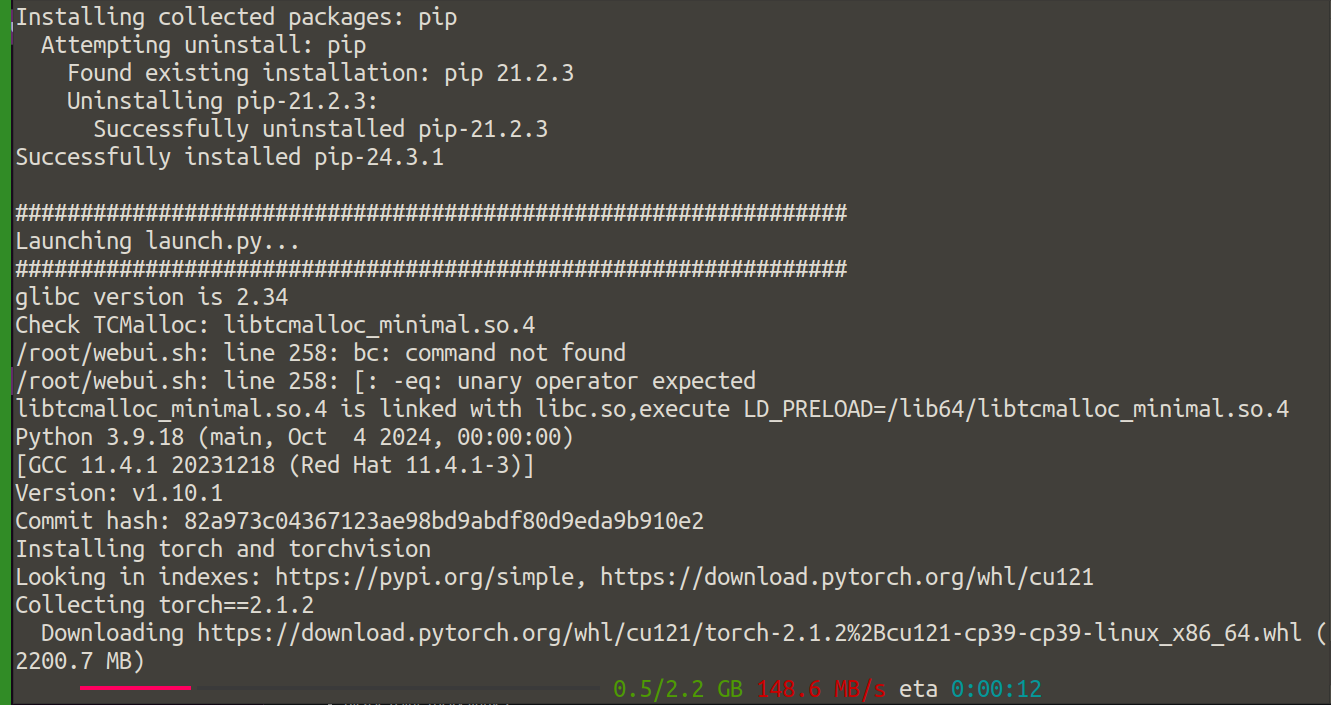
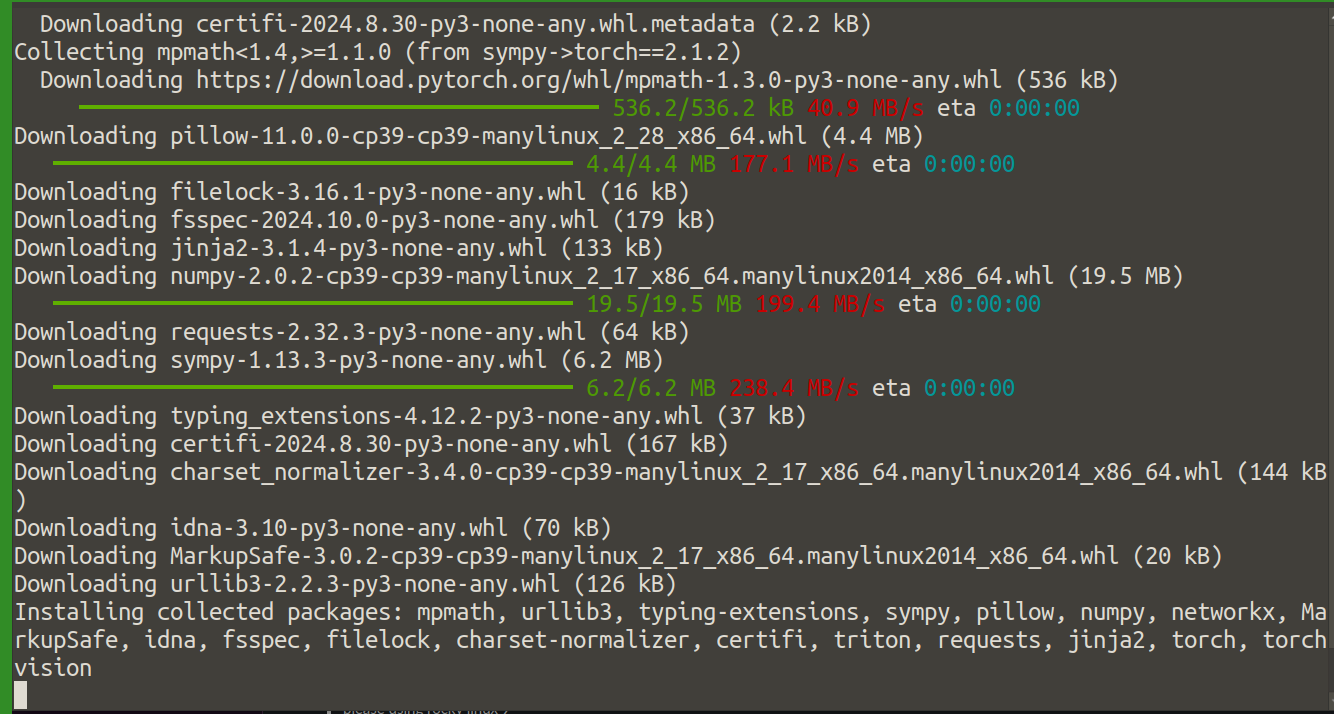
Keep the terminal open and ensure that all extensions are properly installed.
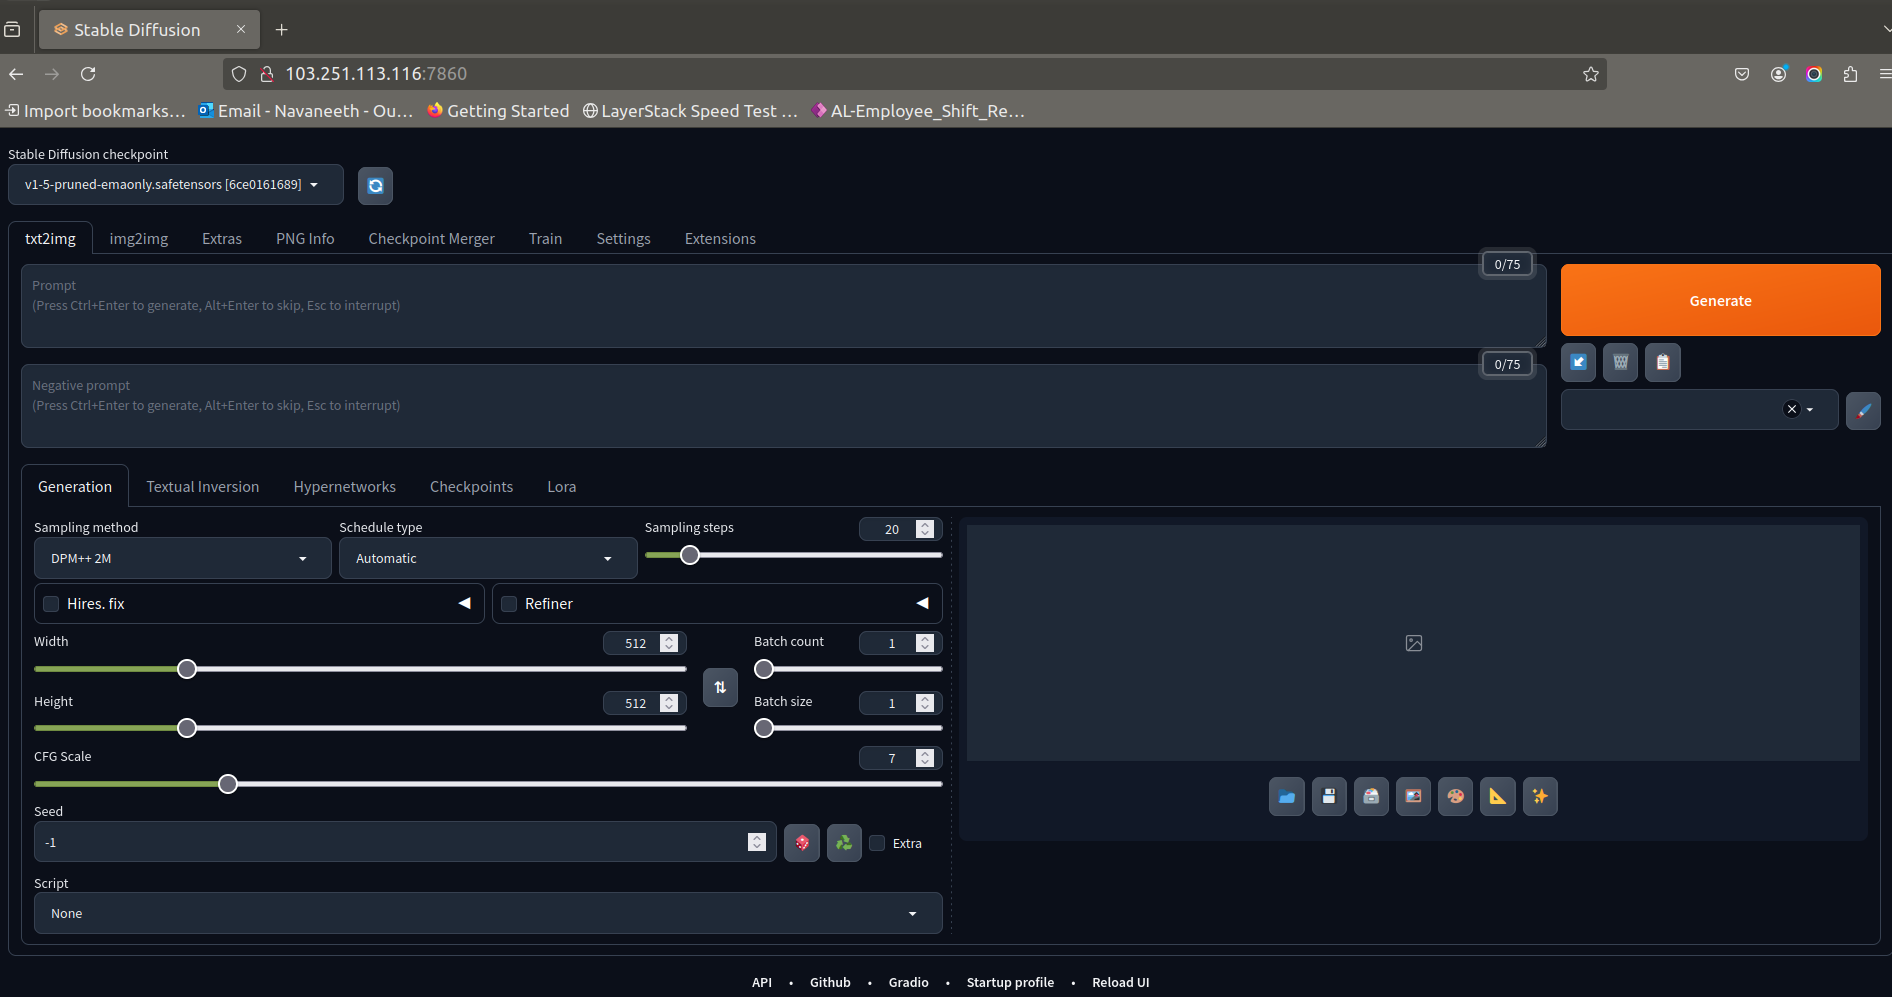
Open the Stable Diffusion Web Interface
Once the installation is complete, open a web browser and log in to the following URL to access the Stable Diffusion interface:
http://YOUR IP ADDRESS:7860
Related LayerStack Products
Related Tutorials
