Minecraft was first launched back in 2009 and lets players build, explore, craft, and survive in a 3D-generated block world. It was among the most successful video game developed as of early 2022.
By hosting your own Minecraft server, the server admin decides the rules and can play together with friends in this interactive adventure game.
This article explains the step-by-step procedure to install the Minecraft cloud gaming server in Linux Cloud Servers.
Log in to the cloud server as root user.
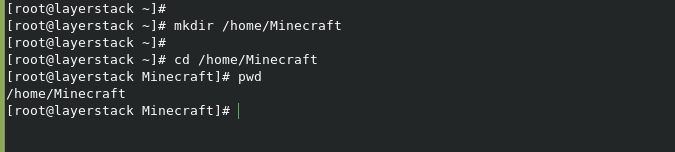
Create a new folder named minecraft in the home directory, and change the directory to minecraft with the below commands.
# mkdir /home/Minecraft

# cd /home/Minecraft
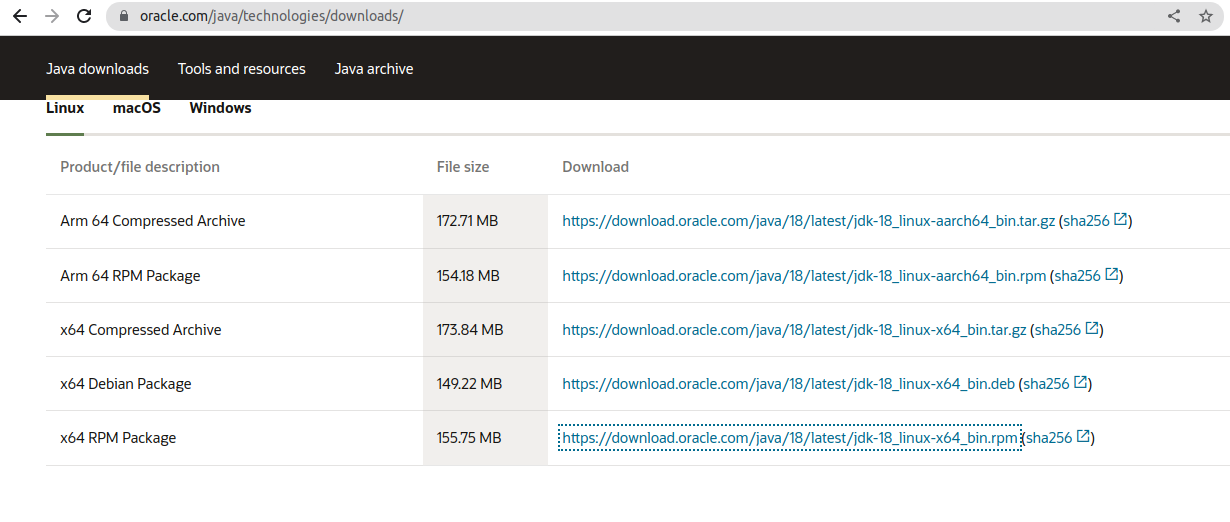
Copy the download link for the latest version of java from the below page.
https://www.oracle.com/java/technologies/javase/jdk18-archive-downloads.html
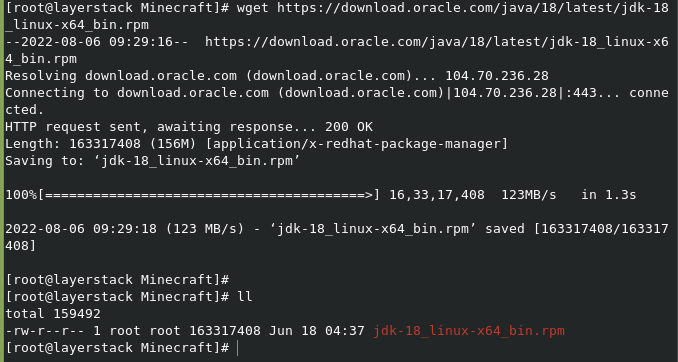
Download the supported package using wget command. In this case, we are using CentOS 7 and downloading the rpm package. The command is as follows.
# wget https://download.oracle.com/java/18/latest/jdk-18_linux-x64_bin.rpm
Install downloaded jdk-18_linux-x64_bin.rpm using the rpm command.
# rpm -ivh jdk-18_linux-x64_bin.rpm

Once the installation is completed, run the below command to verify the version.
# java --version

Copy the latest Minecraft Server download link from the following website.
https://www.minecraft.net/en-us/download/server

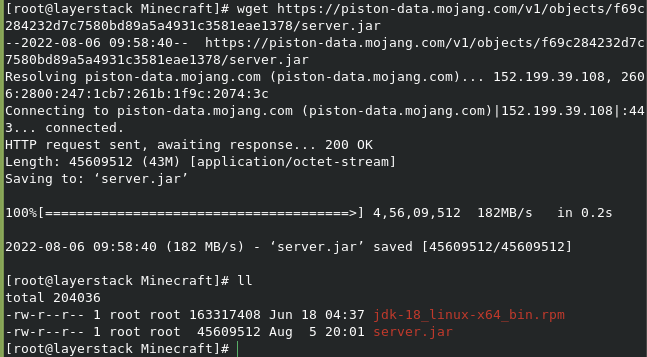
Run the below command to download the Minecraft Server. Make sure to download using the latest download link.
# wget https://pistondata.mojang.com/v1/objects/8399e1211e95faa421c1507b322dbeae86d604df/server.jar
Install the Minecraft server using the following command.
# java -Xmx1024M -Xms1024M -jar server.jar nogui

Once the installation is completed, edit the eula.txt file and change the eula=false to eula=true.
# vim eula.txt


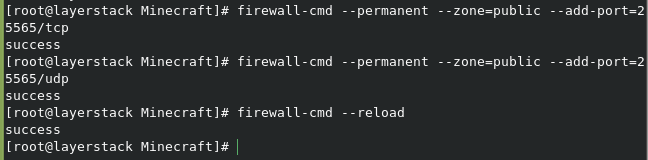
Run the below commands to open ports in firewalld for the Minecraft server.
# firewall-cmd --permanent --zone=public --add-port=25565/tcp

# firewall-cmd --permanent --zone=public --add-port=25565/udp

# firewall-cmd --reload
Once firewall ports are configured, run the below command to start Minecraft server.
# java -Xmx1024M -Xms1024M -jar server.jar nogui
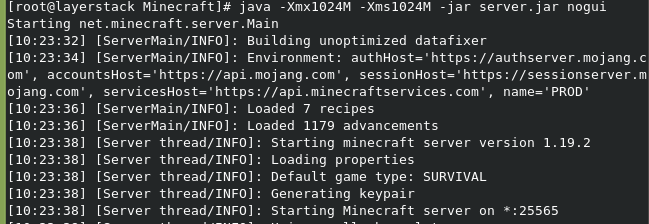
The Minecraft server is ready and running. Now the user may log in to the Minecraft game and connect using the server IP. This is the better way to start with.