Minecraft was first launched back in 2009 and lets players build, explore, craft, and survive in a 3D-generated block world. It was among the most successful video game developed as of early 2022.
The server administrator can set the rules and participate in this interactive adventure game with friends by running their own Minecraft server.
Hardware requirements of Minecraft server:
- Windows server or Windows 11 desktop
- Minimum 4GB of RAM is recommended
- Good Internet bandwidth support
Step 1: Install latest version of Java
Go to the official java website, and Download x64 Installer.
https://www.oracle.com/java/technologies/downloads/#jdk17-windows

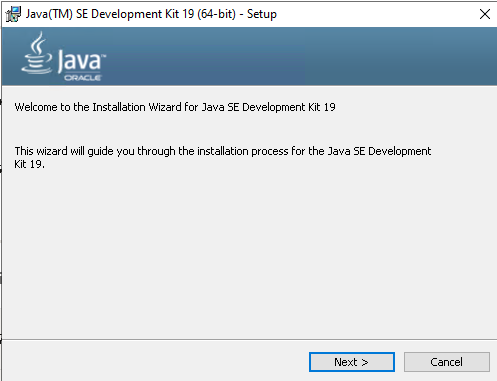
Run the jdk installer file to install Java.
Step 2: Download Minecraft server
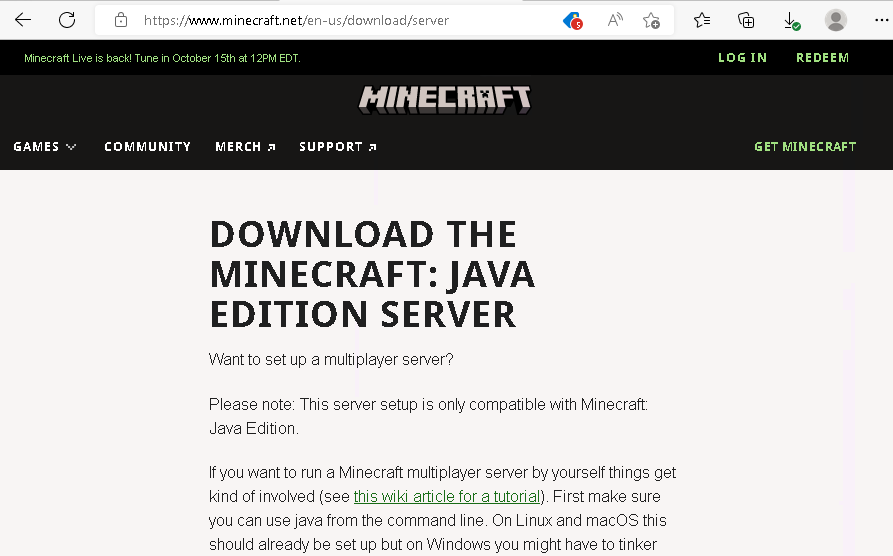
Go to the official Minecraft server's website.
https://www.minecraft.net/en-us/download/server
Download the minecraft_server file.
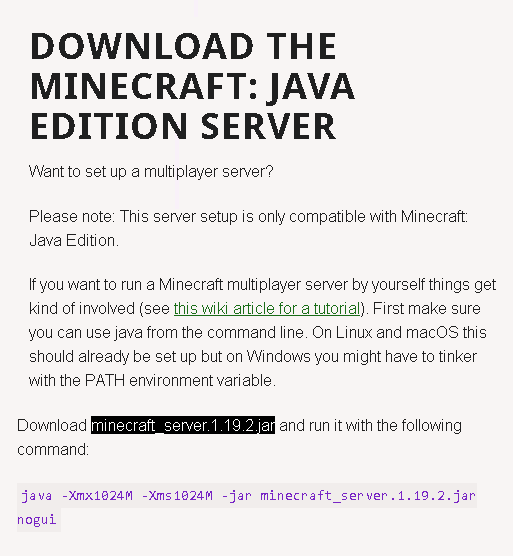

Create a folder in a preferred location and move the server.jar file to the created folder.

Double-click to run the server.jar file.
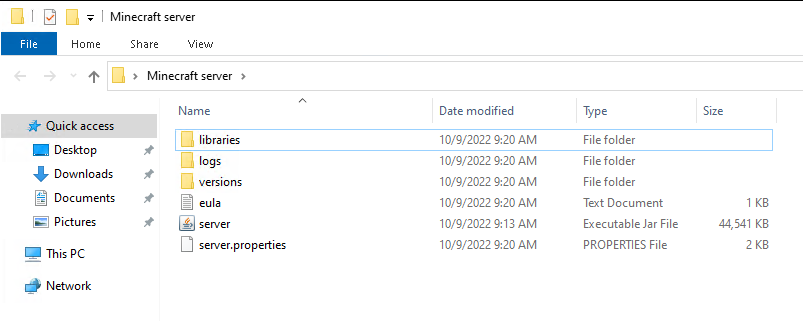
After running the server.jar file, a number of folders and files are created.
Edit the eula.txt file. To accept the end user license agreement, open the eula.txt file and update eula=false to eula=true, and save the file.
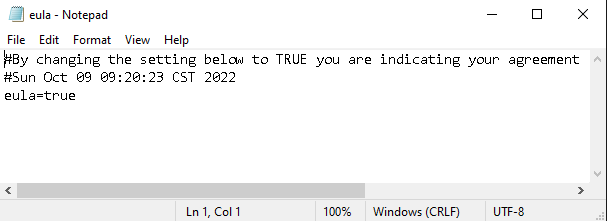
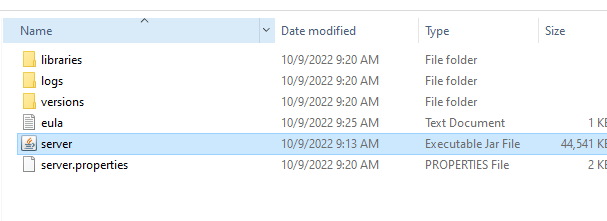
After agreeing to the end user license agreement, double-click the server.jar file again to start the Minecraft server.
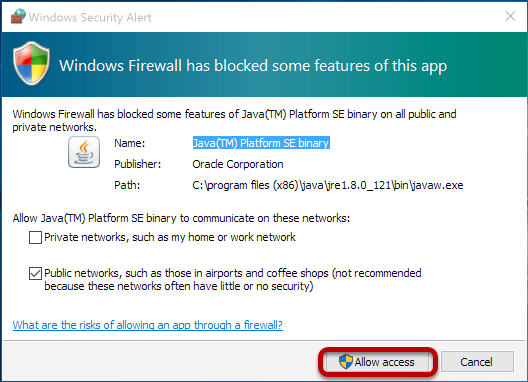
Allow the Minecraft Server in the firewall.
The Minecraft Server is now installed and running and a stats window will appear. As we can see in the window.
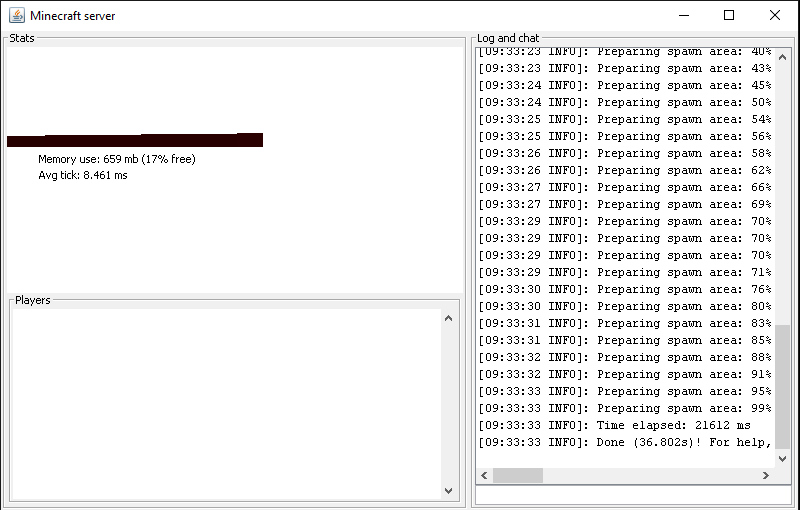
The Minecraft server is ready and running. Now the user may log in to the Minecraft game and connect using the server IP. This is the better way to start with.
Related Tutorials