How to utilize the dig CLI tool for DNS lookups in Linux Cloud Servers
The Domain Information Groper (dig) is a Linux utility tool specifically crafted for querying Domain Name System (DNS) information pertaining to a designated hostname or IP address. With this tool, users can perform DNS lookup operations to confirm DNS settings. This includes checking name servers (NS), A records, and mail exchange records (MX) for a specified domain name.
Troubleshoot networking problems and diagnose routing issues.
Trace the DNS path of a server to understand the route taken by DNS queries.
In terms of functionality, dig examines IP addresses associated with domain names and any additional records linked to the domain. This guide provides instructions on how to perform DNS record lookups using the dig Command Line Interface (CLI) Tool on a Linux server.
Installing the dig CLI tool
The dig utility functions across all Linux distributions, although the installation procedure varies depending on the system. It's included within the comprehensive dnsutils package, which also incorporates various DNS client utilities such as nsupdate and nslookup. Follow the steps below to install the dig CLI tool:
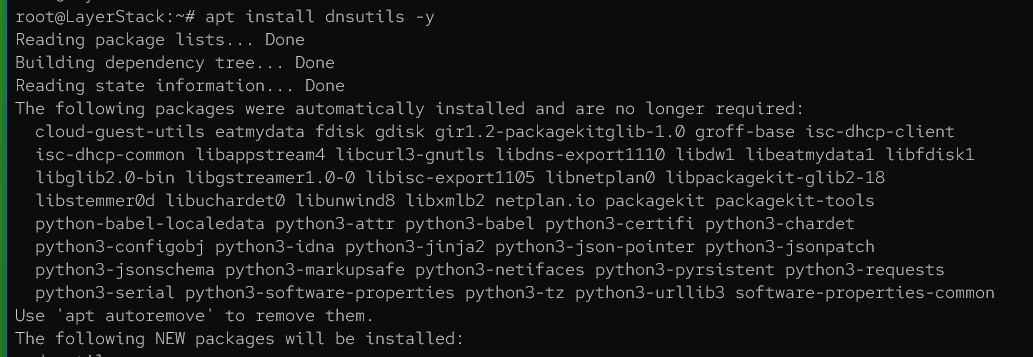
Ubuntu / Debian
# apt install dnsutils -y
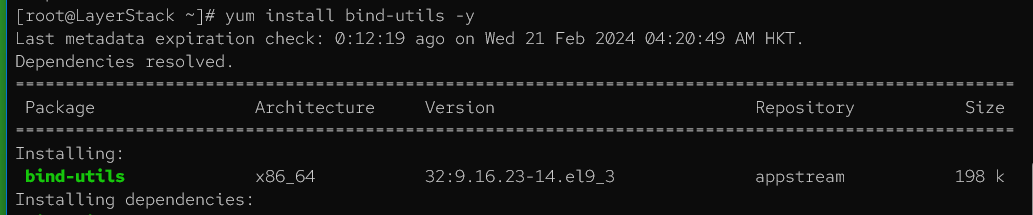
CentOS / Fedora / Alma Linux / Rocky Linux
# yum install bind-utils -y
Once installed, verify the version of dig that is installed.
# dig -v
Ubuntu / Debian

CentOS / Fedora / Alma Linux / Rocky Linux

How to use the dig Command to perform DNS Lookup
The dig utility follows this command syntax for fetching DNS records:
# dig @DNS_SERVER NAME TYPE QUERY_OPTIONS
Here are the available command options:
@DNS_SERVER: Specify the name or IP address of the server handling the query.
NAME: Specify the resource being queried, such as a domain name.
TYPE: Specify the type of query to perform (e.g., A, MX, NS).
QUERY_OPTIONS: Modify how the dig command performs and displays the results.
Common query types include:
A: Map a domain name to an IP address.
NS: Return the authoritative nameserver for a domain.
MX: Return a domain's mail server records.
CNAME: Map one domain name to another (canonical name).
TXT: Return email server verification records.
ANY: Return all records for a query.
Sample query options include:
+short: Display abbreviated query outputs.
+noall: Clear all default output flags.
+trace: Trace the query path hierarchically.
+cmd: Remove comments from the output.
Here's how you can perform DNS lookups using the dig command. Perform sample DNS look-up operations as described below to test and verify the functionality of the dig utility tool.
Request the A record for the domain.
# dig <domain-name>.com A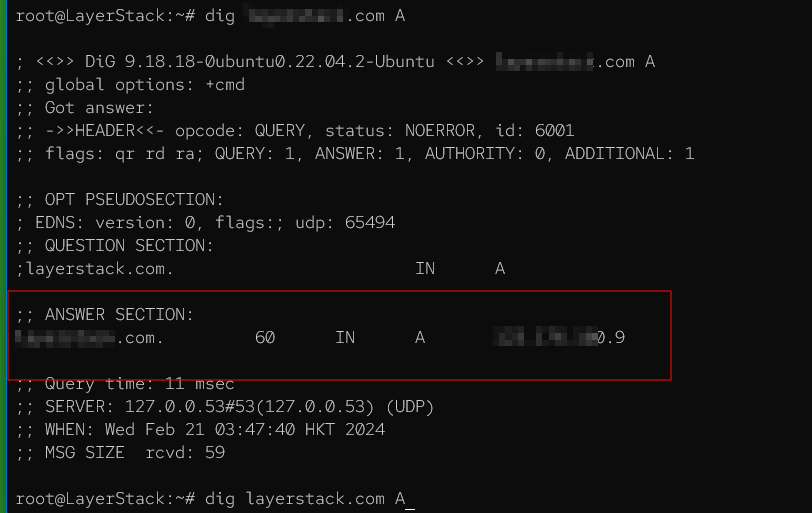
In the figure above, the marked section displays the A record.
Repeat the previous query, but utilize the +short option to return only pertinent information.
# dig <domain-name>.com +short
Query the domain's nameserver (NS) records. Employ the +noall option to clear default outputs and display a concise response.
# dig <domain-name>.com NS +noall +short
Query the domain's MX records.
# dig <domain-name>.com MX +noall +shortOutput 1: the domain example.com does not have any MX records.

Output 2: Indicates the domain has a MX record and listed.

Employ the +trace option to discover the DNS path for example.com.
# dig <domain-name>.com +trace +noall +short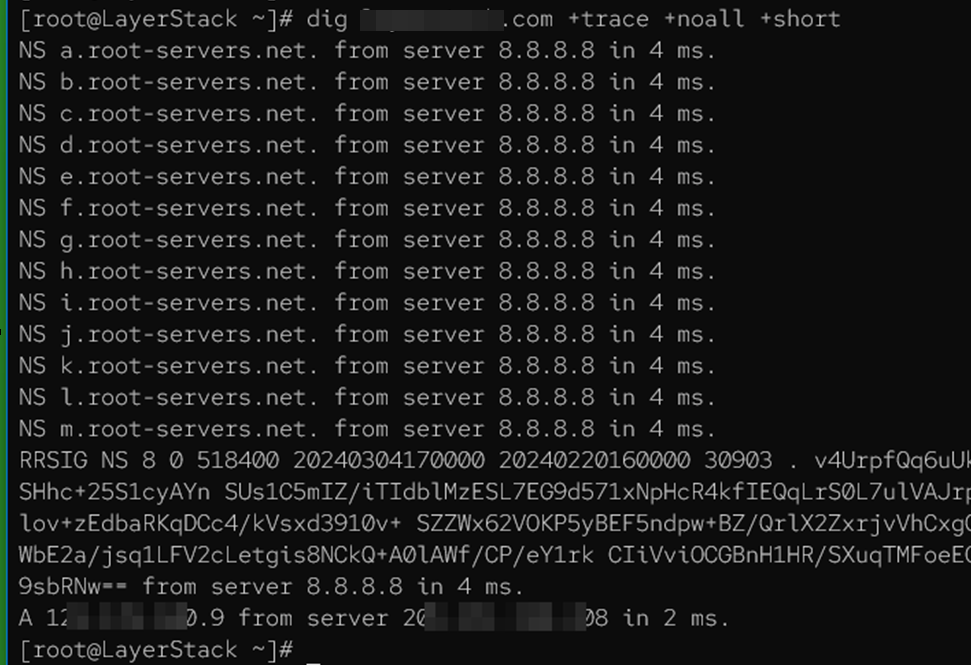
To redirect a dig query to a specific DNS server and display a brief response with no comments, use the +nocmd, +noall, and +answer options as outlined below.
# dig <domain-name>.com +nocmd +noall +answer
Checking TXT records.
# dig <domain-name>.com TXT +noall +short
Conclusion
This guide has walked you through the installation and utilization of the dig utility tool for querying domain DNS records. The dig utility provides various options to improve your DNS lookup operations. To explore all available options tailored to your query requirements, you can execute the dig -h command. By leveraging the capabilities of the dig command effectively, you can promptly identify and address significant DNS issues while managing production cloud servers.
Related Tutorials
