dig is a very useful command-line tool that can be used to diagnose DNS details of a website in BIND. This command helps in retrieving different DNS records of a website/IP address, such as A record, PTR record, authoritative nameservers, etc.
This guide outlines the basic steps to install the dig tool on Windows Cloud Servers.
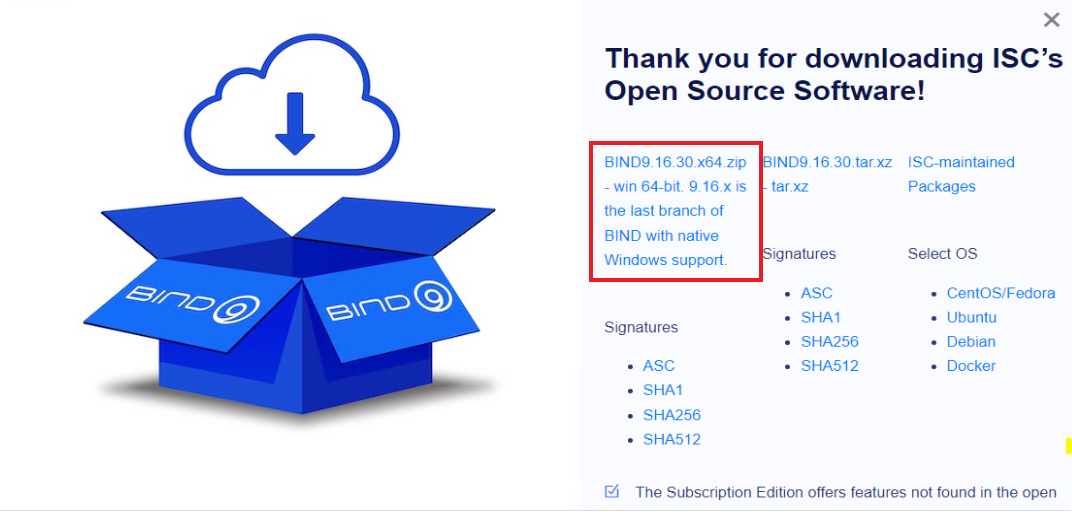
Go to the Bind official website and download the Bind version for Windows.
https://www.isc.org/download/
As per the latest update, the current stable version is used:
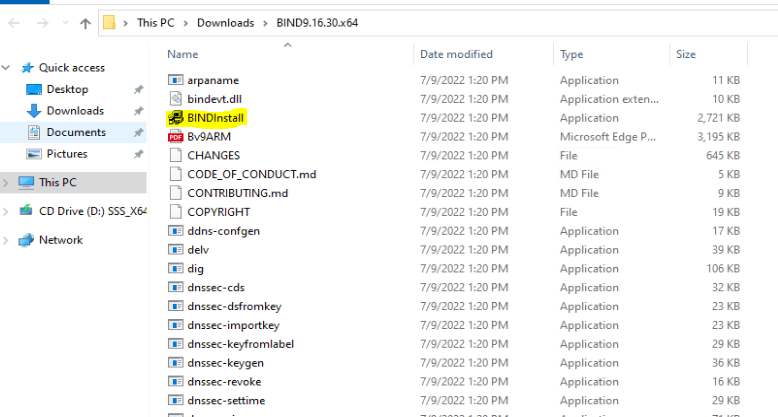
Extract the downloaded file and then click on the Bind9 installer, the screenshot shows the file you would require to execute.
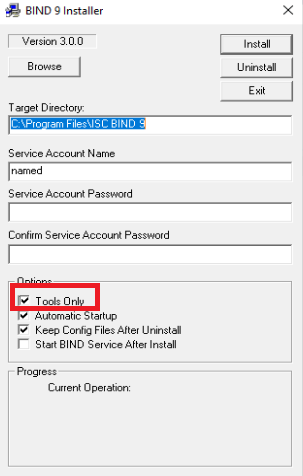
Check the tool-only option and proceed with the installation of the setup file, also note the path of the installation.
Once the installation of Bind 9 is done, we add the path in Environment Variables of the server in order to make it available in the command prompt. Therefore, go to Windows Control Panel >> System >> Advanced System Settings >> Advanced Tab.
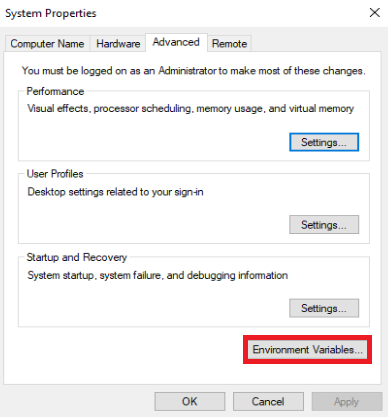
Under the Environment Variables, select the Path variable and then click Edit.
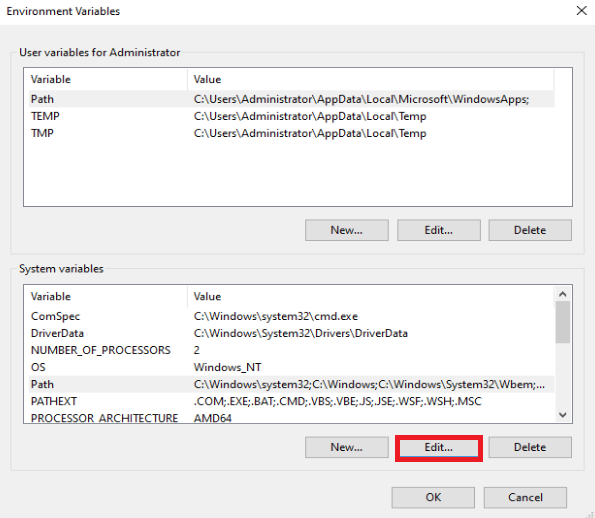
The environment variable box will be open and you would be able to see the list of already entered environment variables. Now we would require to add a new one therefore we select New and add the path over the last entry.
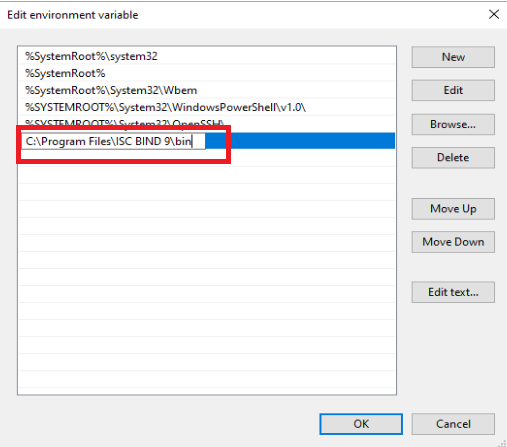
Now, we save it by clicking OK on all the open-screen pages. This will ensure the environment variable is added for bind.
Finally, we test in command prompt by checking the bind version:
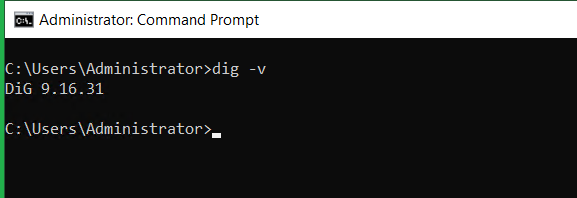
The dig utility is often used for looking up the DNS records. Below are some examples illustrated for the dig used for different purposes.
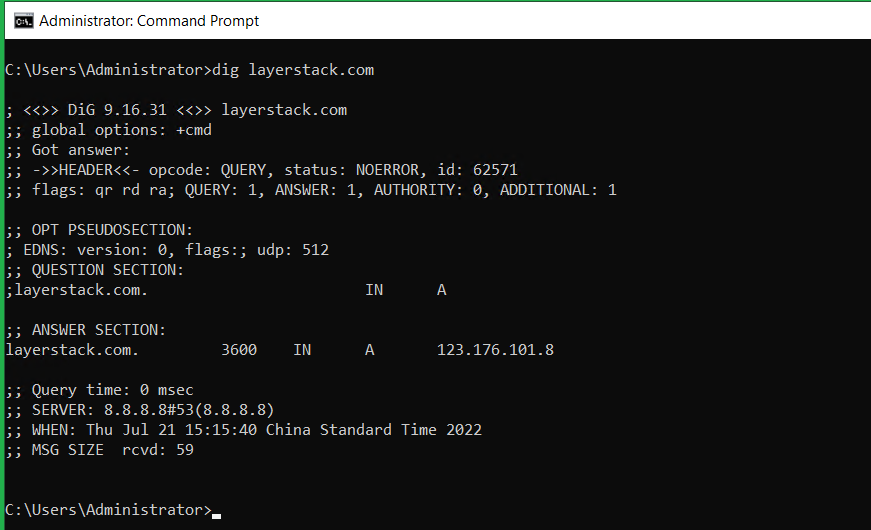
Application of DIG utility to find the DNS A record details.
# dig <domain.tld>
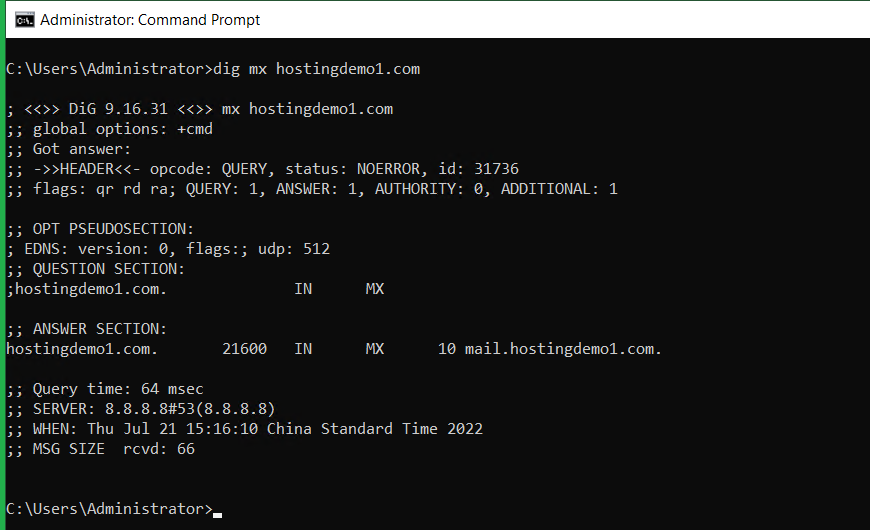
Figuring out the MX record of a domain. E.g. Checking whether the mail server is pointing to the correct server, often this below command is used.
# dig mx <domain.tld>
Related Tutorials