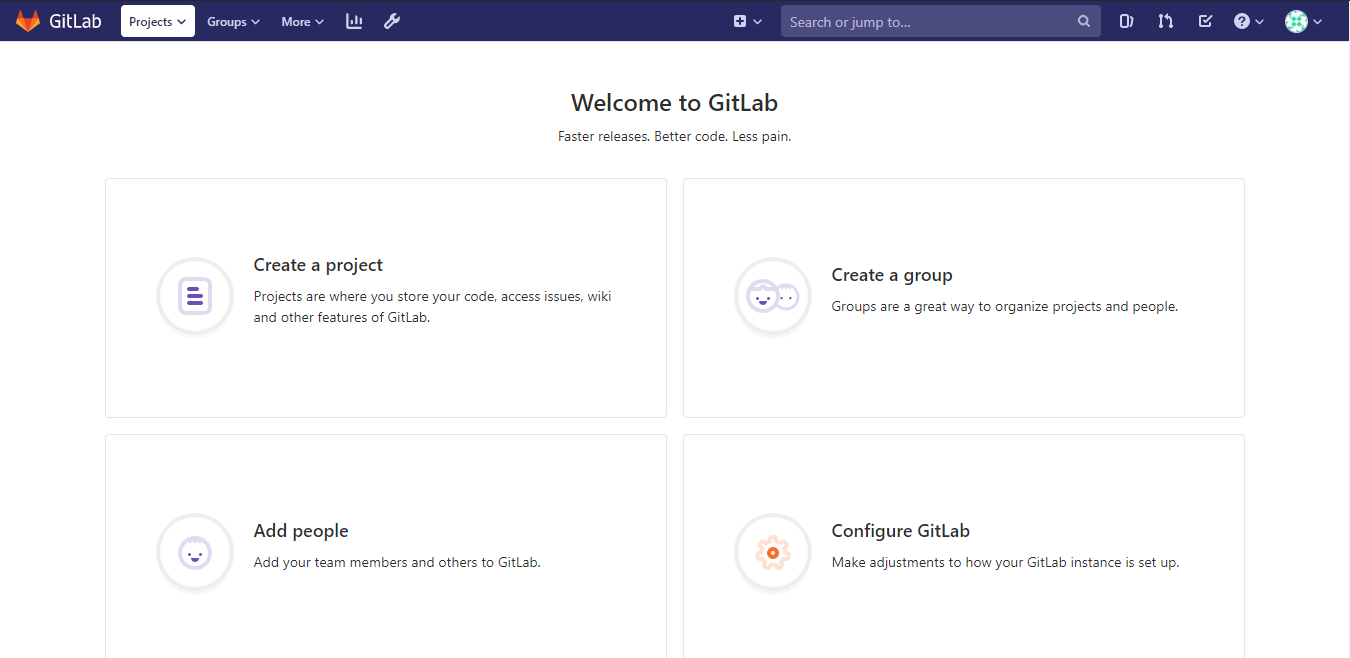
GitLab is a complete DevOps platform to manage git repositories on a centralized server. It offers free private repositories for open source projects and also you can upload your repositories and make them public or private.
This guide outlines the general steps to install GitLab in different Linux distributions.
CentOS 7/8
Run update before proceeding with the installation.
# yum -y update

Install the following dependencies.
# yum -y install curl vim policycoreutils python3-policycoreutils

Create a new repository file for GitLab.
# vi /etc/yum.repos.d/gitlab-ce.repo

[gitlab-ce]
name=gitlab-ce
baseurl=https://packages.gitlab.com/gitlab/gitlab-ce/el/7/$basearch
repo_gpgcheck=1
gpgcheck=1
enabled=1
gpgkey=https://packages.gitlab.com/gitlab/gitlab-ce/gpgkey
       https://packages.gitlab.com/gitlab/gitlab-ce/gpgkey/gitlab-gitlab-ce-3D645A26AB9FBD22.pub.gpg
metadata_expire=300

Save the file and execute the following command.
# yum makecache

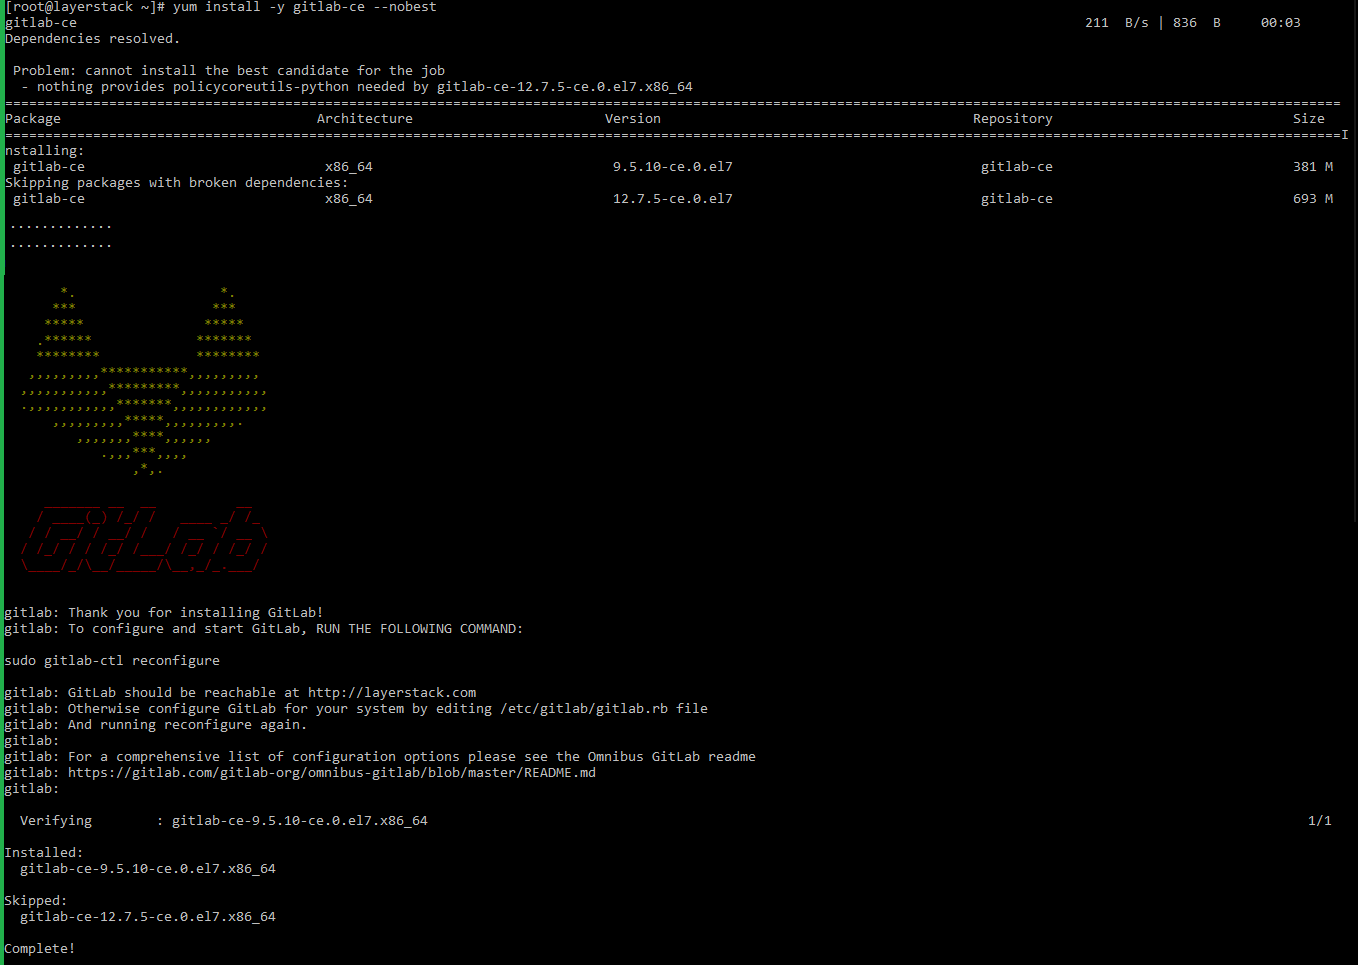
Install GitLab by running the command.
# yum install -y gitlab-ce --nobest
Debian / Ubuntu
Run update before proceeding with the installation.
# apt-get update

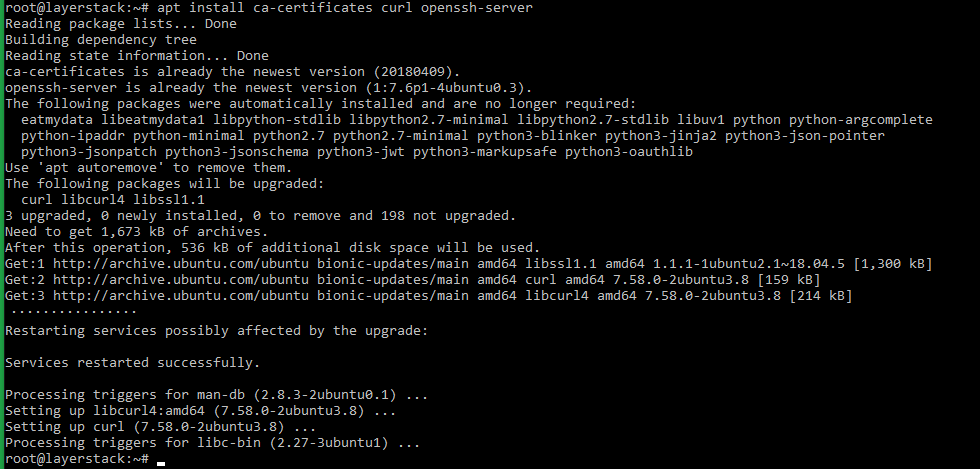
Install the following dependencies.
# apt install ca-certificates curl openssh-server
Install the GitLab using the installation script.
Create a folder GitLab and move into that directory:
# mkdir GitLab

# cd GitLab

Execute the below command to download the script.
# curl -LO https://packages.gitlab.com/install/repositories/gitlab/gitlab-ce/script.deb.sh

Give execute permission to the downloaded script.
# chmod +x script.deb.sh

Execute the script file.
# bash script.deb.sh

Then execute the following command.
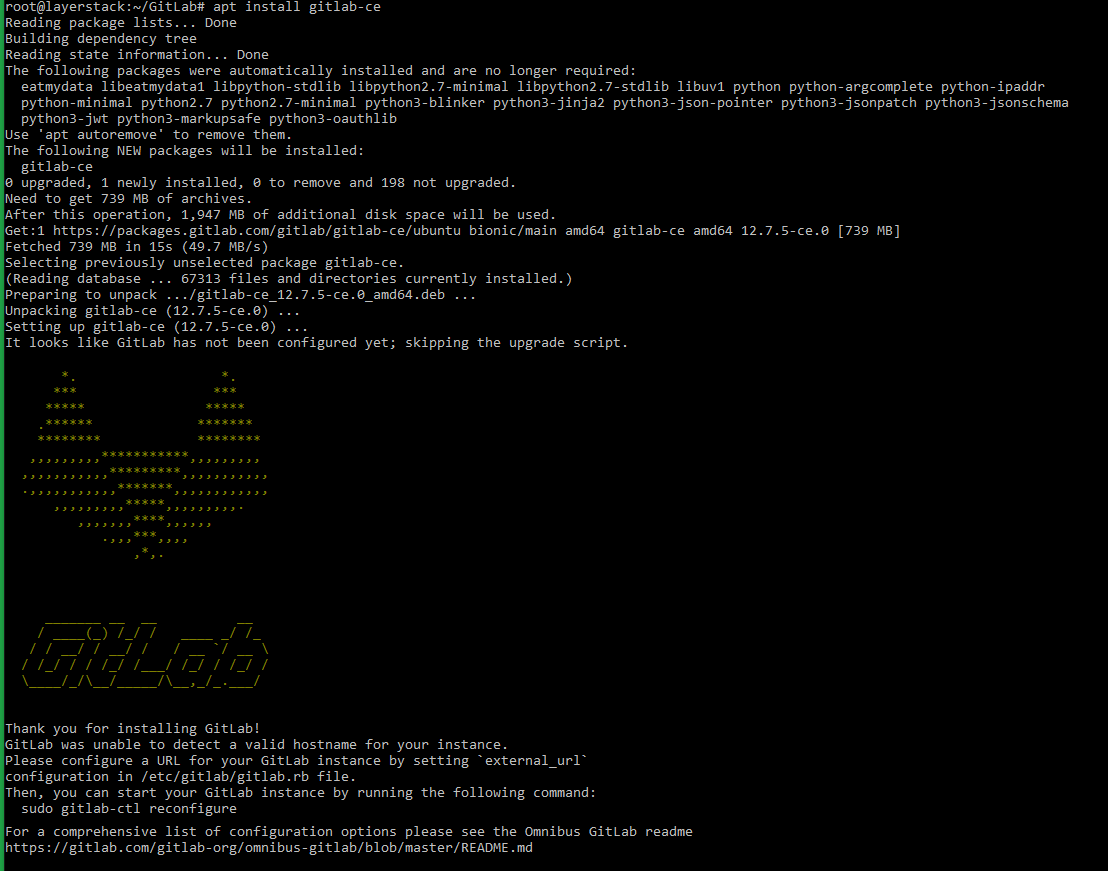
# apt install gitlab-ce
Configuring GitLab
Once the installation has been completed, GitLab can be configured according to one’s own working environment. The main configuration file for GitLab can be found under /etc/gitlab/gitlab.rb.
One of the main configurations that need to be done is to set the URL on which GitLab will be reachable.
Open the GitLab configuration file using any editor.
# vi /etc/gitlab/gitlab.rb
Scroll down to the value external_url and set the URL on which GitLab can be accessed. In the below example, the server IP 123.123.123.123 has been used.

Make any further configuration changes as per requirement and once done, save and quit the file. Execute the below command to run the GitLab reconfiguration script.
# gitlab-ctl reconfigure
Once the GitLab has been successfully reconfigured, an output similar to below will be displayed.

Testing GitLab
Once GitLab has been reconfigured, it can be accessed through any browsers using the URL value that has been specified in the configuration file.
Upon browsing for the first time, a password reset screen will be shown from which a new password for the new admin account can be set up. Clicking on Change your password after typing in the password, the page will be redirected back to the GitLab login screen.
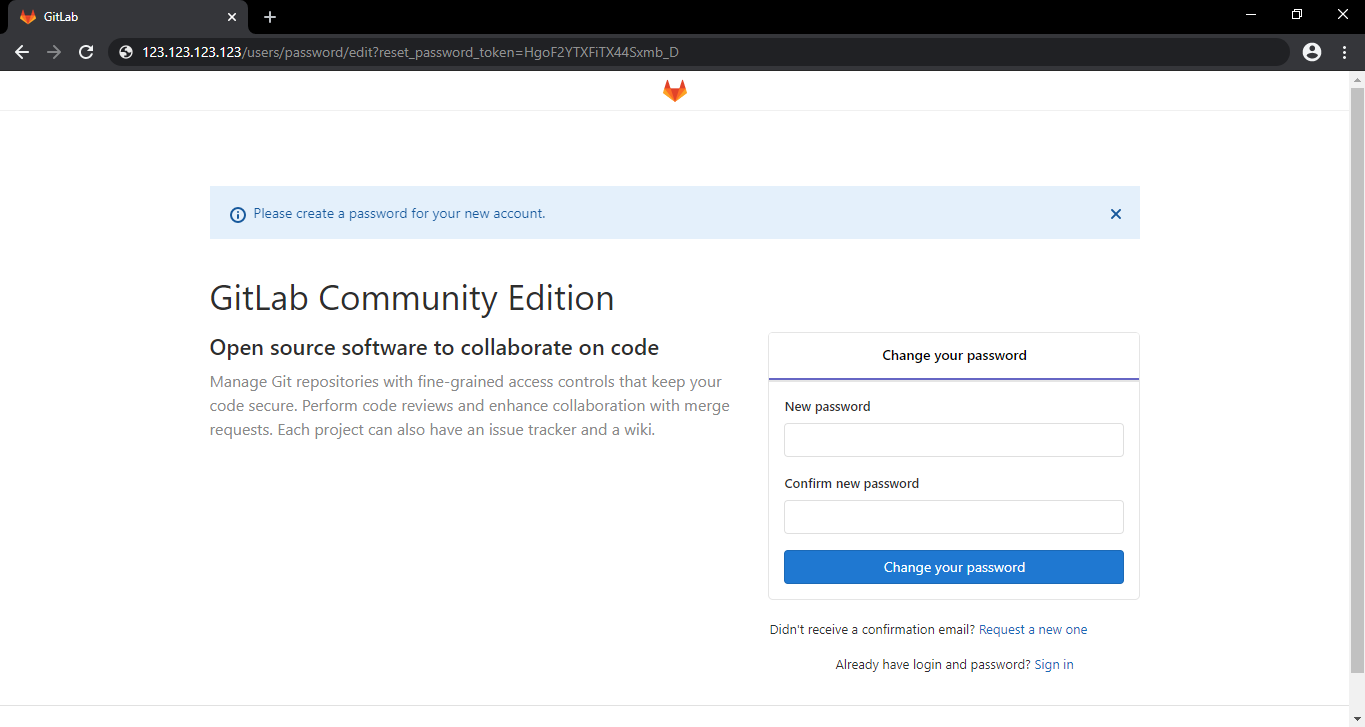
Login with root user and the newly set password to access the GitLab admin dashboard, from where projects, as required, can be created.
