Installing Java on Linux Cloud Servers
Java is one of the most popular programming languages that is used in software as well as for building different cross-platform applications. One of the biggest advantages of programs written in Java is that they are easily portable across different platforms/architectures.
This guide outlines the general steps to install the OpenJDK version of Java in different Linux distributions.
CentOS 7/8
Run update before proceeding with the installation.
# yum -y update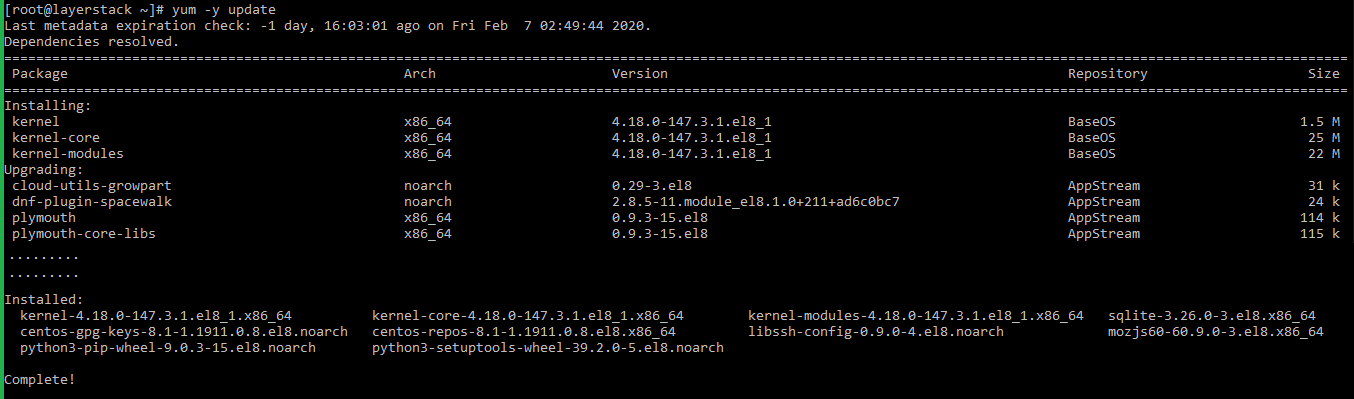
Use the following command to install Java.
# yum install java-1.8.0-openjdk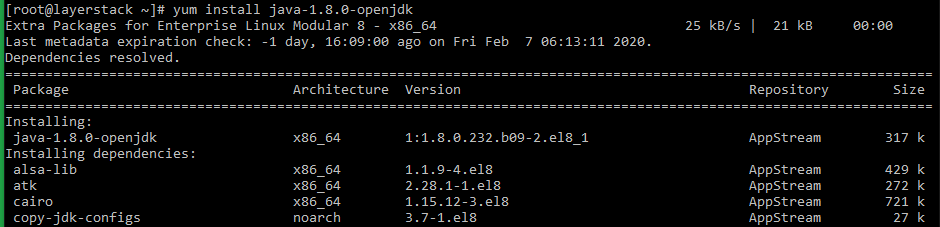
To verify Java is installed, input the following command.
# java -version
General Java configuration
While configuring Java, it is important that the correct installation of Java is set to be used by applications hosted in the server. This requires certain environment variables to be set in the server. The below steps can be made use of for this purpose.
Execute the below command to list out the programs that provide java command in the server.
# alternatives --config javaA sample output will be as shown below:
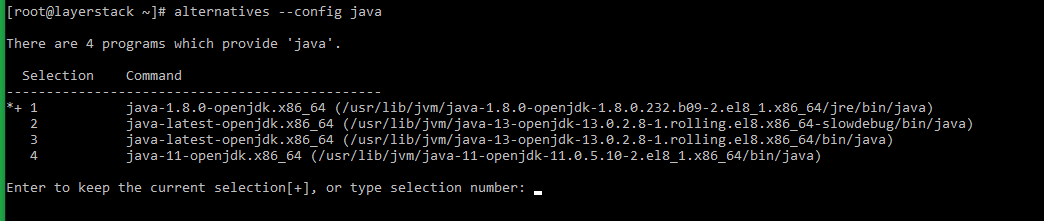
Select the number corresponding to the java executable that needs to be made use of as default.
Another option to select which java executable is to be made use of, is to make use of environment variables such as
JAVA_HOME. The value of this variable can be set to the path of the exact java executable to be used.For setting the environment variable, the below command can be executed (based on the above results).
# export JAVA_HOME=/usr/lib/jvm/java-1.8.0-openjdk-1.8.0.232.b09-2.el8_1.x86_64/jre/bin/java
Execute the below command to confirm that the Java path has been set correctly.
# echo $JAVA_HOME
Testing Java
The installed Java service can be tested from the command line itself by following the below steps.
Create a .java file with the help of any text editor.
# vi test.java
Type in the following code in the created file.
class test {
public static void main(String args[]){
System.out.println("TEST JAVA SERVER!");
}
}
Execute the following command to compile the java file.
# javac test.java
Use the following command to run the complied java file
# java test
Debian/Ubuntu
Run update before proceeding with the installation.
# apt-get update && apt-get upgrade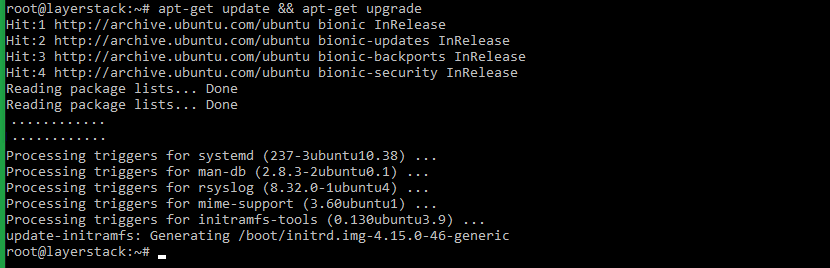
Install the repository.
# add-apt-repository ppa:webupd8team/java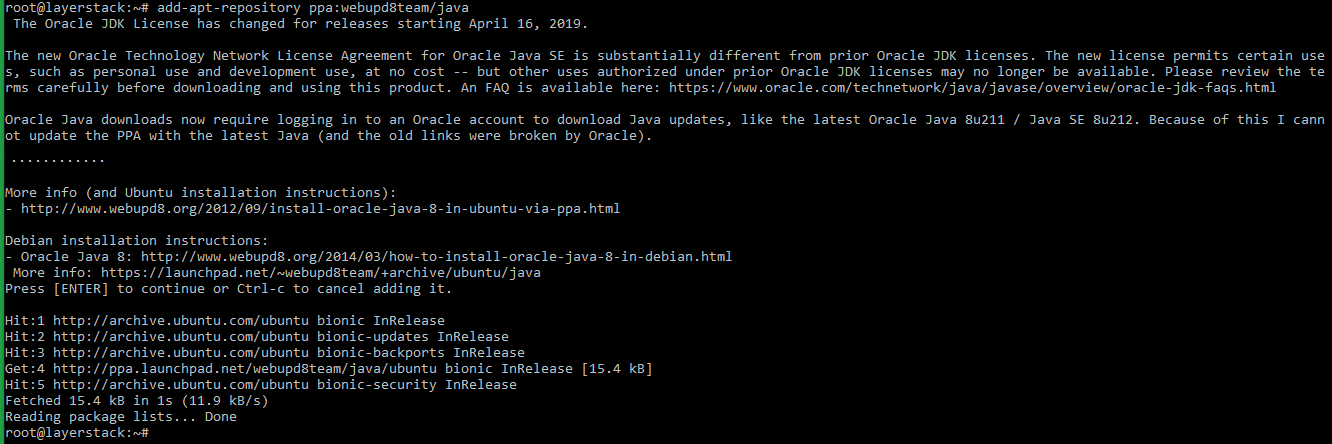
Then run update once again using the following command.
# apt-get update
Use the following command to install Java.
# apt install openjdk-11-jdk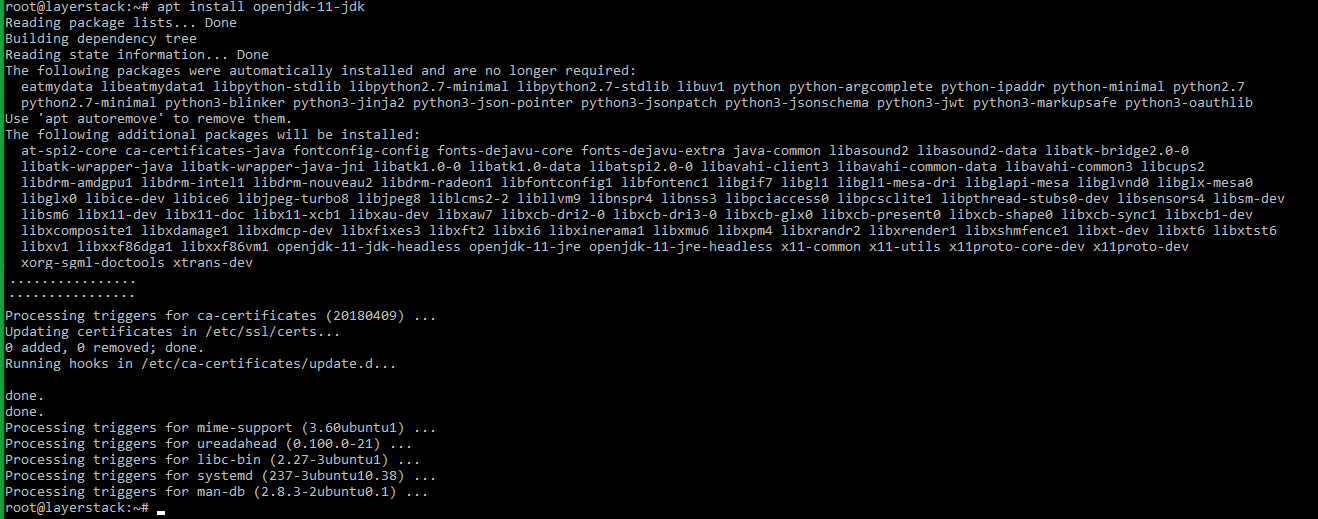
To verify Java has been installed, input the following command.
# java -version
General Java configuration
While configuring Java, it is important that the correct installation of Java is set to be used by applications hosted in the server. This requires certain environment variables to be set in the server. The below steps can be made use of for this purpose.
Execute the below command to list out the programs that provide java command in the server.
# update-alternatives --config javaA sample output will be as shown below:

Another option to select which java executable is to be made use of, is to make use of environment variables such as
JAVA_HOME. The value of this variable can be set to the path of the exact java executable to be used.For setting the environment variable, the below command can be executed (based on the above results).
# export JAVA_HOME=/usr/lib/jvm/java-11-openjdk-amd64/bin/java
Execute the below command to confirm that the Java path has been set correctly.
# echo $JAVA_HOME
Testing Java
The installed Java service can be tested from the command line itself by following the below steps.
Create a .java file with the help of any text editor.
# vi test.java
Type in the following code in the created file.
class test {
public static void main(String args[]){
System.out.println("TEST JAVA SERVER!");
}
}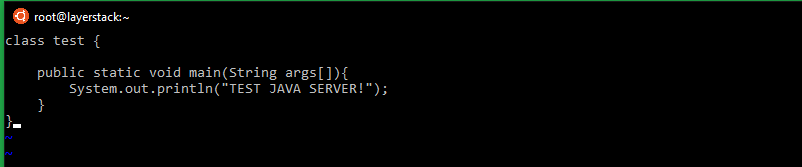
Execute the following command to compile the java file.
# javac test.java
Use the following command to run the complied java file.
# java test
