Installing PHP (Personal Home Page) on Linux Cloud Servers
PHP is the most popular open-source general-purpose scripting language in this World. The main use of PHP is creating forums, picture galleries, check details from a form, etc.
The main advantage of PHP is that it can easily be run on various platforms. See the instructions for installing PHP, changing PHP settings and enabling PHP extension on CentOS, Debian, Ubuntu & Fedora below.
Install PHP on Linux Cloud Servers
CentOS 6/7/8 & Fedora
Install and enable
EPELandRemirepository in the server.# yum install http://rpms.remirepo.net/enterprise/remi-release-7.rpm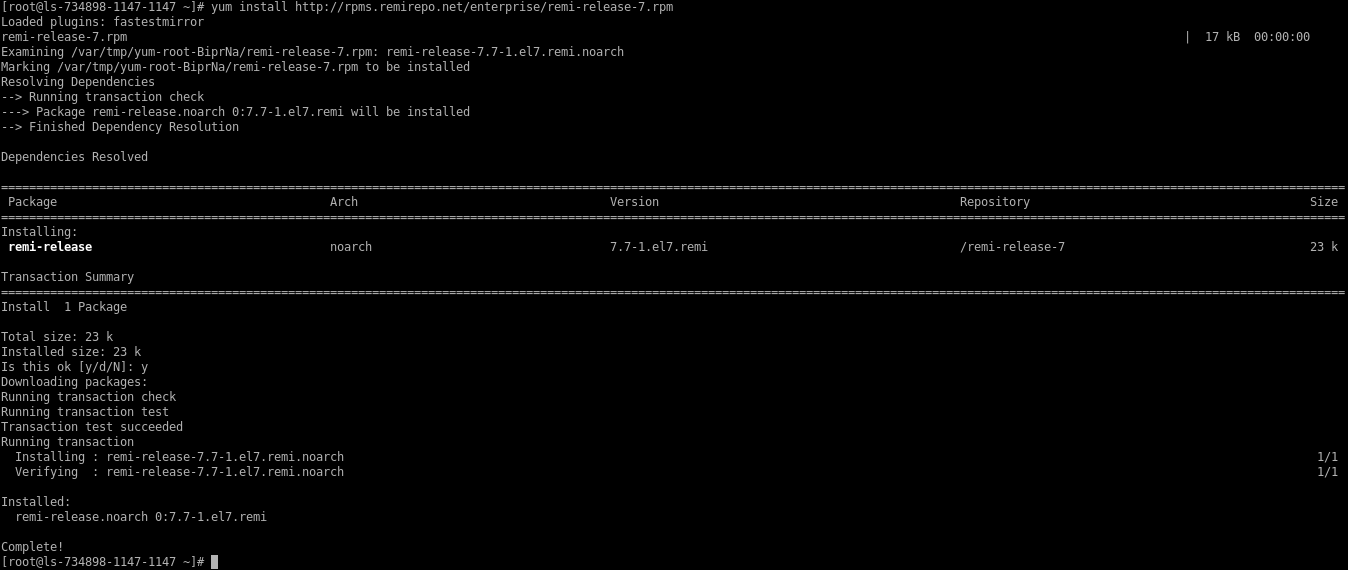
Install
yum utilsin the server.# yum install yum-utils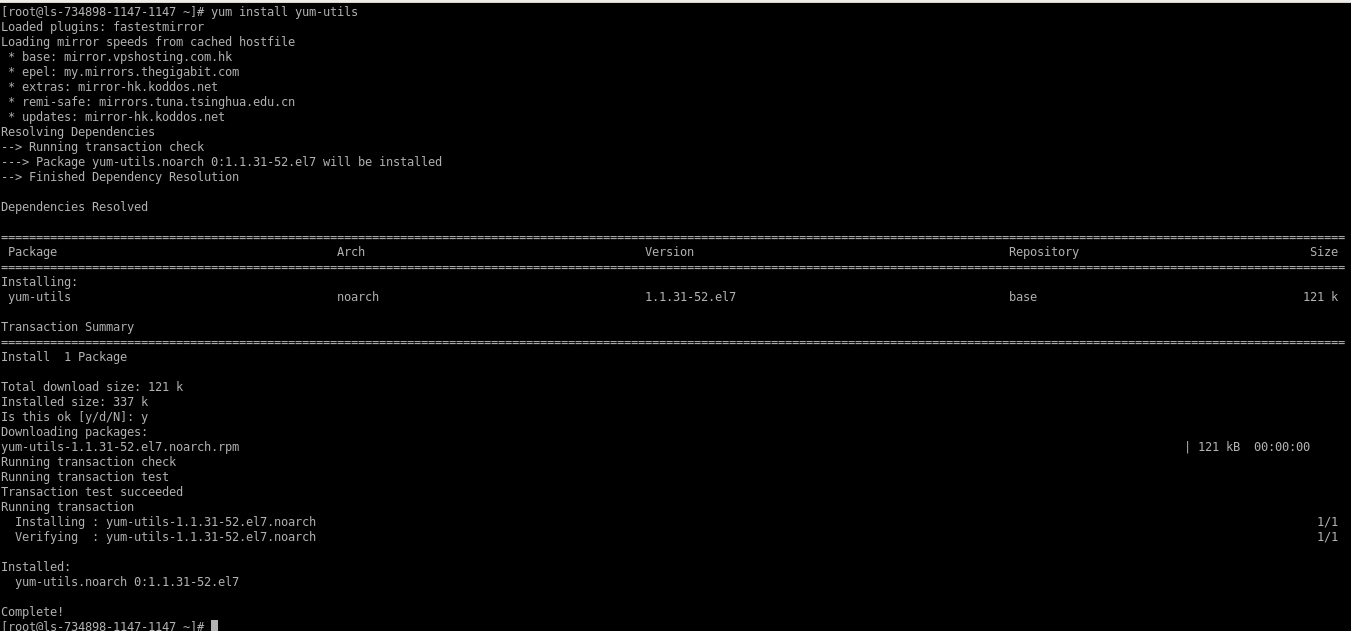
Enable
Remirepository to install PHP version.# yum-config-manager --enable remi-php72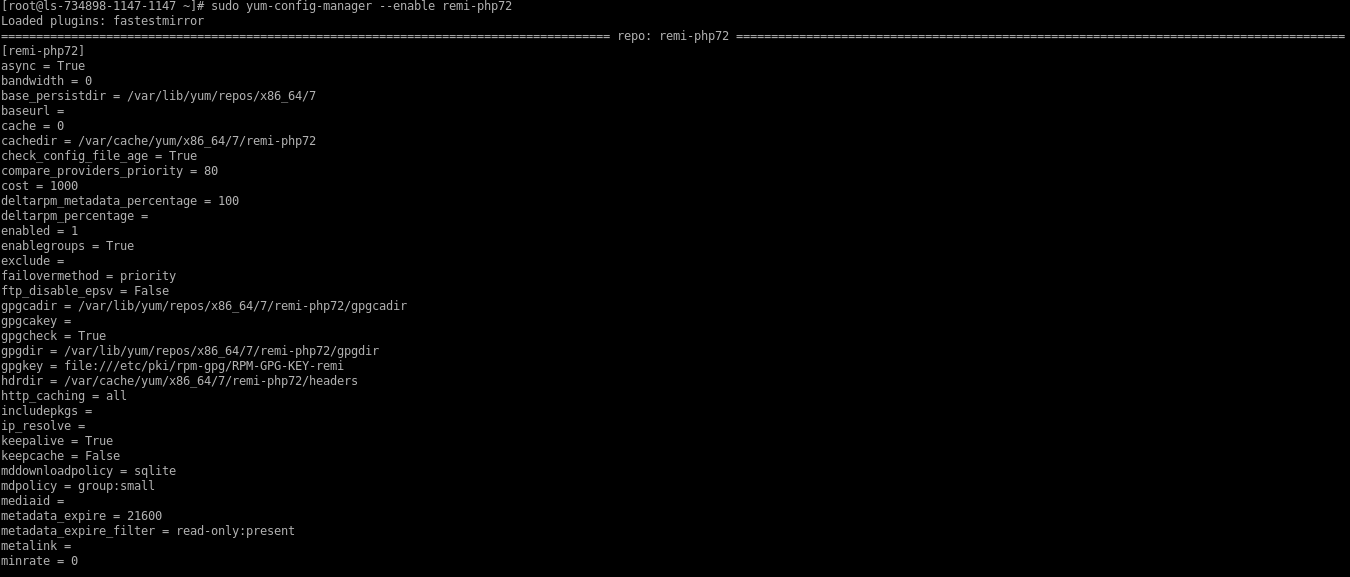
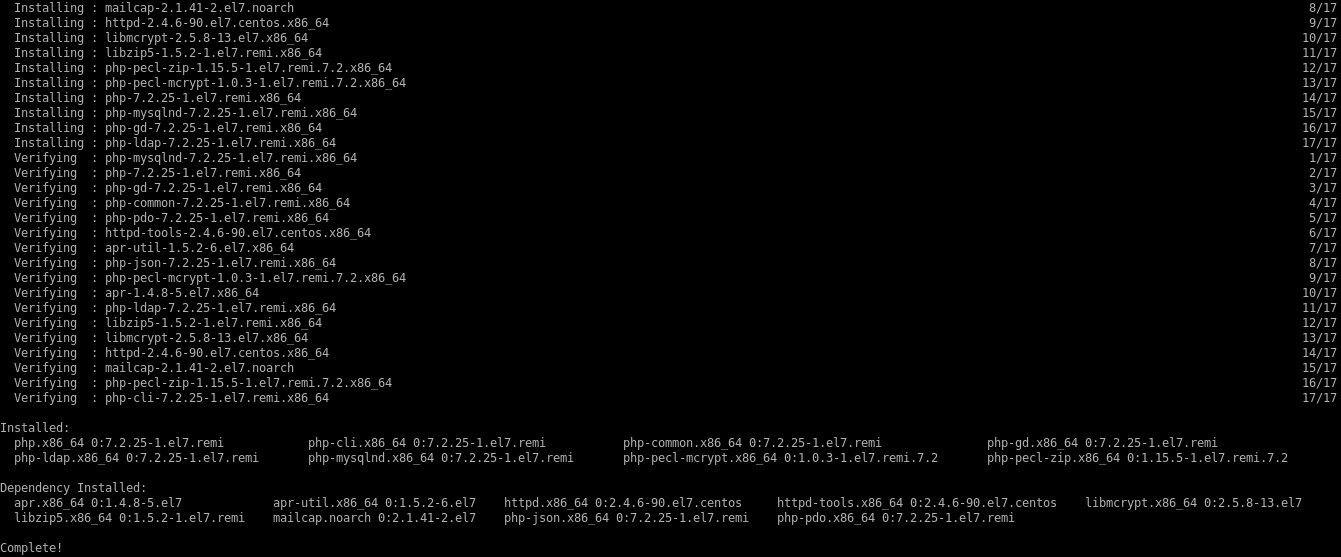
Install
PHP7.2on the server.# yum install php php-mcrypt php-cli php-gd php-curl php-mysql php-ldap php-zip php-fileinfo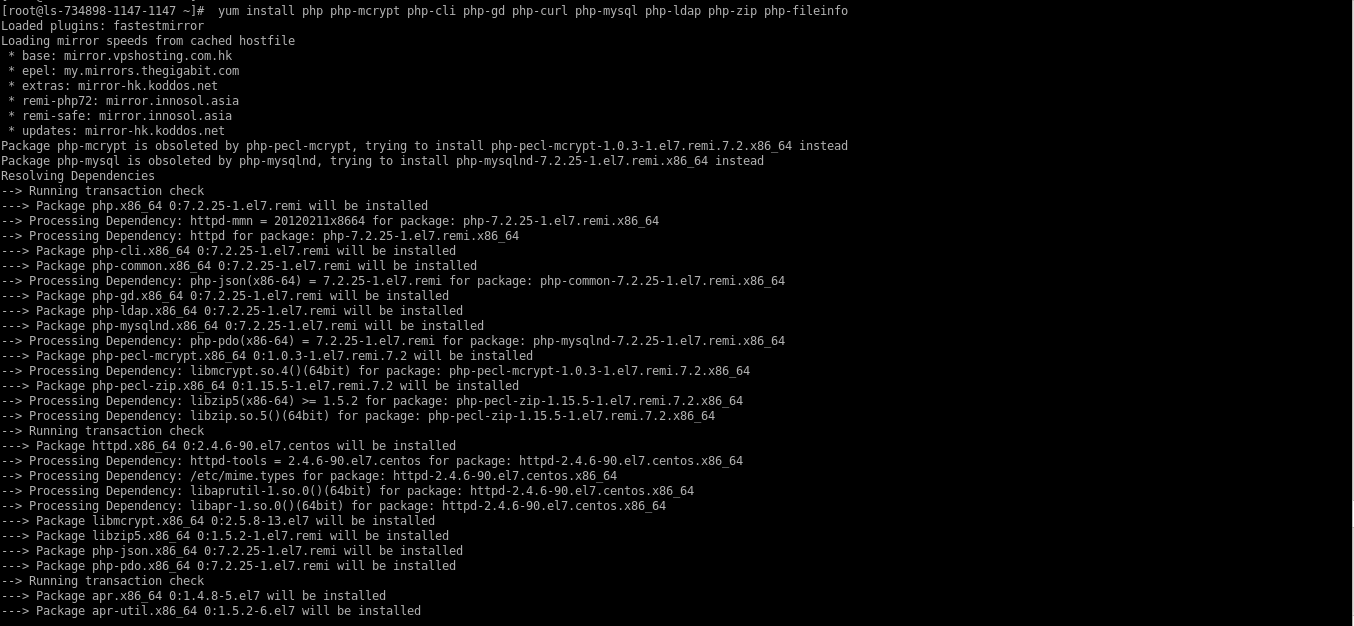

Check the installed version of PHP on your system.
# php -v
Ubuntu & Debian
Add the Ondrej PHP repository to the server.
# sudo add-apt-repository ppa:ondrej/php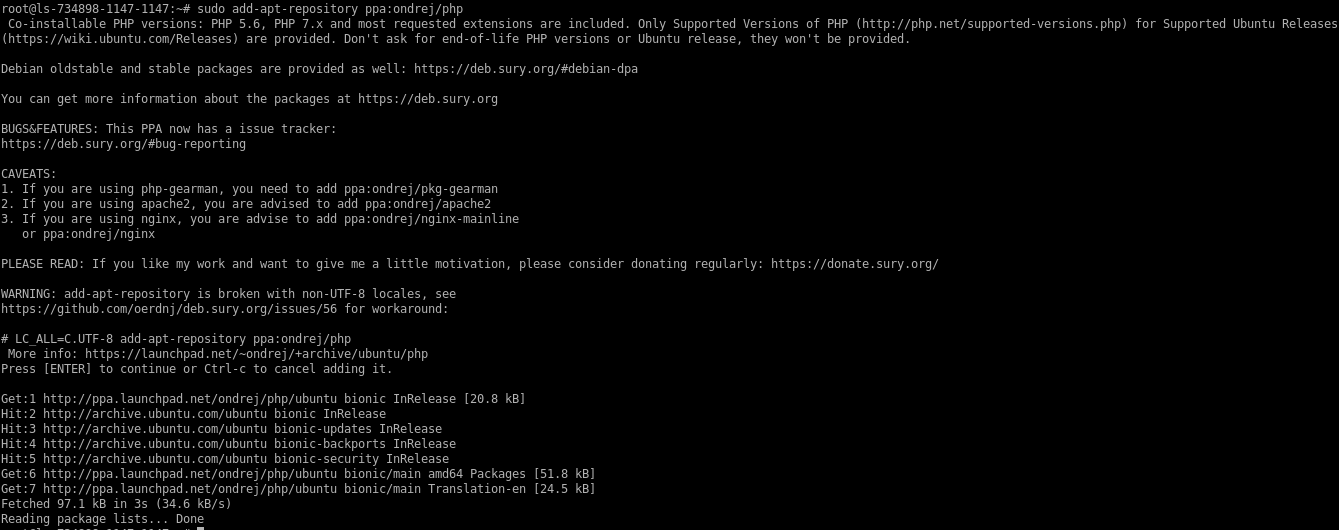

Install PHP 7.2 on the server.
# sudo apt-get install -y php7.2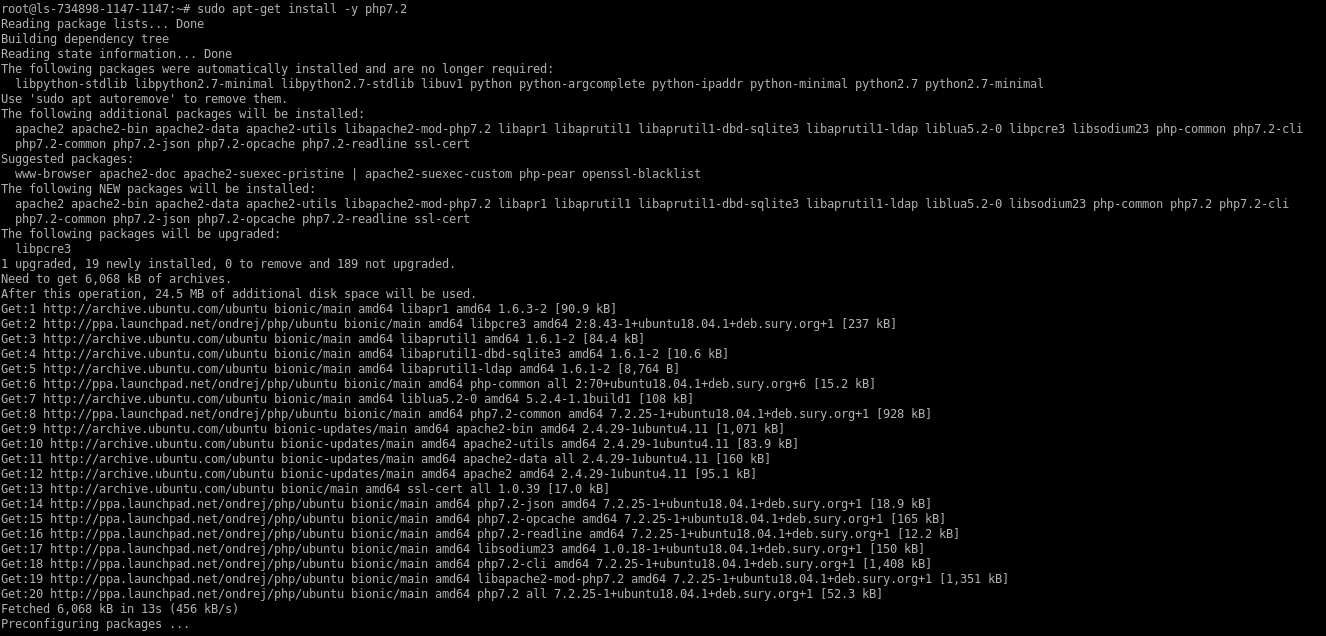

Check the installed version of PHP on your system.
# php -v
Change PHP Settings on Linux Cloud Servers
There may arise situations when the existing PHP settings configurations do not meet the requirements of the website/application hosted in the server. In such cases, it is a requisite to modify and update the PHP settings to better suit your applications. This guide can be used to change the PHP settings in your Linux server irrespective of the OS distribution.
The existing PHP configuration settings and PHP values can be viewed using a file written with the phpinfo function. The file can be placed under the website files or under the default document directory of the web service installed in the server.
CentOS / Ubuntu / Debian / Fedora
Change into the directory under which the phpinfo file is to be created. For example, the default directory for web pages in Apache is
/var/www/html.# cd /var/www/html
Create the file with the phpinfo function using any editor of your choice.
# vi /var/www/html/info.php
Open the file using any editor, type in the below snippet in the file and then save and quit the file.

The file,
info.phpcan now be browsed using any browser using the website name under which the file is created or using the server IP address if the file is created in the default document directory and the existing PHP version and its settings can be viewed.http://websitename/info.php (replace `websitename` with the name of the website) (or) http://123.123.123.123/info.php (replace `123.123.123.123` with the server IP address)A general example of the
phpinfopage is as shown below: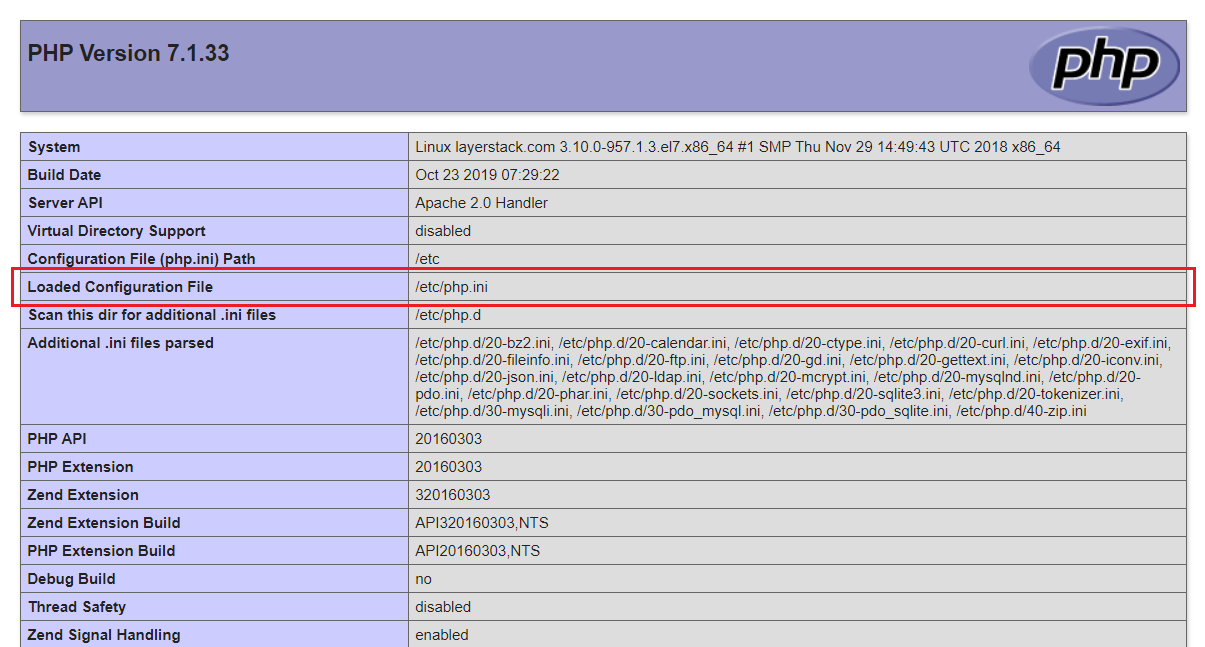
The file displayed to the right side of
Loaded Configuration Fileis the PHP configuration file in which the PHP settings need to be changed.Open the PHP configuration file using any editor of your choice and make necessary changes to the PHP settings as per your requirement.
For example, if you require to increase the maximum size of files that you need to upload through your PHP application, the variables that need to be adjusted are
post_max_sizeandupload_max_filesize.The existing values of both these variables can be found using the below commands.
# grep post_max_size /etc/php.ini

# grep upload_max_filesize /etc/php.ini
Modify these values according to your requirement in the PHP configuration file, save and exit the file.
Some other common PHP values that often require adjustment are the PHP memory limit and PHP execution time, denoted by the variables and
max_execution_timerespectively.Once the values are adjusted, the web service needs to be restarted for the changes to become effective.
# systemctl restart httpdCheck and confirm that the values of the variables have been adjusted as required.
# grep post_max_size /etc/php.ini

# grep upload_max_filesize /etc/php.ini
Enable PHP extension on Linux Cloud Servers
The core functionality of PHP is PHP modules/ extensions. It helps to enable specific functions to be used in the PHP code.
CentOS / Ubuntu / Debian / Fedora
To check the list of Compiled PHP Modules.
# php -m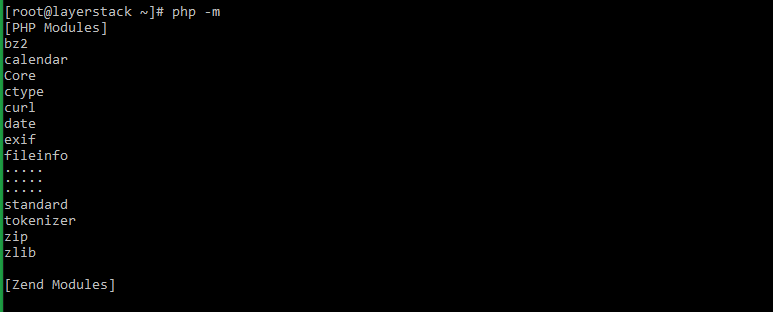
To know more about any specific module which is already installed on the server. Please use the following command.
# yum info <module-name>

E.g.: # yum info php-pdo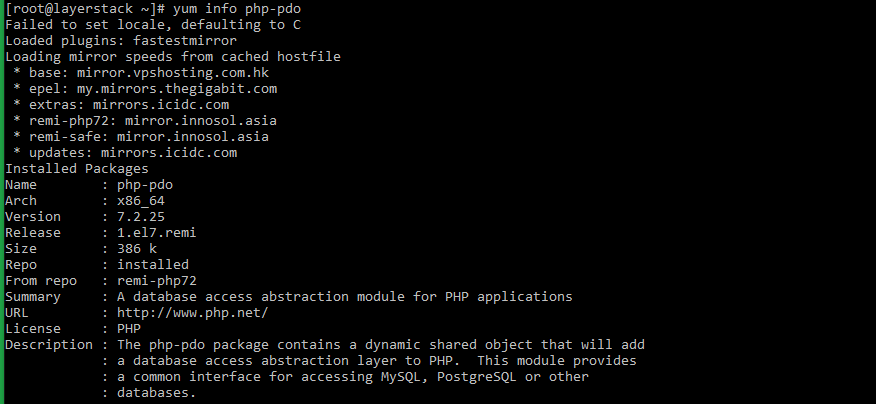
To install any new PHP module in the server, may use the following command.
# yum install <module-name>

E.g.: # yum install php-pdo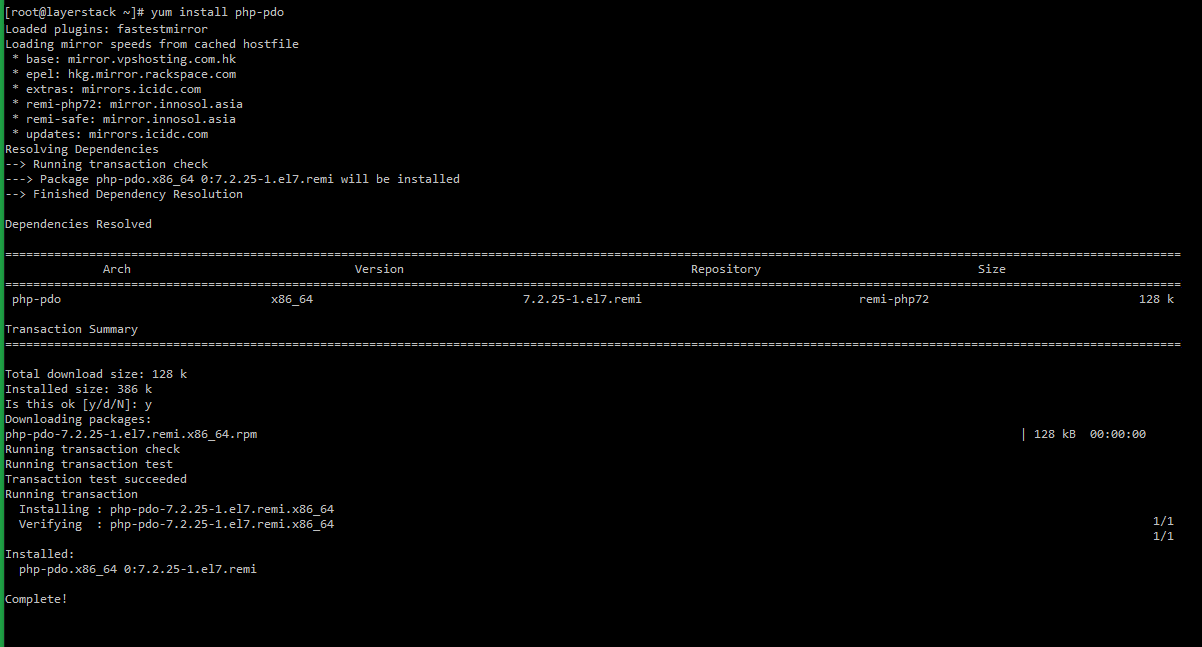
Install multiple modules at once.
# yum install module-name1 module-name2 module-name3

E.g.: # yum install php-cli php-fpm php php-punic
View Current PHP Modules.
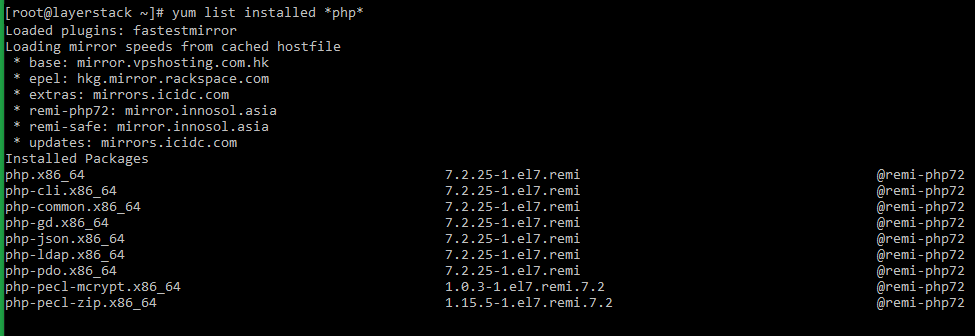
# yum list installed *php*