Installing cPanel and WHM on Linux CentOS Cloud Servers
cPanel is one of the most common and popular control panels used in Linux web hosting. It allows a user to manage the server through a graphical interface with ease. cPanel comes with separate interfaces which facilitate both user-level access (cPanel) and root-level access (Web Host Manager or WHM).
Some of the features of cPanel are:
Simple and powerful graphical user interface
Easy management of services in the server
Option to switch between different FTP, DNS and Mail services
Easy database management through phpMyAdmin
This guide will outline the steps required to install cPanel in the CentOS server.
NOTE: cPanel installation is currently ONLY supported in Linux servers with CentOS versions 6.5 or later, CloudLinux versions 6 and 7, RHEL versions 6 and 7 and Amazon Linux.
Pre-requisites
Before proceeding with the installation of cPanel, there are few steps that should be done in the server.
Update hostname of server with a Fully Qualified Domain Name (FQDN).
cPanel installation requires the server to have a Fully Qualified Domain Name as the hostname of the server. If the hostname is not set correctly, there are chances that cPanel installation will encounter errors such as below:

The following command can be used to set the hostname in the server.
# hostname FQDNIn the below example,
server.layerstack.comhas been set as the hostname of the server. Logout of the server once the hostname has been set and then log back in for the changes to be made effective.
Install Perl on the server.
It should be made sure that Perl is installed on the server. The below command can be executed to install Perl on the server.
# yum -y install perl
Install wget and screen in server.
Although cPanel installation is simple, it takes considerable time to get completed. Executing the installation on the screen will make sure that the installation is not interrupted.
Run the below command to install
wgetandscreencommands in the server in one single go.# yum -y install screen wget
Disable Network Manager service.
Make sure that the
Network Managerservice is disabled andnetwork.serviceservice is enabled before cPanel installation. Below commands can be used for this purpose.
CentOS 7
Disable Network Manager service by executing the below commands.
# systemctl stop NetworkManager

# systemctl disable NetworkManager
Restart the network.
# systemctl enable network.service

# systemctl start network.service
CentOS 6
Disable Network Manager service by executing the below commands.
# service NetworkManager stop

# chkconfig NetworkManager off
Restart the network.
# chkconfig network on

# service network start
Start to install cPanel control panel
Start a new session by executing the below command.
# screenOnce the screen session opens up, download the latest cPanel & WHM Installer file using the below command.
# wget -N https://securedownloads.cpanel.net/latest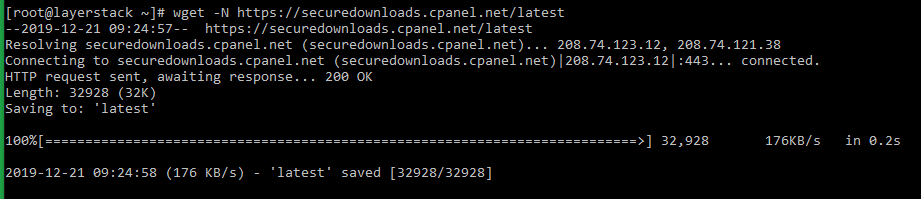
Execute the installer script by running the below command.
# sh latestNOTE: The script will take around a couple of hours to be completed and will run uninterrupted on the screen. To detach the screen and exit out of the current session, press the
Ctrl+A+Dkeys together.The screen can be reattached to check on the status of the installation by executing the below command.
# screen -rOnce the cPanel installation has been completed, a summary of the installation will be shown at the end as below:
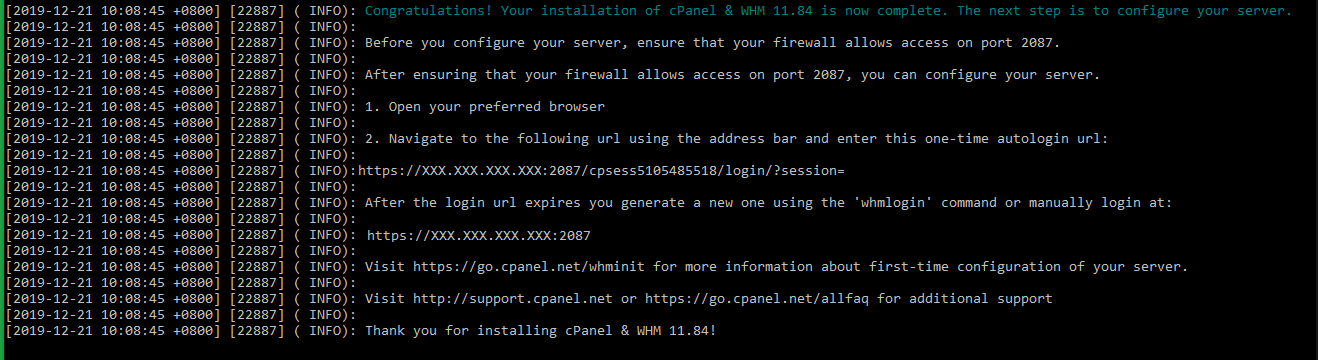
WHM/cPanel can now be accessed using the below URL’s.
https://<ip_address>:2087 (WHM)
(or)
https://<domain_name>:2087

https://<ip_address>:2083 (cPanel)
(or)
https://<domain_name>:2083
WHM panelfacilitates administrative access to a server and helps in managing the entire hosting functions such as creation/modification and deletion of accounts, managing services of the server including DNS, Mail, Database, FTP, statistics, and logs monitoring.cPanelis the user-level management panel, through which the user for a domain can manage the basic functions related to the website, such as uploading website files, creating email accounts, creating subdomains, addon domains, etc.
Set up and configure WHM
Once WHM is accessed using the above-specified URL, the WHM login interface page will open up, similar to below. Log in to WHM using the
rootuser and its associated password.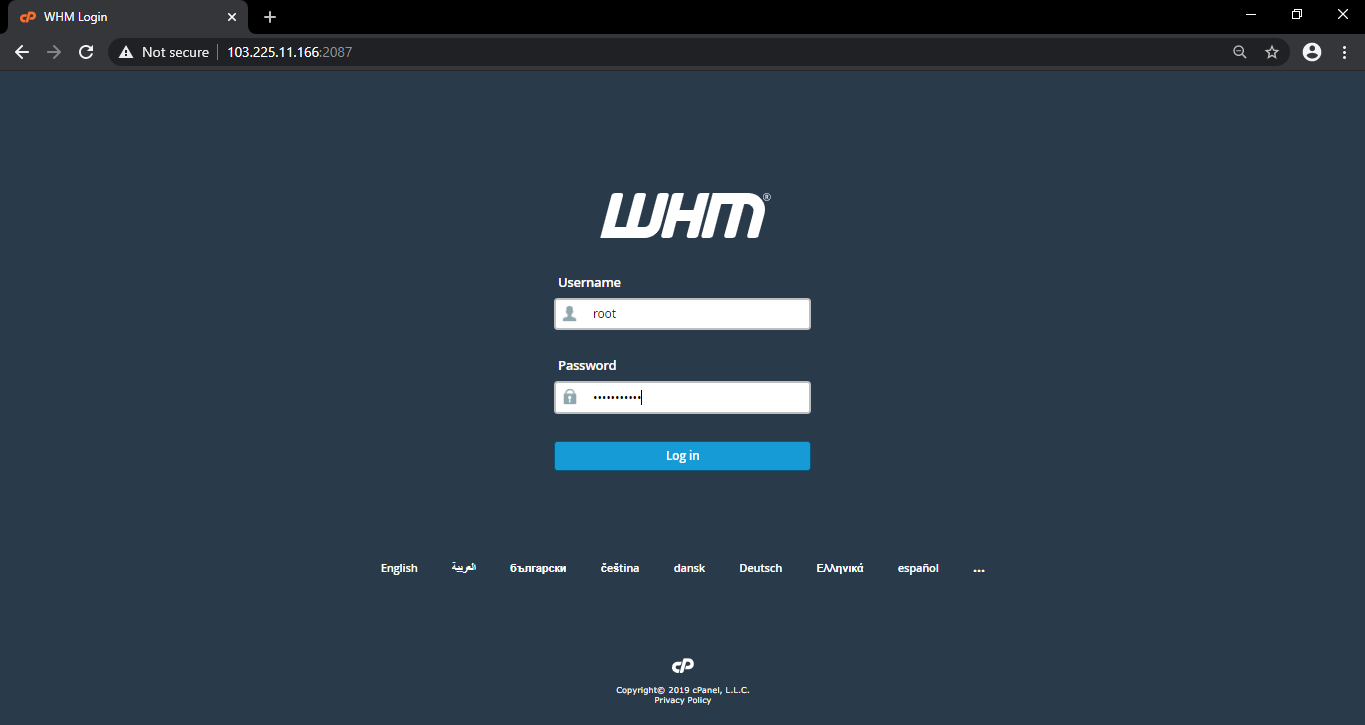
After logging in, click on
Agree to Allto proceed with the WHM setup.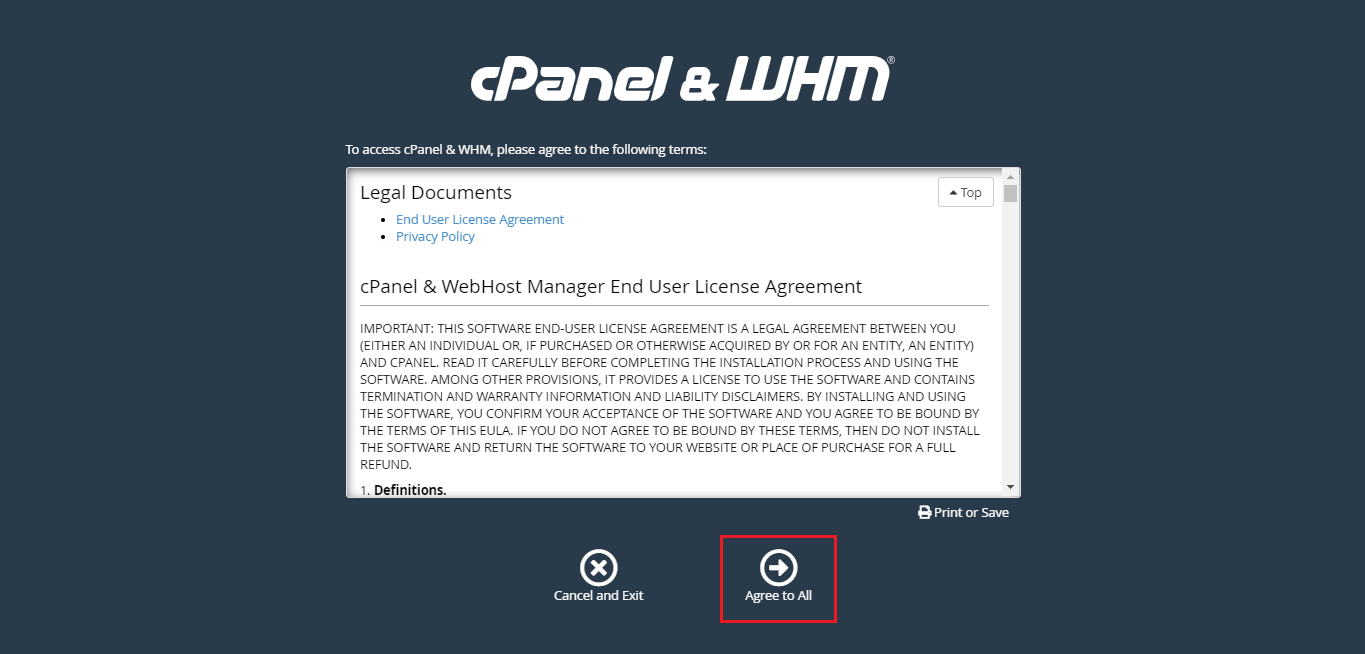
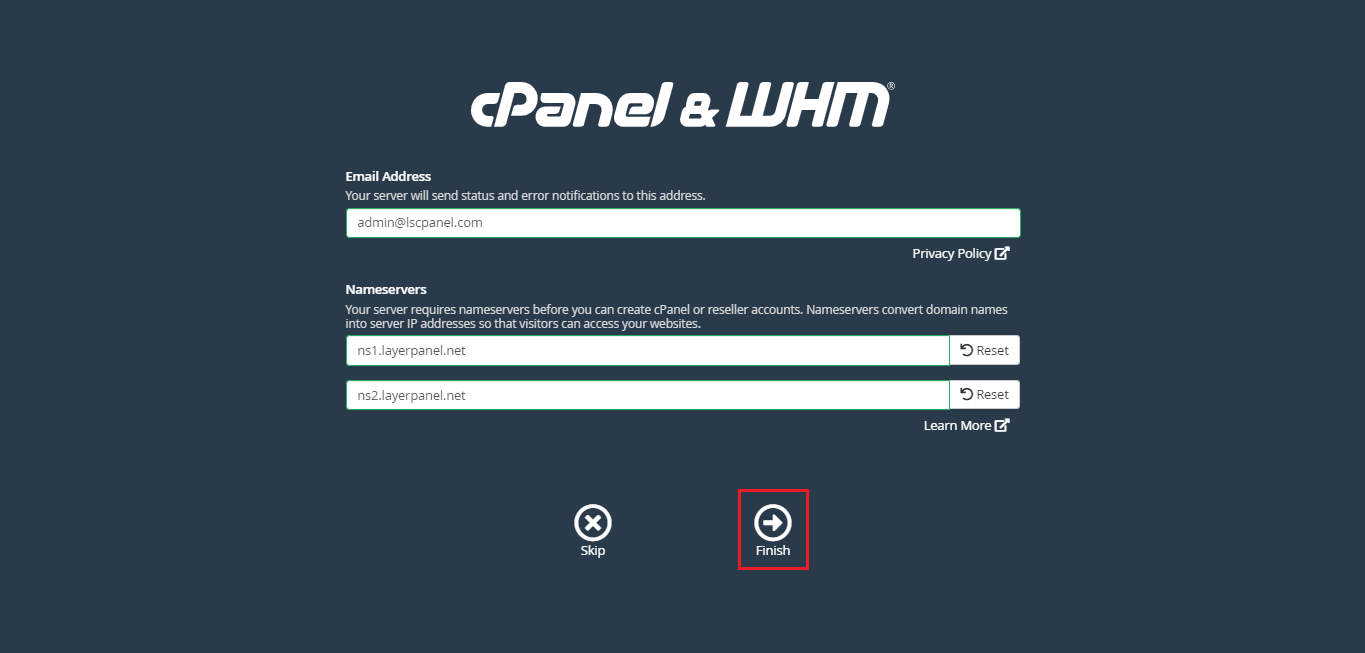
In the next screen, type in your email address as well as the nameservers that will be used for the server, and then click on
finish. You may use any workable nameservers on this setting.All websites that will be created through WHM will be assigned with these nameservers in the server.
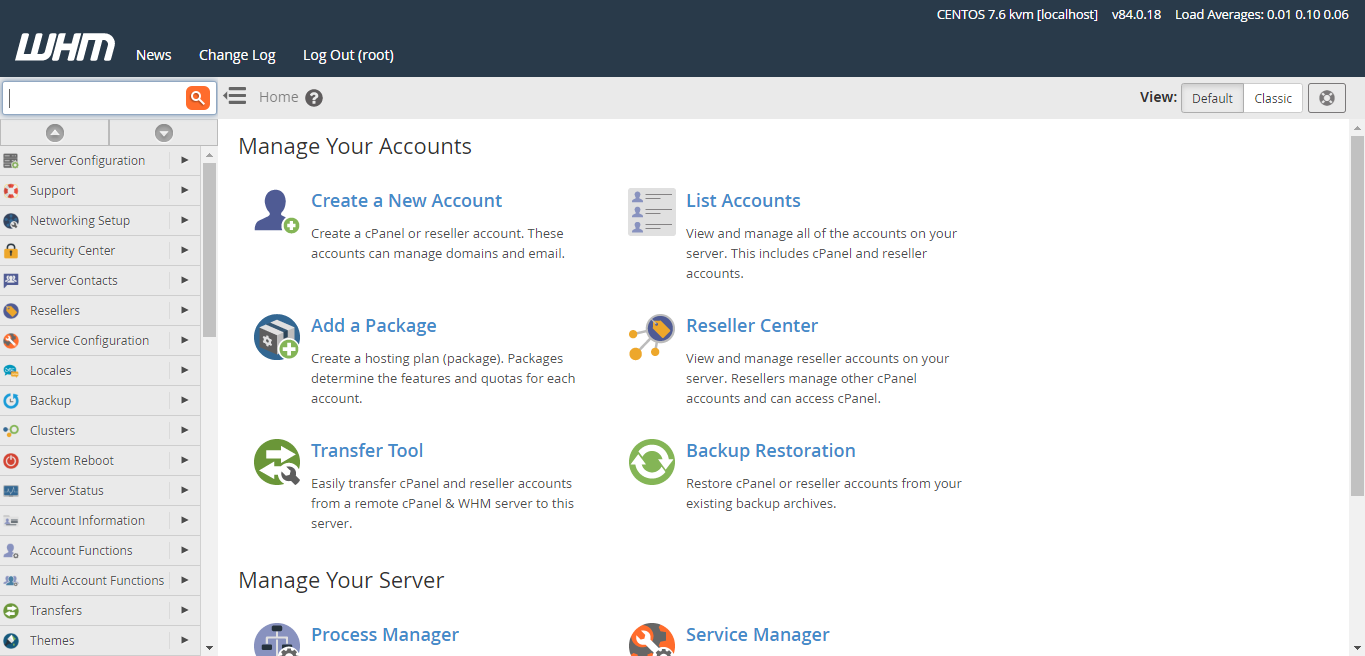
The typical home page of WHM will be as below:
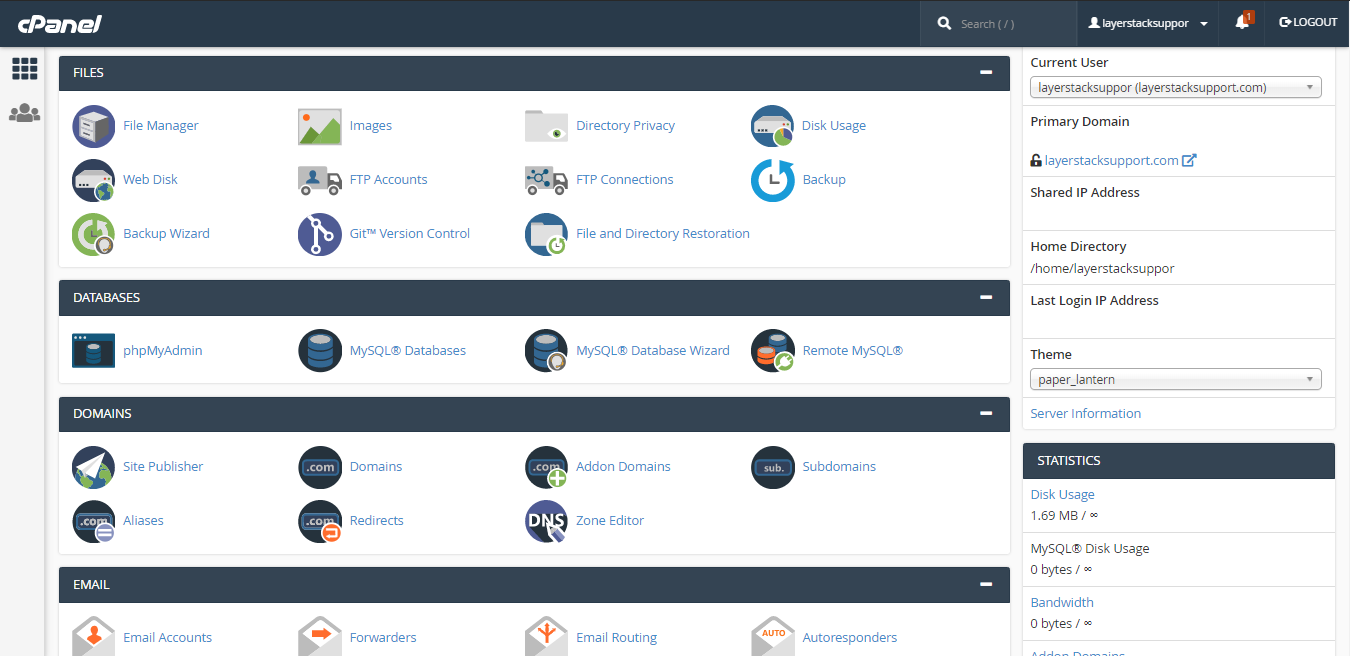
cPanel interface would be as below:
Activate cPanel license
cPanel is a licensed control panel and requires to be activated for making use of all its features. cPanel default installation comes with a 15-day trial license, after which it needs to be activated with a valid license.
LayerStack currently does not offer a cPanel license at this moment, this would need to be purchased directly from the vendor.
Contact cPanel official and purchase the license for the server IP address.
The validity of the purchased license can be verified by the license status using the URL (https://verify.cpanel.net).
Once a license has been verified, log in to SSH of the server and execute the below command to apply the license to the server.
# /usr/local/cpanel/cpkeyclt
Related LayerStack Product
Related Tutorials
