CUDA (Compute Unified Device Architecture) is a parallel computing platform and API model created by NVIDIA. It enables significant performance improvements by utilizing the power of NVIDIA GPUs for general-purpose computing. Installing CUDA on Ubuntu Cloud Servers with a cloud GPU allows you to leverage GPU acceleration for tasks such as machine learning, data processing, and scientific simulations. In this guide, we will walk you through the steps to install CUDA drivers on Ubuntu Cloud Servers.
Update your package list and upgrade any existing packages.
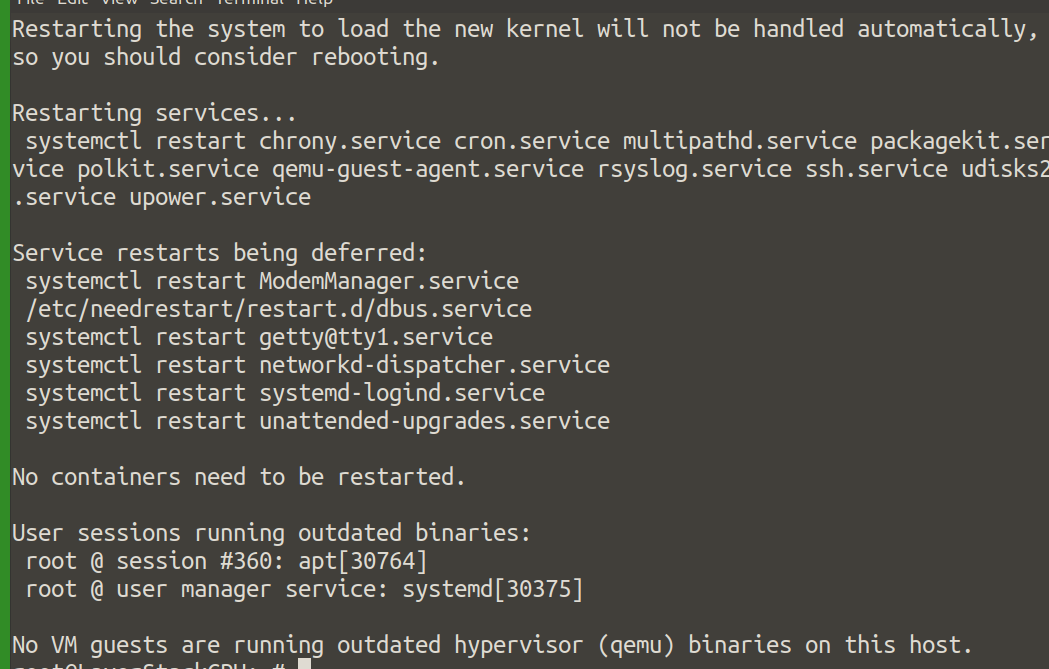
# sudo apt update && sudo apt upgrade -y

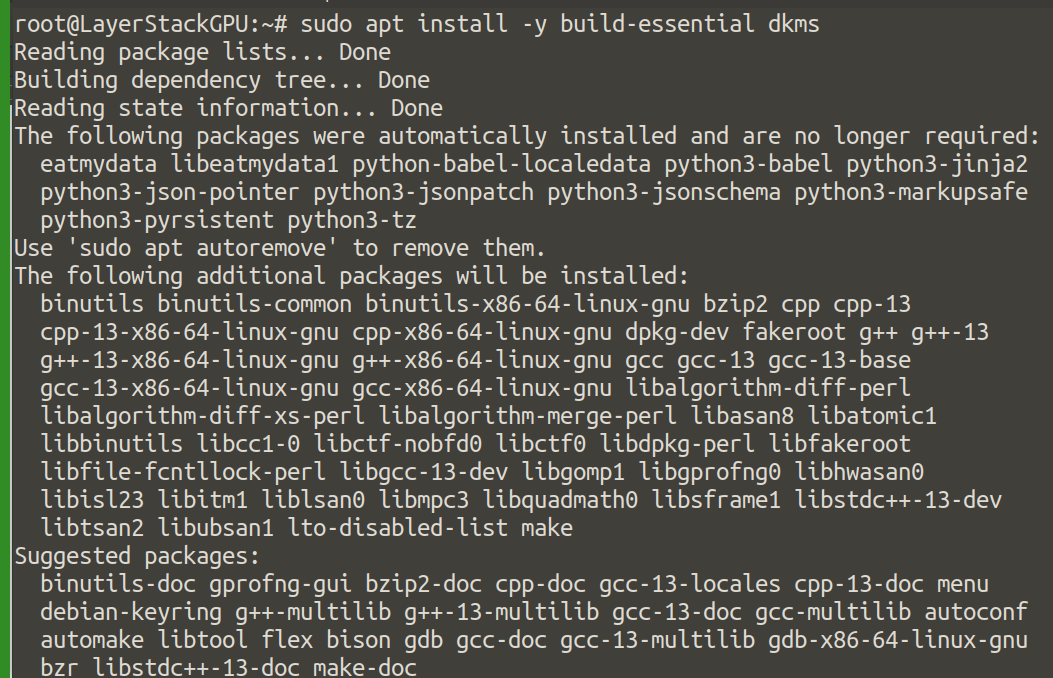
Install necessary build and kernel development tools.
# sudo apt install -y build-essential dkms

The Nouveau driver (open-source GPU driver) needs to be disabled to avoid conflicts with the NVIDIA driver.
Create a configuration file to blacklist Nouveau:
# sudo bash -c "echo 'blacklist nouveau' > /etc/modprobe.d/blacklist-nouveau.conf"

# sudo bash -c "echo 'options nouveau modeset=0' >> /etc/modprobe.d/blacklist-nouveau.conf"
Regenerate the kernel initramfs:
# sudo update-initramfs -u
Reboot the server:
# sudo reboot

Go to the LayerStack CUDA Toolkit Download mirror and download the NVIDIA CUDA to the server.
# wget hk01.layerstack.com/nvidia-linux-grid-550_550.90.07_amd64.deb

Install the CUDA package.
# dpkg -i nvidia-linux-grid-550_550.90.07_amd64.deb

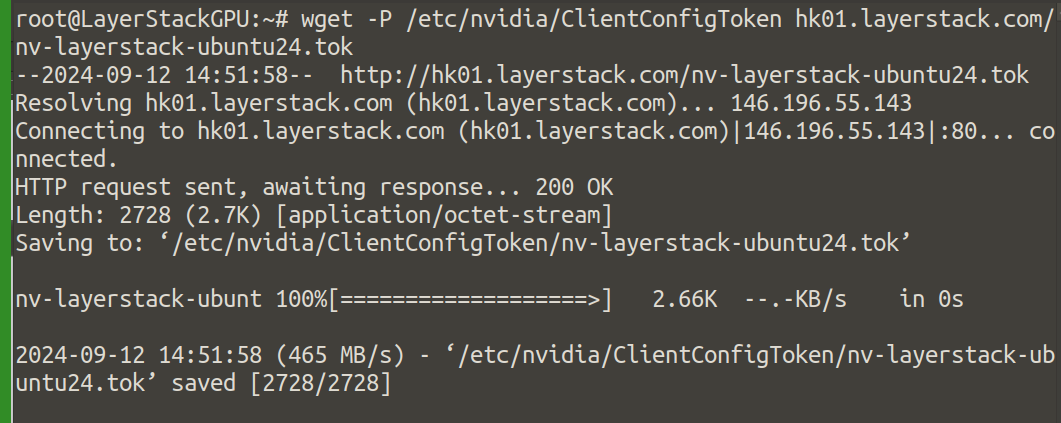
Download The VGPU license file.
# wget -P /etc/nvidia/ClientConfigToken hk01.layerstack.com/nv-layerstack-ubuntu24.tok

Verify installation now, reboot the server to apply all changes.
# sudo reboot
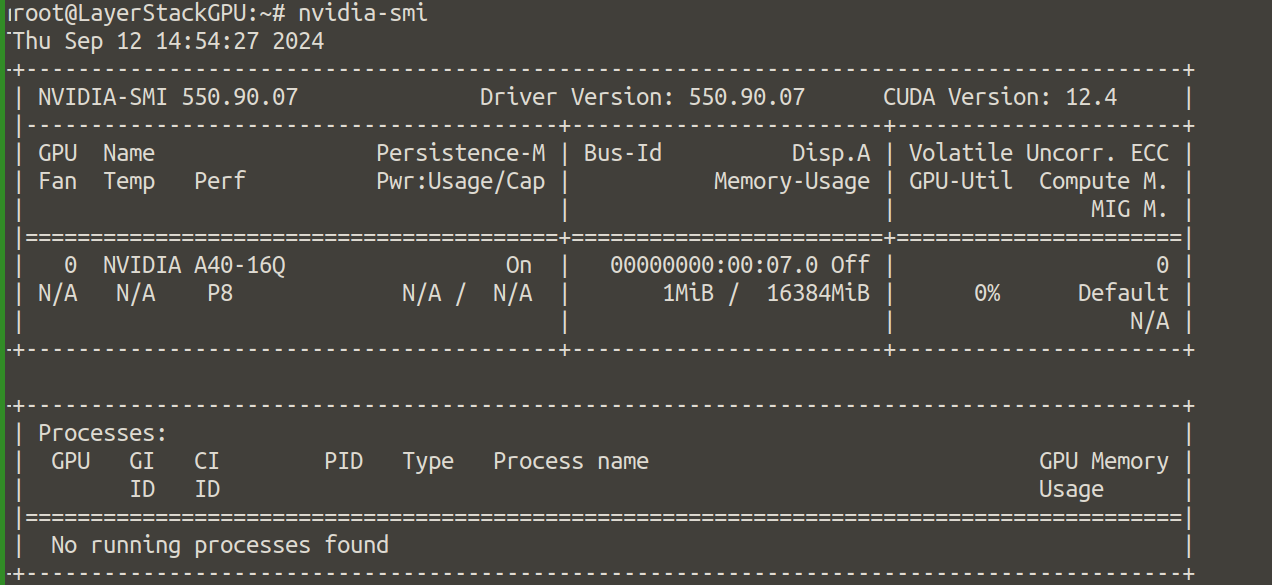
After rebooting, check if the GPU drivers and CUDA were installed correctly by running.
# nvidia-smi
The output will be as in screenshot:
