How to install Graphical User Interface (GUI) and XRDP for Ubuntu 24.04 Cloud Servers
Installing a Graphical User Interface (GUI) on Ubuntu 24.04 Cloud Servers provides a visual environment, making server management easier for those unfamiliar with the command line. Ubuntu Server does not include a GUI by default in order to keep it lightweight and efficient for server-specific tasks. You can choose from multiple desktop environments, such as GNOME, the default Ubuntu desktop, which offers a modern look and a complete set of applications, or Xfce, a lightweight option that performs better on systems with limited resources. After installing the GUI, a reboot ensures that all necessary services start correctly.
XRDP is an open-source implementation of Microsoft’s Remote Desktop Protocol (RDP), enabling remote access to the GUI over the network. It creates a bridge between the remote client and the desktop environment on the server. By default, XRDP listens on port 3389, which you must allow through the server’s firewall to ensure successful connections. Once XRDP is configured and running, you can use an RDP client from your local machine to access the server’s desktop environment with ease. This setup is ideal for remote administration, especially for users who are more comfortable with a graphical interface.
This guide will walk you through setting up a Graphical User Interface (GUI) and configuring XRDP to enable remote desktop access on Ubuntu 24.04 Cloud Servers. After completing this setup, you are able to connect to your server using Remote Desktop Protocol (RDP) from your local machine.
Prerequisites
Before we begin, ensure the following:
- Ubuntu 24.04 OS is installed (without a desktop environment).
- A user account with sudo or root privileges.
- Internet access to download and install packages.
- A remote desktop client (Windows:
mstsc, macOS: Microsoft Remote Desktop, Linux: Remmina).
Why these are required:
- Sudo privileges allow you to install and manage software.
- RDP client is essential to access the server after the XRDP setup.
- Internet connection ensures you can update the system and download the GUI and XRDP packages.
Update and upgrade the Ubuntu system.
# apt update

# apt upgrade -y

# reboot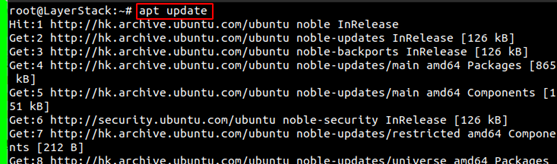
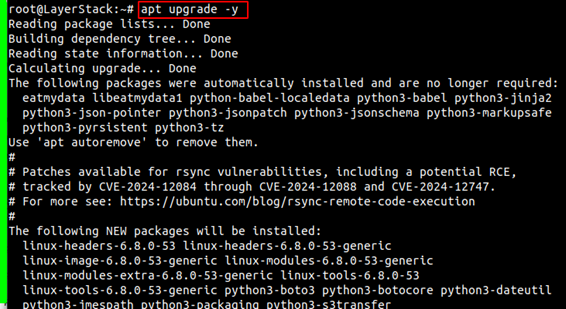

apt update: Update the list of available packages and their versions.apt upgrade -y: Install the latest versions of all packages currently installed on the system. The-yflag automatically answersyesto prompts.reboot: Reboot the system to apply changes and ensure stability.
NOTE: Keeping your system
up to dateensures that you have the latest security patches and features, which are crucial for maintaining a stable and secure environment.
Install a Graphical User Interface (GUI), such as
GNOME Desktop(the default Ubuntu desktop), which is visually rich but uses more resources.# apt install ubuntu-desktop -y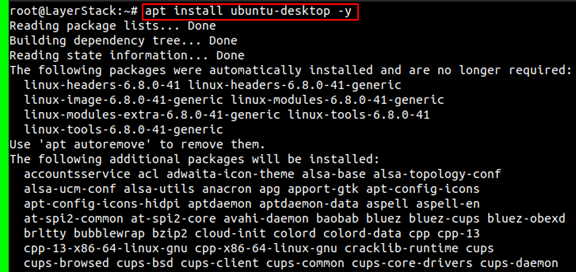
Install a Xfce Desktop (Lightweight) – A fast, resource-efficient alternative that's ideal for remote desktop setups.
# apt install xubuntu-desktop -y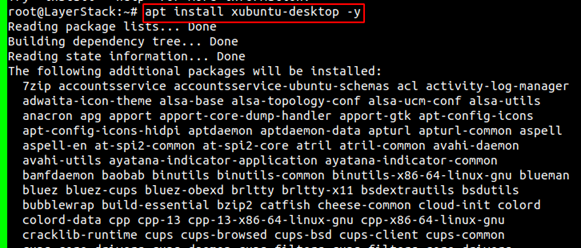
apt install ubuntu-desktop: Install the full GNOME desktop environment.apt install xubuntu-desktop: Install the Xfce desktop environment with a minimal set of applications.
NOTE: A GUI makes it easier to manage the server visually.
GNOMEis a good choice for users familiar with Ubuntu’s default desktop, whileXfceoffers better performance and is ideal for remote access.
Reboot your system after the installation.
# rebootInstall and configure
XRDP. XRDP allows to connect to the server using Remote Desktop Protocol (RDP).# apt install xrdp -y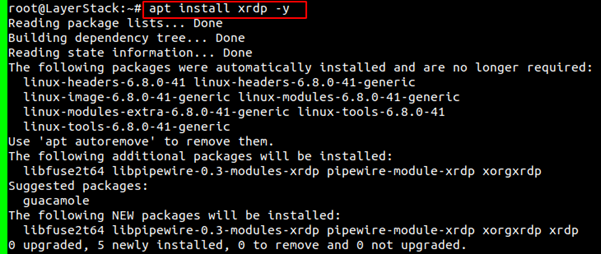
apt install xrdp: Install XRDP, an open-source implementation of the RDP protocol.
Enable and start
XRDP.# systemctl enable xrdp # systemctl start xrdp
systemctl enable xrdp: Ensures that the XRDP service starts automatically on boot.systemctl start xrdp: Starts the XRDP service immediately.
Add
XRDP usertossl-certgroup.# adduser xrdp ssl-cert
adduser xrdp ssl-cert: Add thexrdpuser to thessl-certgroup, giving it permission to access the certificate files needed for encrypted sessions.
NOTE: This step ensures that
XRDPhas the necessary permissions to function securely and avoid connection errors.
Configure Firewall for XRDP.
# ufw allow 3389/tcp

# ufw reload
ufw allow 3389/tcp: Open TCP port 3389, which XRDP uses for RDP connections.ufw reload: Reload the firewall to apply the changes.
NOTE: If the firewall blocks port 3389, you won’t be able to connect to your server using RDP.
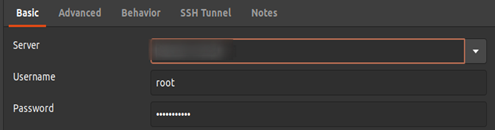
Test
Remote Desktop Connectionby opening an RDP client.Windows: Run
mstscin the Run dialog (Win+R).
Linux: UseRemminaor similar.Enter your server's
IP addressand connect.Log in with your Ubuntu username and root password.
The desktop environment you installed earlier can be displayed.

Configure XRDP to use Xfce (Optional for Xfce Users). If you installed Xfce, you may need to set it as the default session for XRDP:
# echo "startxfce4" > ~/.xsession

# systemctl restart xrdp
echo "startxfce4" > ~/.xsession: Set Xfce as the default desktop session for the current user.systemctl restart xrdp: Restart the XRDP service to apply the change.
If XRDP defaults to GNOME or another desktop, you may experience issues. This ensures XRDP launches the Xfce desktop session.
Related Tutorials
